
If you've ever worked hard to bake a cake from scratch (or from a mix) then you know how frustrating it can be to have your cake stick to the pan. Well, I have made a lot of cakes, so let me tell you how to grease a pan so your cake will release perfectly every time.
Jump to:
What to use to grease a pan
There are a few products for greasing a pan, but using vegetable shortening is my preferred method. Shortening has a high melting temperature, which means it will stay in place longer while baking instead of melting and running to the bottom of the pan as soon as it hits the oven.
If you do not have vegetable shortening to grease your pan, you can use palm shortening, vegetable oil, bacon fat or butter.
Nonstick cooking spray is simply a spray form of canola oil, so that is also suitable just make sure to cover the entire inside surface of the pan with spray, as it normally does not coat as well as shortening. There are also sprays available that are marketed as "cake release" sprays. They usually contain both vegetable oil and flour. Some people do report success with these sprays and like the ease of use.
Note that sprays with flour are not gluten free, so not suitable for use with gluten free baking.
How to grease a cake pan
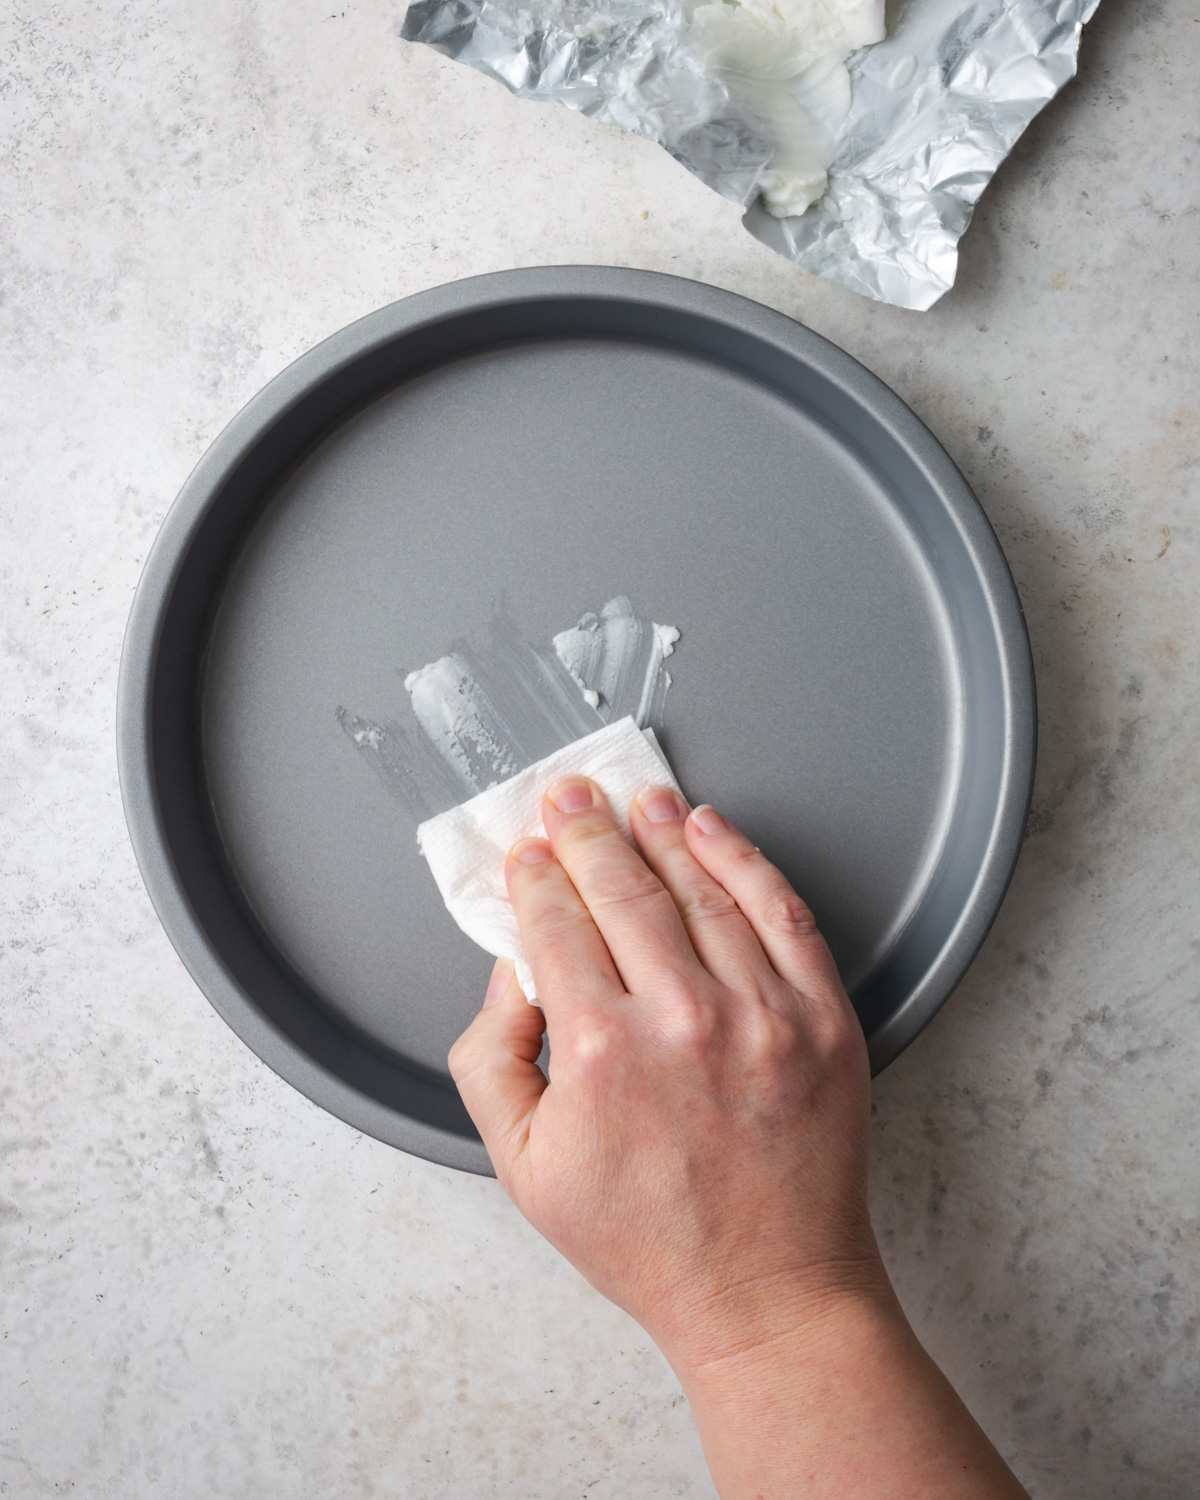
- Begin with a clean and dry metal baking pan.
- Fold a piece of paper towel into a small pad.
- Scoop about 1 tablespoon of shortening onto your paper towel and begin rubbing it on the inside of your pan. Take care to make sure all of the bottom of the pan and the sides of the pan are coated with a thin layer of fat.
You can also feel free to use a pastry brush or your fingers to spread the grease in your pan. Once you have greased the whole thing, you can move on to either flouring or adding parchment paper.
How to line a cake pan with parchment paper
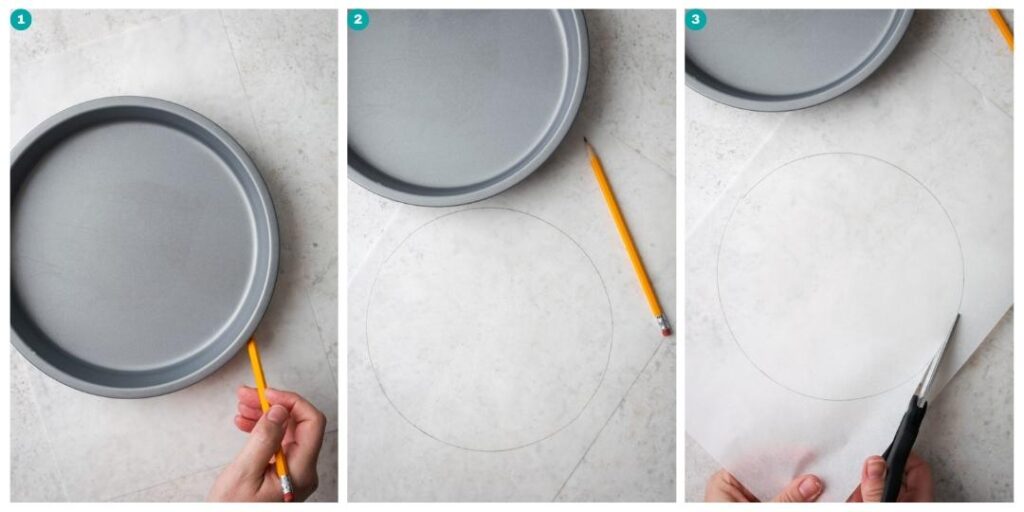
When baking layer cakes or sheet cakes, I always prefer to use parchment paper instead of flour in my cake pans. (Note: do not use wax paper) To begin, you need to cut a piece of parchment paper to fit the bottom of your cake pan. If you bake a lot of cakes, you can also order precut parchment rounds to fit your pans. Just make sure to find some that are correctly sized for your pans.
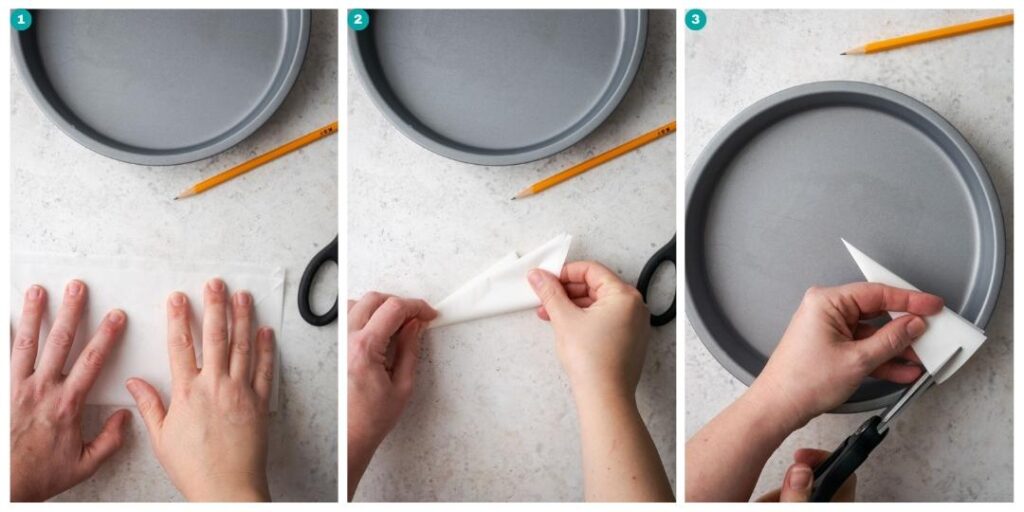
- Prepare a sheet of parchment paper that is large enough to cover the whole pan. Lay your pan on top of the parchment paper.
- Trace around the bottom edge so you have an outline of the pan.
- Use scissors to cut along the inside edge of your drawn circle or square. This will create the perfect size parchment to fit in the bottom of your cake pan.
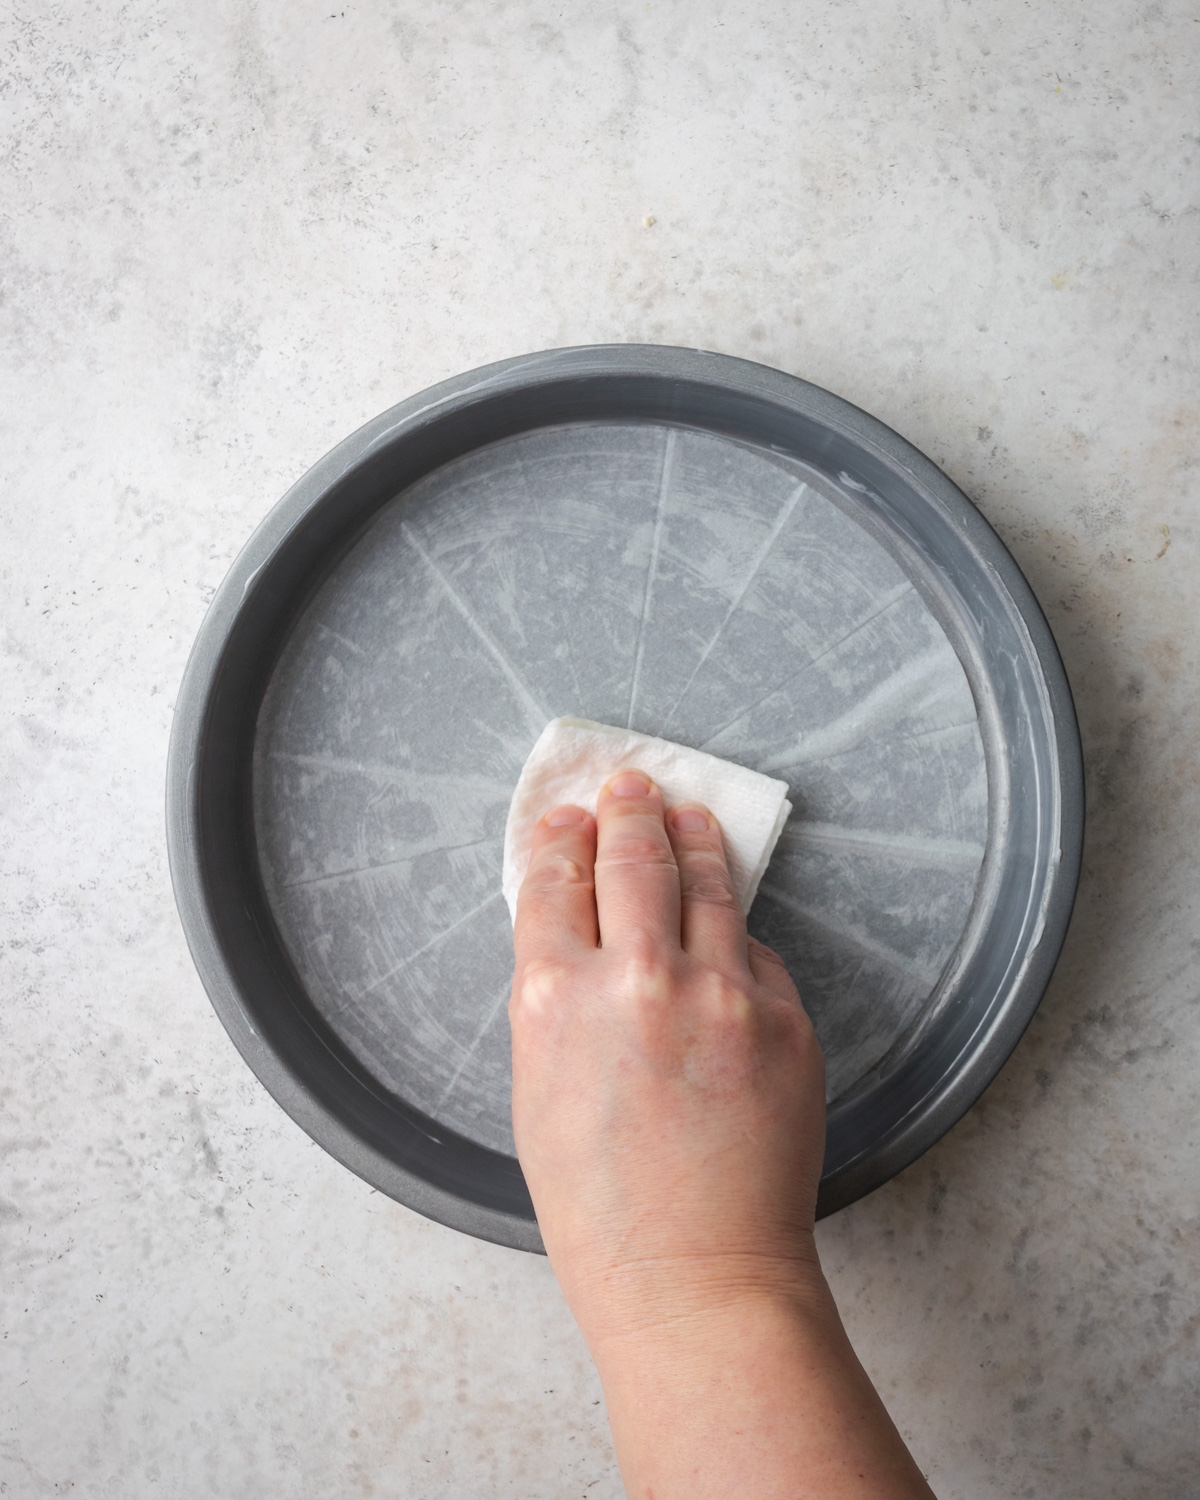
Grease your pan as indicated above, then place the parchment paper in the bottom of the greased pan. Rub a thin layer of grease on top of the parchment paper. Although the paper will not usually stick to the bottom of a cake, this extra grease does help it stay in place so no cake batter will end up underneath the paper.
Alternatively, when making a parchment round, you can fold the paper in half and then in half again. Then fold it on the diagonal twice, creating a small triangle. Hold the triangle so the center point is at the center of your pan. Then cut the outer edge. Once you unfold your paper, you will have a circle. You may have to do some refining to get the size just right.
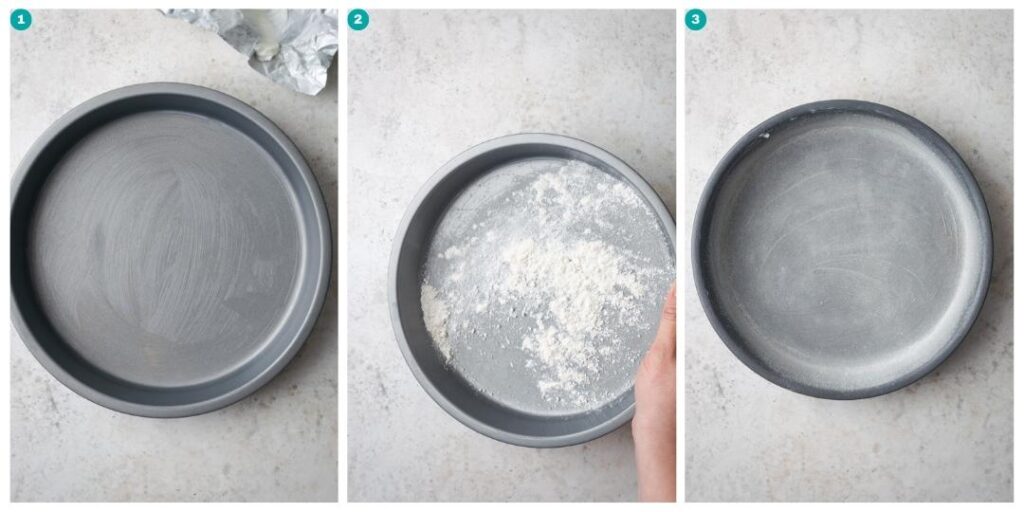
How to flour a cake pan
For some cake recipes, greasing and flouring your pan is going to be the best option. This is especially true for recipes baked in bundt cake pans.
- Grease your cake pan as indicated above.
- Measure about a tablespoon of flour and sprinkle it in the bottom of the pan. Either all purpose flour or gluten free flour (if you're gluten free) will work.
- Gently shake the pan around, holding it with one hand and tapping it against the other. As the flour moves around it will stick to the layer of fat.
- Cover the bottom and the sides of the pan with flour. Once everything has been coated, lightly tap the pan on the counter to release any extra flour. This will ensure a very thin layer of flour so you don't end up with a white dusty exterior on your cake.
- Dump any remaining flour into the trash.

Baking Tip
For chocolate cake, perform the same method using unsweetened cocoa powder in place of flour. This will prevent the outside of the cake from having white spots.
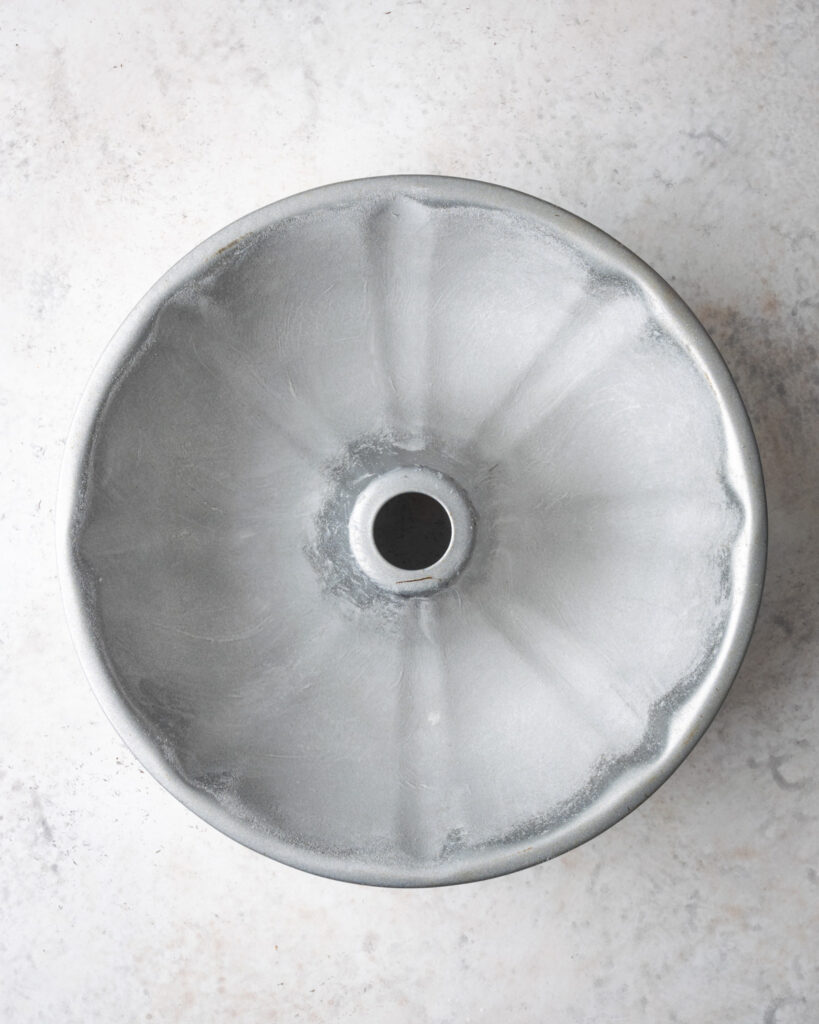
How to grease a bundt pan
For a simple bundt pan, you can easily grease and flour the pan as described above.
For pans with more intricate designs, use melted shortening. Melt a small amount of shortening in the microwave and brush it into all the crevices of the pan with a pastry brush. After the inside of the pan is coated with fat, place it into the freezer for about 15 minutes to set the shortening, otherwise the melted fat will all run to the bottom of the pan. After you remove the baking pan from the freezer, continue with flouring the pan.
Tips to get the perfect cake
Starting with a properly prepared cake pan is the best way to ensure a good outcome. But the process doesn't end once the cake is in the oven.
When to take a cake out of the pan
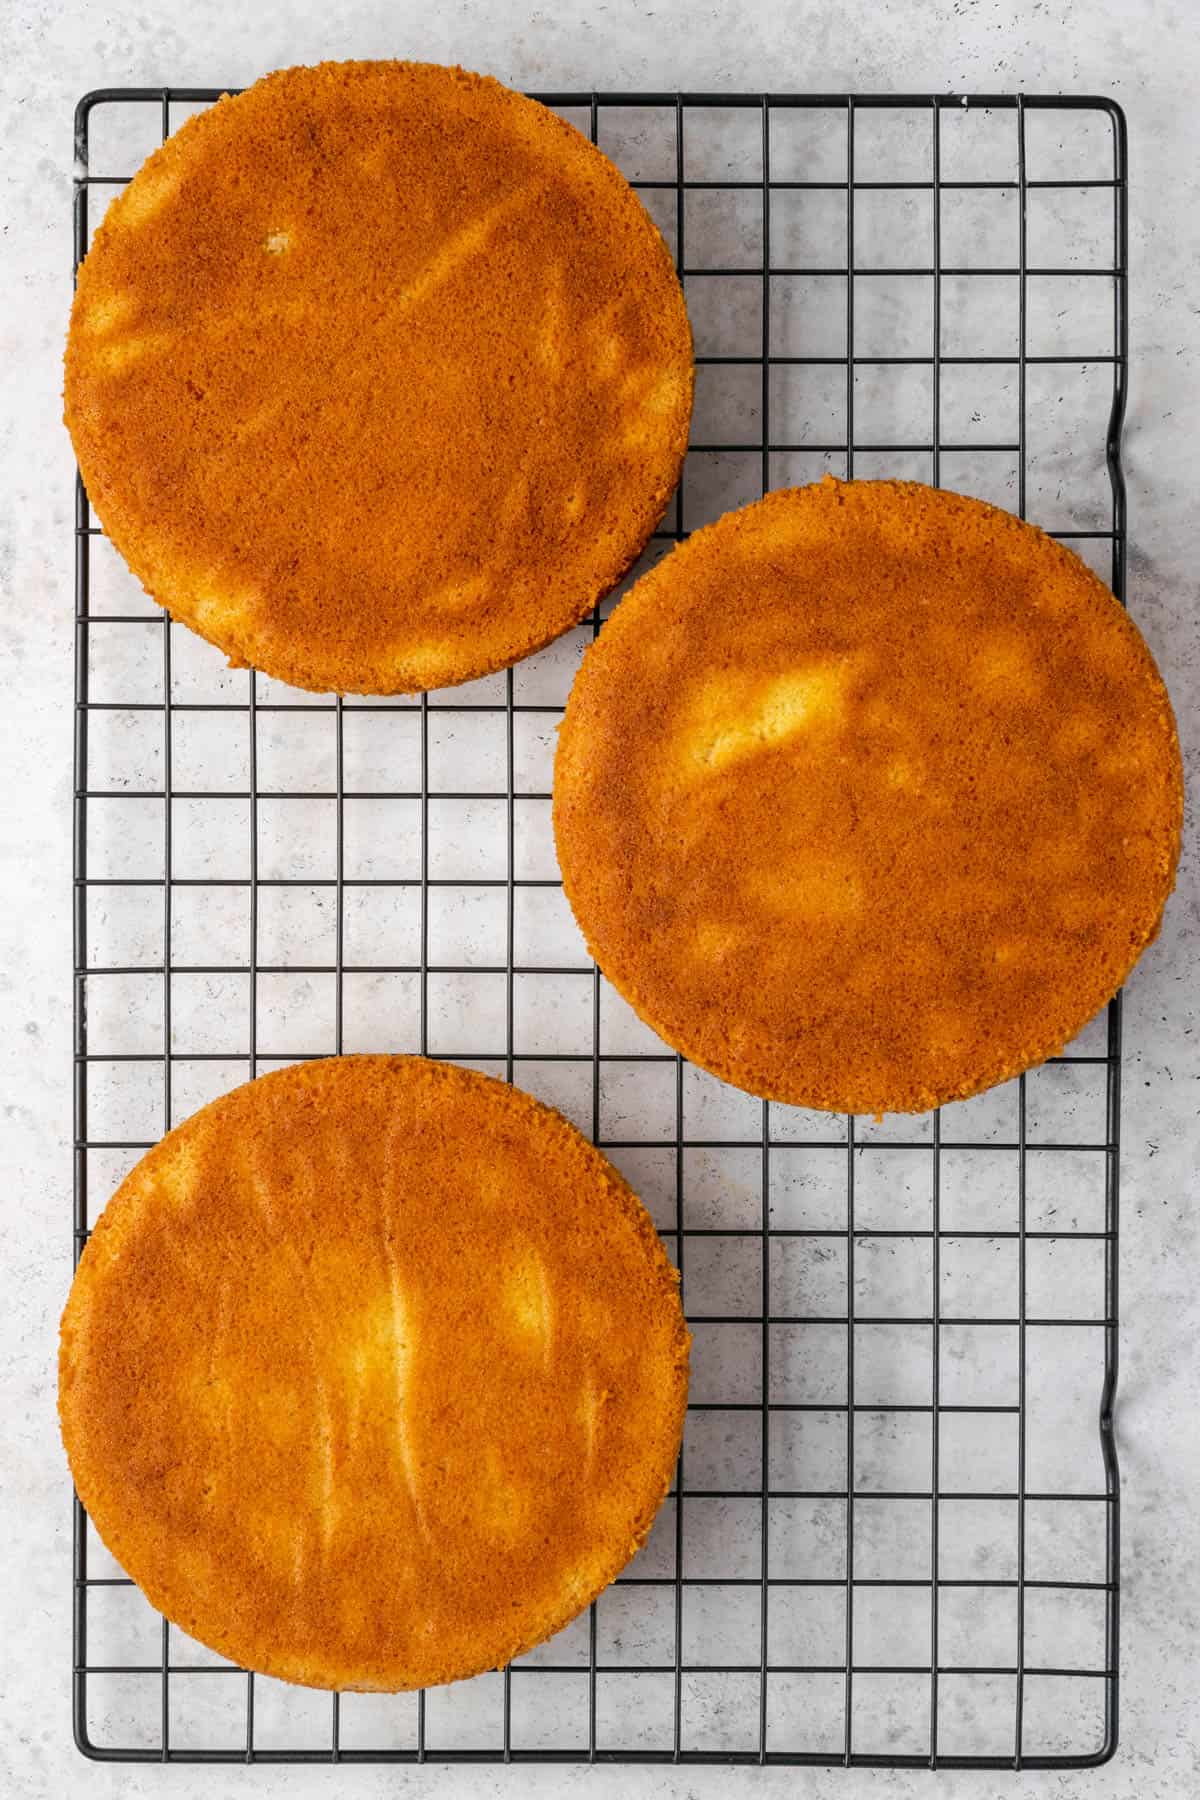
Once your cake is approaching the end of cook time, you should see the edges of the cake pulling away from the cake pan. This is great sign! Remove the cake from the oven and place it on a cooling rack, leaving it in the pan. The cake should cool in the pan for no longer than 15 minutes. Do not immediately try to remove the cake because it is fragile from the heat and will break.
How to get cake out of the pan
After 15 minutes, run a knife or spatula around the edges of the cake. If you're making a bundt, be sure to run the knife around the center post too!
Then place your wire rack on top of the pan. Wearing oven mitts (or a dish towel), grab both sides of the pan along with the wire rack and flip the cake over. It should fall right onto your rack. If it does, then you have achieved cake success!
How to get a stuck cake out of the pan
If your cake doesn't fall immediately, give a gentle jiggle to the pan. If it still doesn't fall, return it to the upright position. Leaving it upside down may make it fall eventually, but almost always leaves a chunk of cake behind.
Instead, still wearing oven mitts, pick up one side of your cake pan and tilt it at an angle. Gently bang the bottom edge of the pan on the counter. Rotate the pan and bang again. Once you've banged several times, try to flip it onto the wire rack again.
Once your cake is out of the pan, continue to cool the cake on the wire rack until it reaches room temperature. This usually takes about an hour.
FAQs
Is it better to grease a pan with butter or oil?
Do you grease the sides of a cake pan?
How do you grease a pan for brownies?
How do you grease a baking sheet?
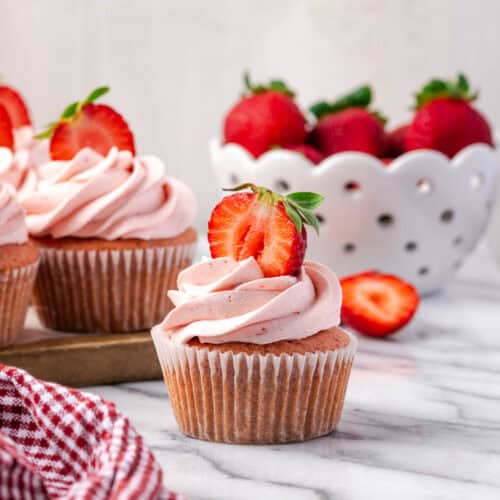
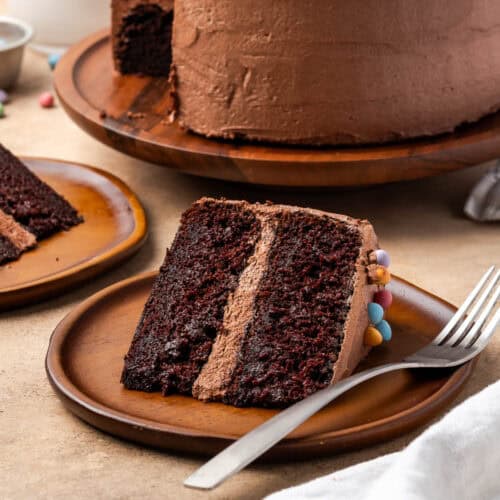
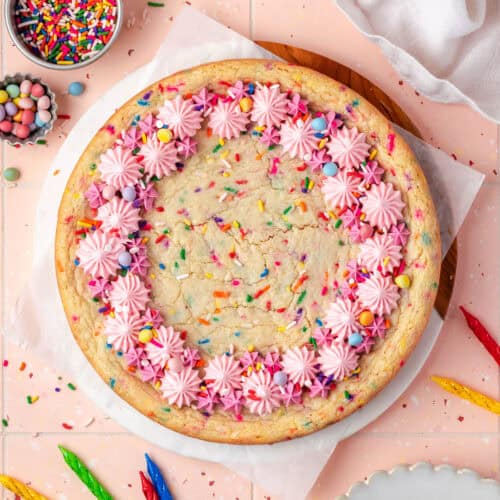
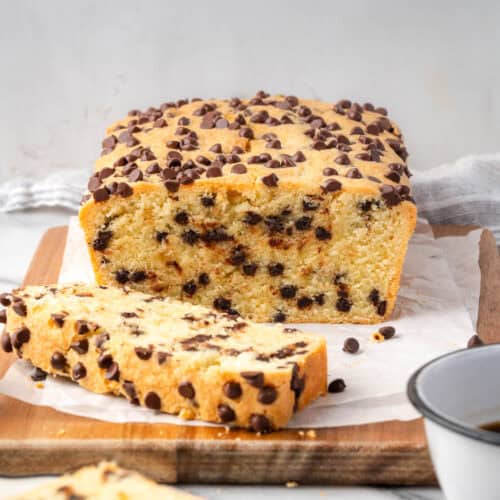
Here are some cake recipes to test your new skills:

Tiffany is the recipe developer, stylist and food photographer behind Well Fed Baker. As a lifelong baker who had to go gluten free and dairy free in 2016, Tiffany strives to share allergen friendly recipes that never feel like they are free from anything.
Jo Ann Walborn says
Hi,
Using parchment paper. You first grease the bottom and sides of the pan.Then add the parchment round in the bottom. Then do you grease the top of the parchment before adding the cake batter? Also, there is no need to line the sides of the pan with parchment...correct? Please advise.
Yes, you grease the bottom and sides then add the parchment round. It isn't really necessary to grease on top of the parchment, but I usually do rub it just to smooth out the paper. You do not need paper on the sides. Happy baking!