These gluten free thin mints are not just a close enough copycat, they taste just like the real thing. They are crunchy and coated in vegan chocolate with just the right amount of mint. Plus, making homemade Thin Mints means you can go for the highest quality ingredients, so they might even be a little better than the original.

This recipe makes about 65 homemade Thin Mints, so it is equivalent to 2 boxes of Girl Scout cookies. I'll let you decide for yourself whether there are enough to share. 😉
If you love vegan and gluten free cookies, you may also want to check out my gluten free pecan sandies recipe or my favorite carrot cake whoopie pies.
Jump to:
Why You'll Love These Thin Mints
- It uses everyday ingredients, so there are no weird preservatives inside.
- The recipe makes 2 boxes worth of cookies!
- They are gluten free and vegan, so everyone can enjoy them.
Are Girl Scout cookies Thin Mints gluten free?
Sadly, no. Every year, the Girl Scouts bring a little sugary joy to our lives with their annual cookie sale fundraiser. With lots of flavors, some now discontinued, everyone has their favorite. But it's no surprise to me that the #1 Girl Scout cookie is the Thin Mint. They have always been my number one with the Samoas (Caramel DeLites) coming in a close second.
I have been gluten free since 2016 so it's been at least that long since I've eaten a real life Girl Scout cookie. Even though the GSA has added a few gluten free flavors in recent years, I am a little surprised they haven't figured out a way to make their #1 selling Thin Mint gluten free. But who needs Girl Scouts when you have me?
Ingredient Notes
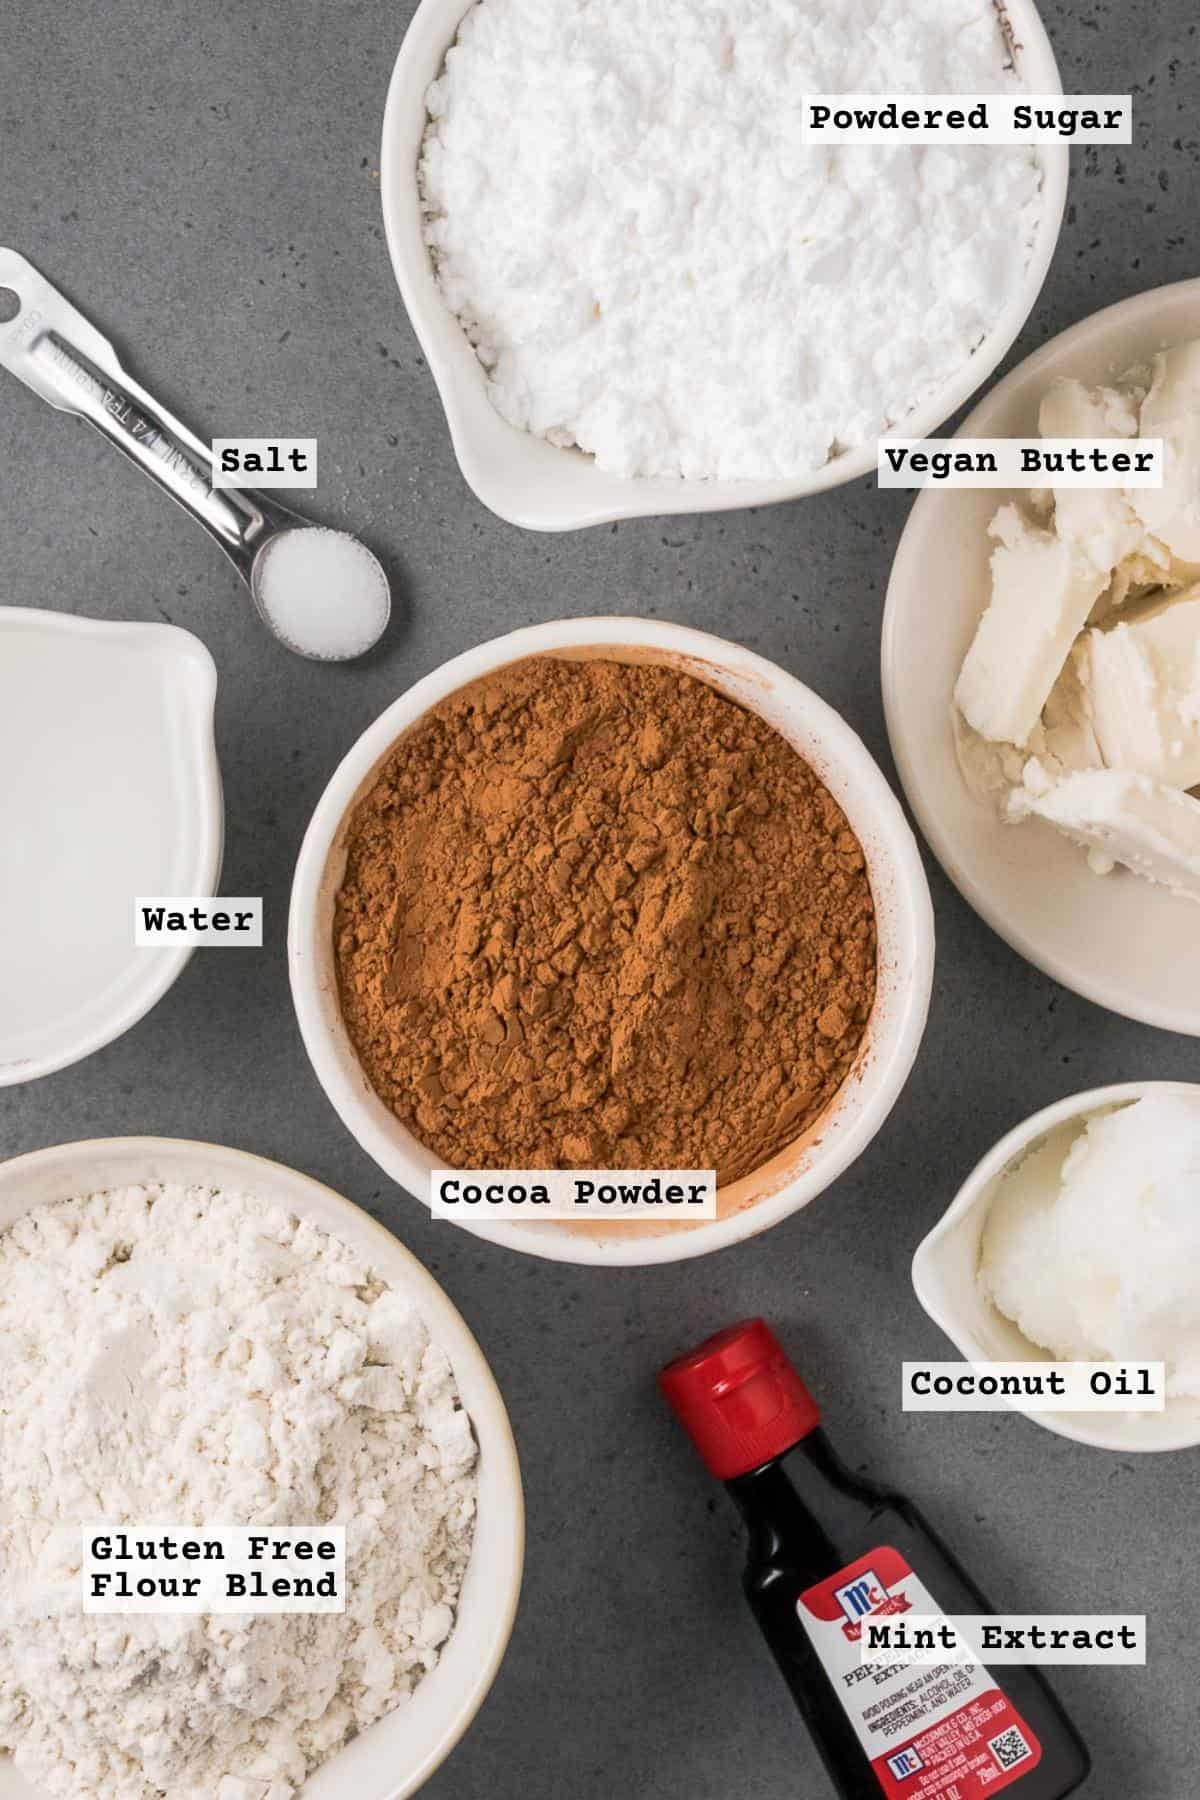
- Powdered Sugar - This makes the final cookie a little smoother in texture than granulated sugar. If you're following a vegan diet, make sure to use vegan powdered sugar.
- Vegan Butter - I use Miyokos brand or Country Crock Plant Butter in all of my recipes. You can use your favorite brand, but avoid margarine. If you're not vegan or dairy free, regular butter will work fine in the same measure.
- Coconut Oil - Use refined coconut oil so as to avoid a coconut taste in the cookies. I have also used all coconut oil in place of the butter and the recipe turned out great.
- Gluten Free 1-to-1 Flour Blend - I use Bob's Red Mill 1-to-1 flour blend in all of my recipes.
- Cocoa Powder - Typically I use Hershey's brand cocoa powder. It's naturally gluten free and easy to find in most stores.
- Salt
- Peppermint Extract - used in both the cookies and chocolate coating.
- Water
- Dark Chocolate - Go for a good quality dark chocolate that is both vegan and gluten free. I like Scharffenberger brand, which can sometimes be found at Target stores or can be ordered direct from the Scharffenberger website.
See recipe card for full list with measurements.

Substitutions & Variations
- Not Dairy Free - use regular butter in the same measure.
- No coconut oil - Replace the coconut oil with vegetable shortening.
How to make gluten free thin mints
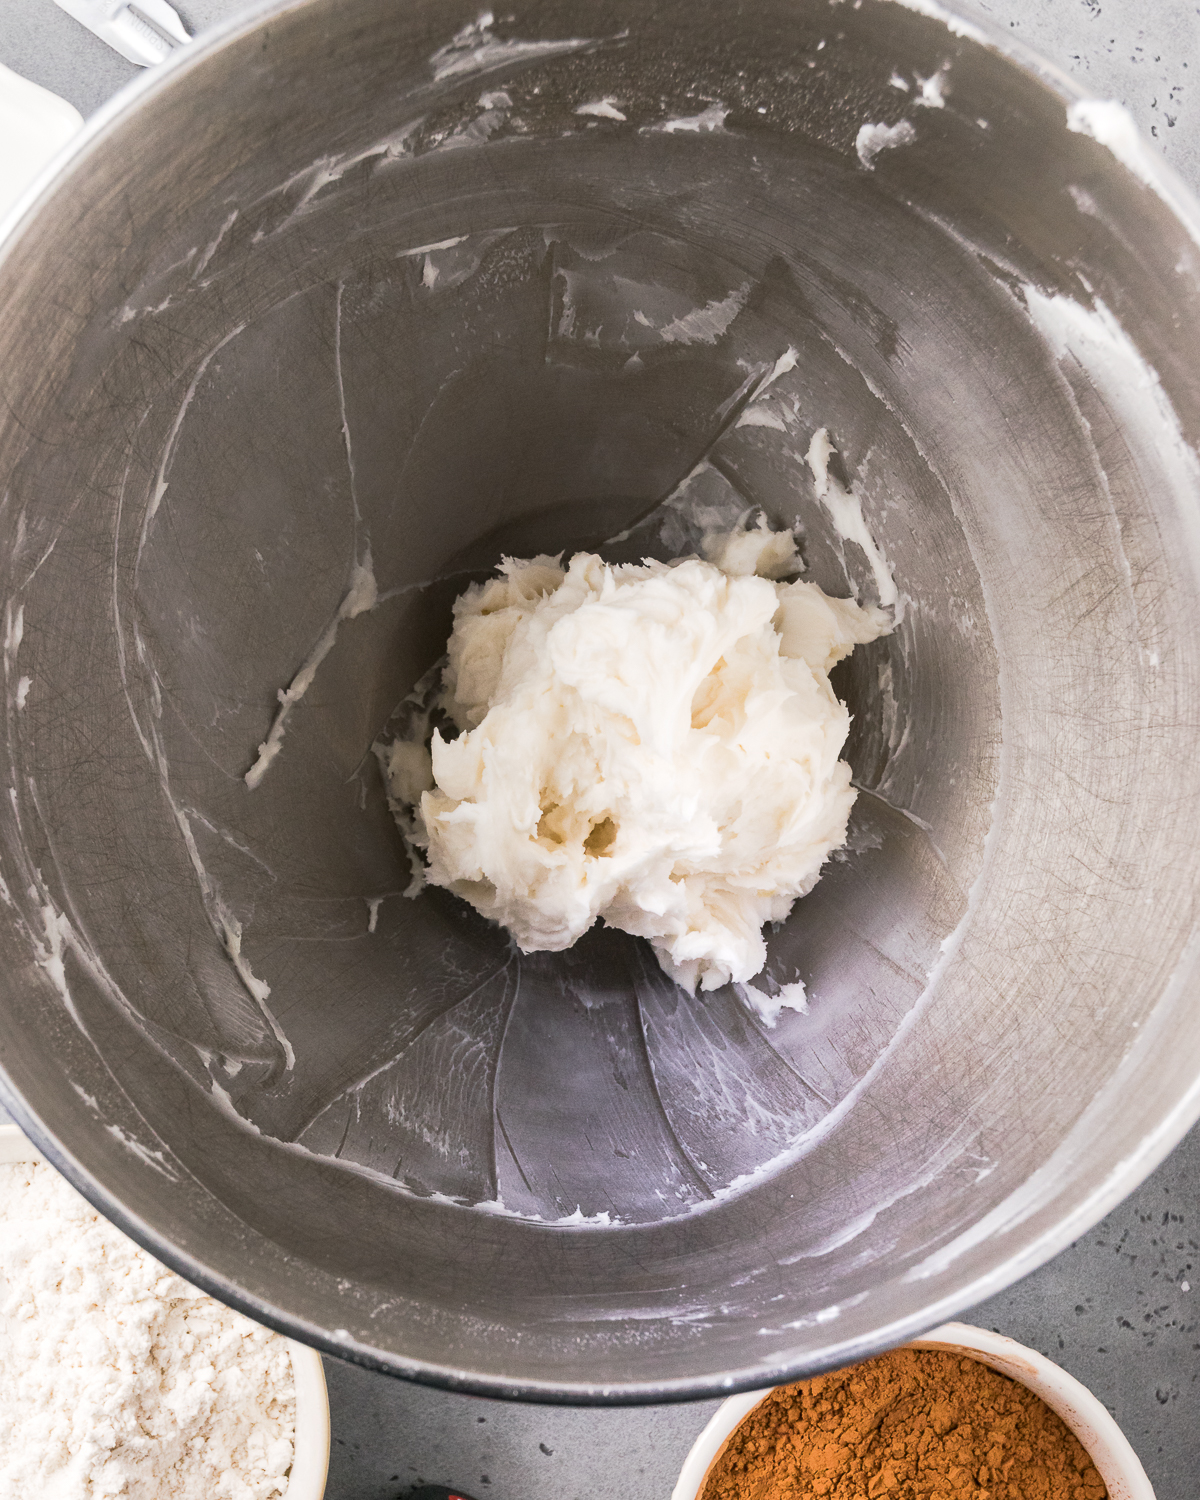
STEP 1: Cream together the butter, coconut oil and powdered sugar until smooth, about 3 minutes. Add the peppermint extract and mix about 30 seconds more.
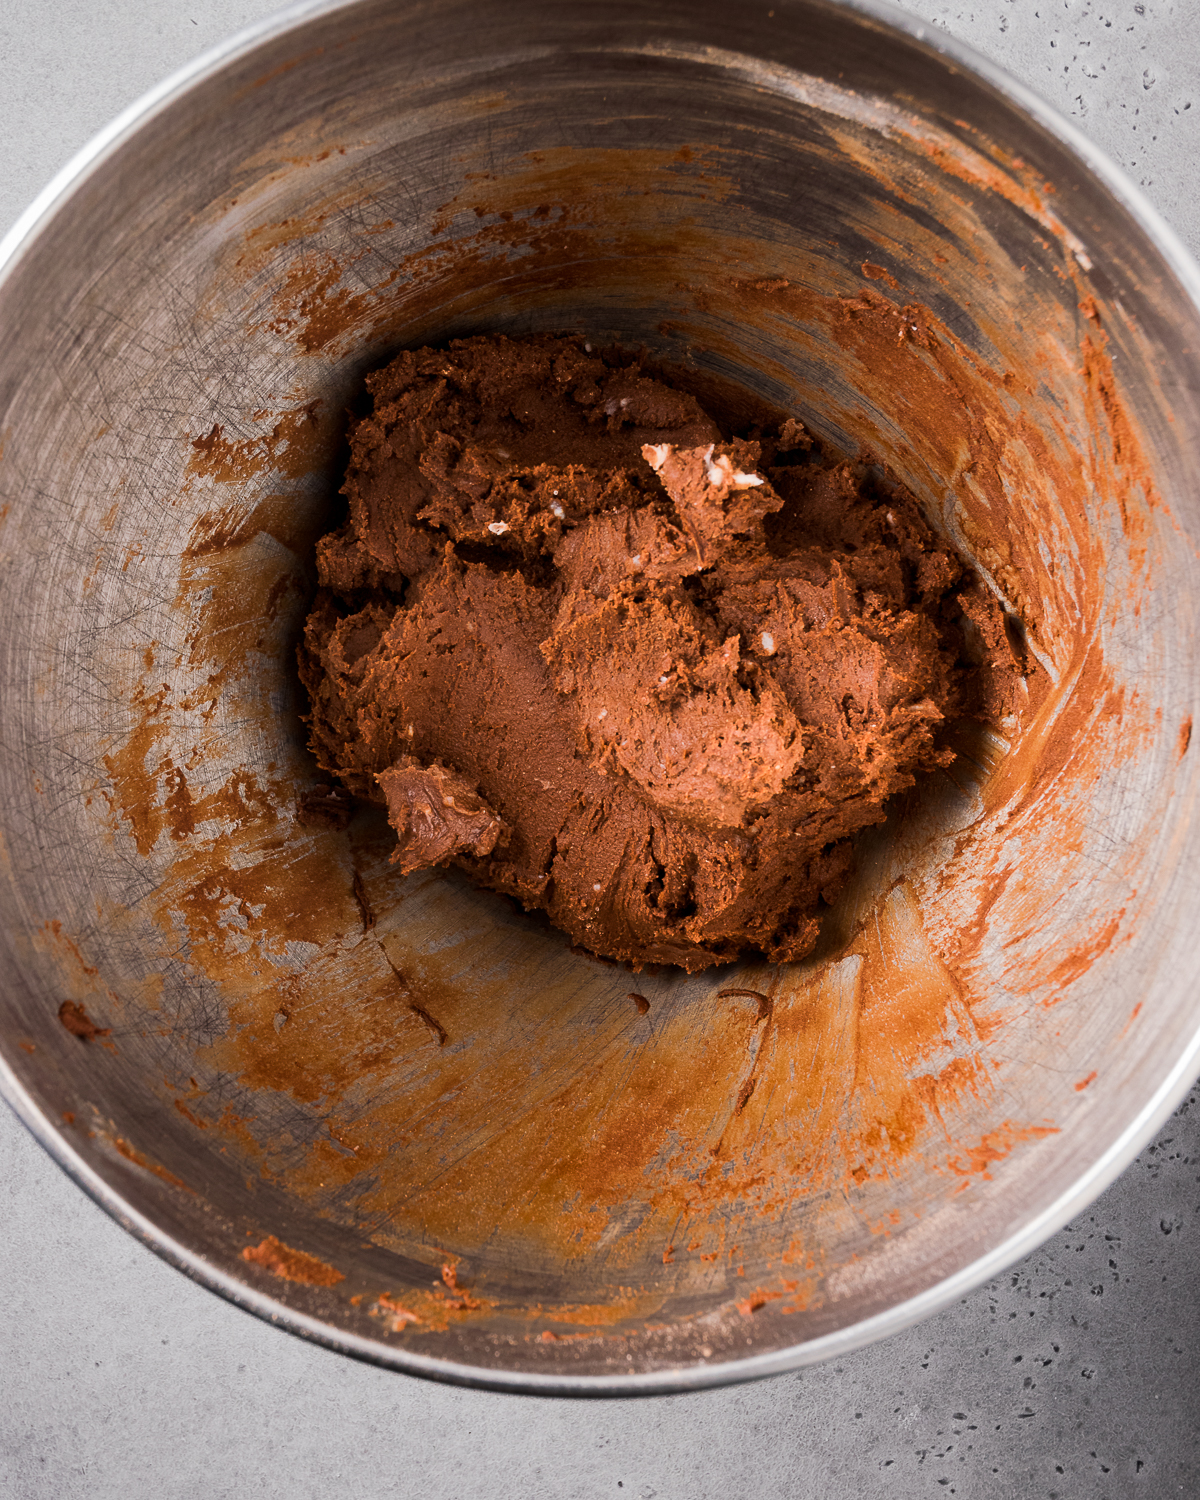
STEP 2: Combine all of your dry ingredients in a small bowl. Turn your mixer on the lowest setting and add about half of the dry ingredients and then half of the water. Stir until it's incorporated, then add the other half of the dry ingredients. Add the remaining water a little at a time until the dough just comes together. If it's too wet you will have trouble rolling it out.
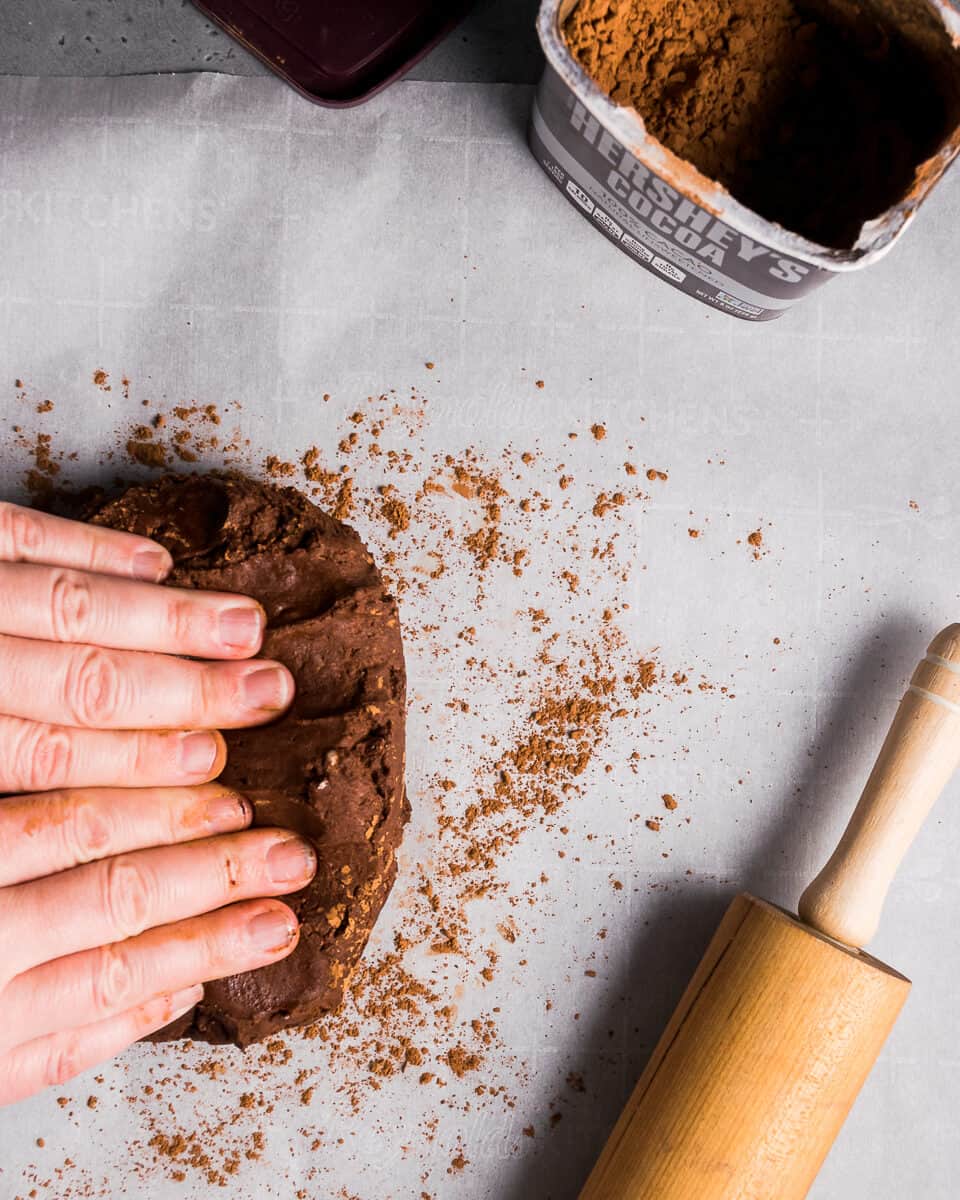
STEP 3: Once the dough has come together, lay out a piece of parchment paper and dust with about 2 teaspoons of cocoa powder. Knead the dough 4-6 times until it is smooth and not sticky.
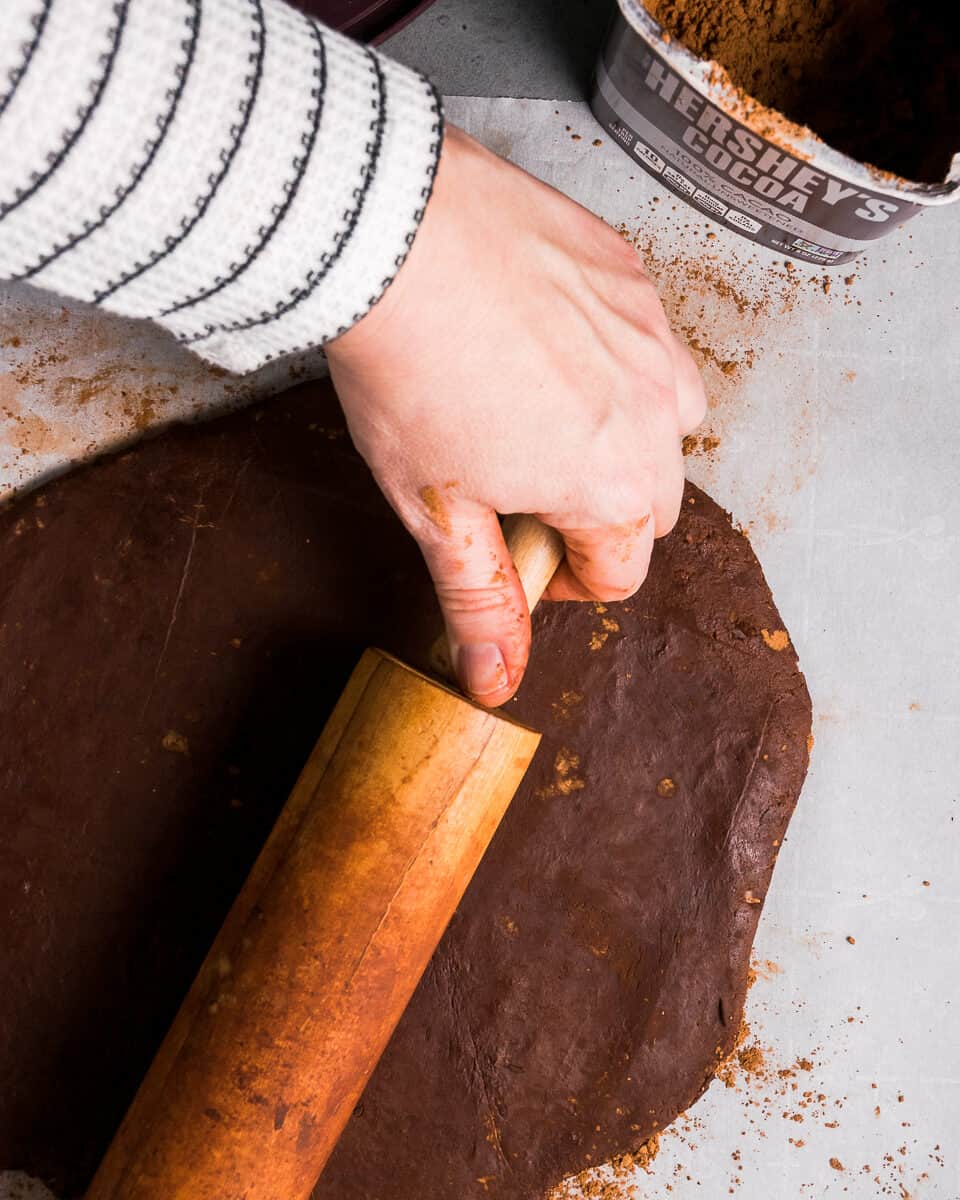
STEP 4: Dust your rolling pin with another teaspoon of cocoa powder. Roll the dough out until it's slightly less than ¼" thick.
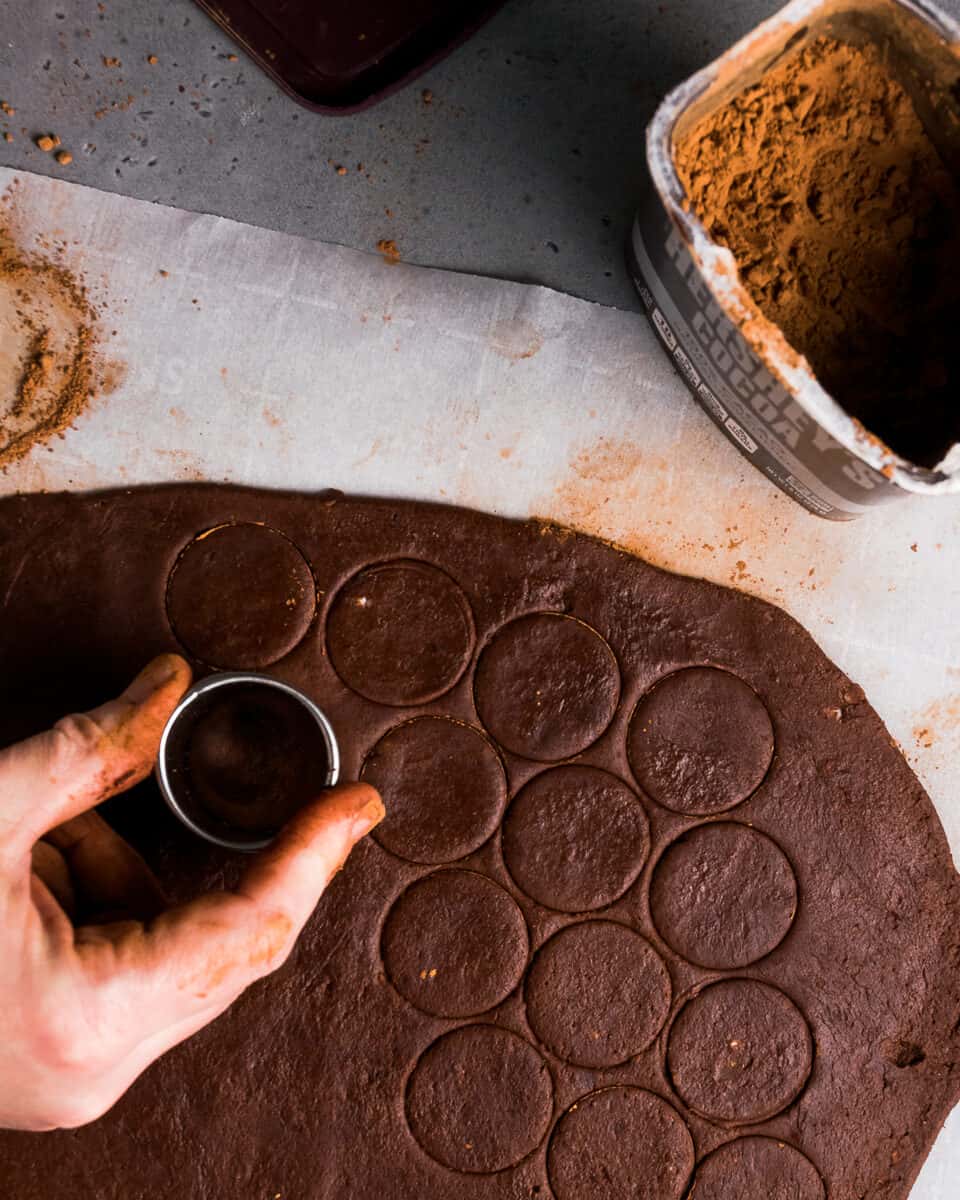
STEP 5: use a small circle cookie cutter ( 1 ¾") to cut out the cookies.
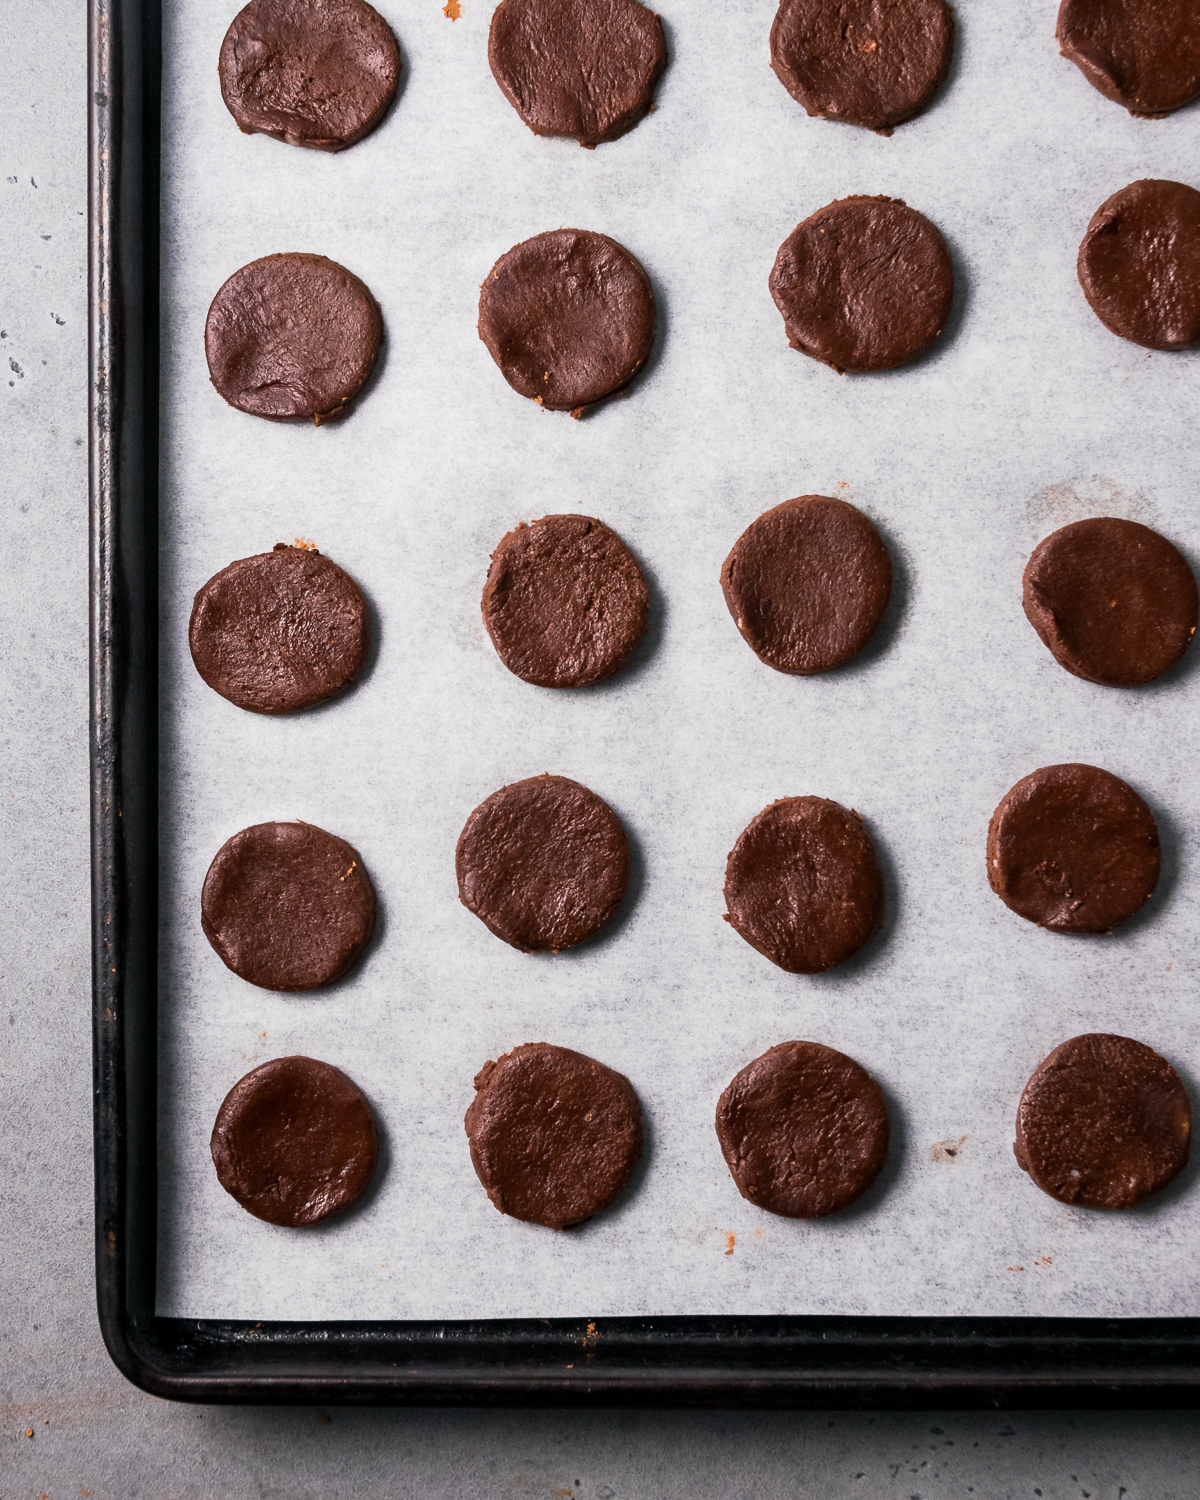
STEP 6: Place the cookie cut outs onto your prepared baking sheet. You only need to leave about ½" space between each cookie because they won't spread. Then bake!
How to coat the cookies in chocolate
Once the cookies have been removed from the oven, they need to cool on the cookie sheet for 10 minutes. This will make them have that extra crunch that Thin Mints are known for. Then you need to cool them completely before coating in chocolate.

- Melt your chocolate in a double boiler over medium heat. If you don't have a double boiler, you can also melt in the microwave at 50% power. Start with 2 minutes, then stir, and do 1 additional minute at a time stirring between each cycle.
- Stir in the coconut oil and peppermint extract and then you're ready to coat the cookies.
- Prepare a baking sheet lined with wax paper to one side of your work station. Choose a baking sheet that will fit inside your refrigerator, this will be important later.
- Drop one cookie at a time into your melted chocolate, flip it over making sure to coat the whole cookie. Lift it out (I use a fork) and tap the fork on the side of the bowl about 6-8 taps to let the excess chocolate drip off.
- Place the coated cookie on the baking sheet. Continue until you've coated all the cookies.
- Refrigerate the entire baking sheet to set the chocolate, it should only take about 20 minutes.

How to store homemade thin mints
If you're planning to eat these thin mint cookies right away, store them in an airtight container in the refrigerator. They will last about a week.
Or if you prefer, you can store them in the freezer. Personally, I think they are absolutely better straight from the freezer. The freezer seems to preserve the extra crunch that makes them divine. Since the chocolate coating is thin, it won't get too hard to bite through while frozen. They should last about 3 months in the freezer, that is if you don't eat them all in one sitting.
More copycat recipes to try:
If you try this recipe, please leave a 🌟🌟🌟🌟🌟 star rating and let me know how you liked it in the comments below.
Recipe

Copycat Gluten Free Thin Mints
Ingredients
For the cookies
- 1 Cup Powdered Sugar sifted
- ½ Cup Vegan Butter room temperature
- 2 Tablespoon Coconut Oil room temperature
- 1 teaspoon Peppermint Extract
- 1 ¼ Cup Gluten Free 1-to-1 Flour Blend I use Bob’s Red Mill
- ¾ Cup Unsweetened Cocoa Powder sifted
- ¼ teaspoon Salt
- 6 Tablespoon Water
For the chocolate coating
- 10 ounces Dark Chocolate chopped
- ½ teaspoon Peppermint Extract
- 1 Tablespoon Coconut Oil
Instructions
For the cookies
- Preheat oven to 350 degrees. Line 2 baking sheets with parchment paper.
- In the bowl of an electric mixer, combine butter and coconut oil. Beat on medium speed for 2-3 minutes, until well combined. Add the peppermint extract and beat another 30 seconds to combine.½ Cup Vegan Butter, 2 Tablespoon Coconut Oil, 1 teaspoon Peppermint Extract
- In a small bowl, combine the powdered sugar, gluten free flour, cocoa powder and salt. Stir together.1 Cup Powdered Sugar, 1 ¼ Cup Gluten Free 1-to-1 Flour Blend, ¾ Cup Unsweetened Cocoa Powder, ¼ teaspoon Salt
- Turn the mixer on the lowest setting and slowly add a bit of the flour mixture and then a little water, 2 tablespoon at a time. Continue alternating adding the flour and water until all the flour is added. Hold the last 2 tablespoon of water out until you can see if the dough has come together in a ball. If it is still to dry, add the remaining water.6 Tablespoon Water
- Lay out a piece of parchment paper and dust with cocoa powder. Turn out the dough. Knead it just 4-6 times to get it all worked together. Dust your rolling pin with cocoa powder and roll dough out to about ¼” thick (you can go a bit thinner if you like). Cut the dough out with a 1 ¾” round cutter.
- Place the dough circles on the prepared baking sheets. You can leave about ½” inch between the circles, they will not spread.
- Bake in preheated oven for 13 minutes. Cool on the baking sheet for 10 minutes, then remove to a wire rack. Cool completely before coating.
For the chocolate coating
- Place the chocolate in a double boiler. Heat, stirring frequently, until melted. Add in the coconut oil and peppermint extract and stir until combined.10 ounces Dark Chocolate, ½ teaspoon Peppermint Extract, 1 Tablespoon Coconut Oil
- Dunk each cookie in the melted chocolate. Use a fork to remove the cookie from the chocolate and tap the excess off until no more drips away (probably 6-8 taps each cookies). Place onto a baking sheet lined with wax paper.
- Once you’ve completed all the dipping, place the baking sheet into the refrigerator to set the chocolate. If you want to make the stripe design on top, drizzle the remaining chocolate over the top after the first coat has set. Refrigerate again to set the stripe.
Notes

Tiffany is the recipe developer, stylist and food photographer behind Well Fed Baker. As a lifelong baker who had to go gluten free and dairy free in 2016, Tiffany strives to share allergen friendly recipes that never feel like they are free from anything.



Leave a Comment