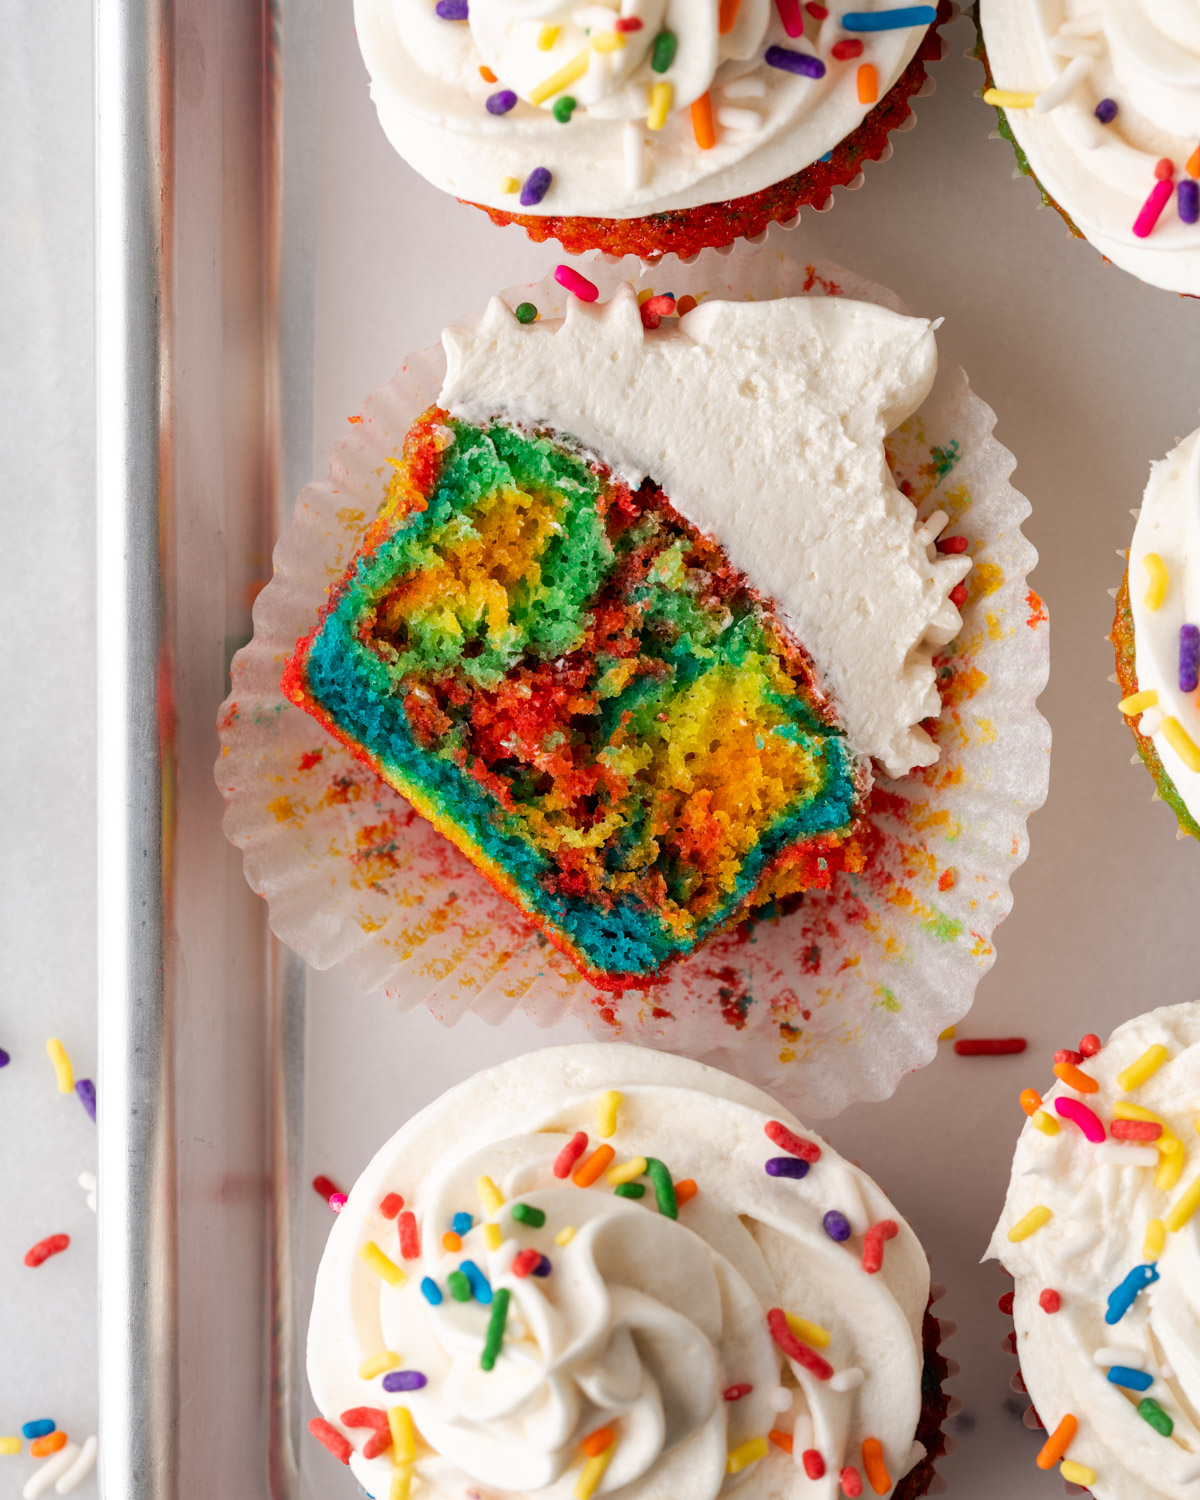
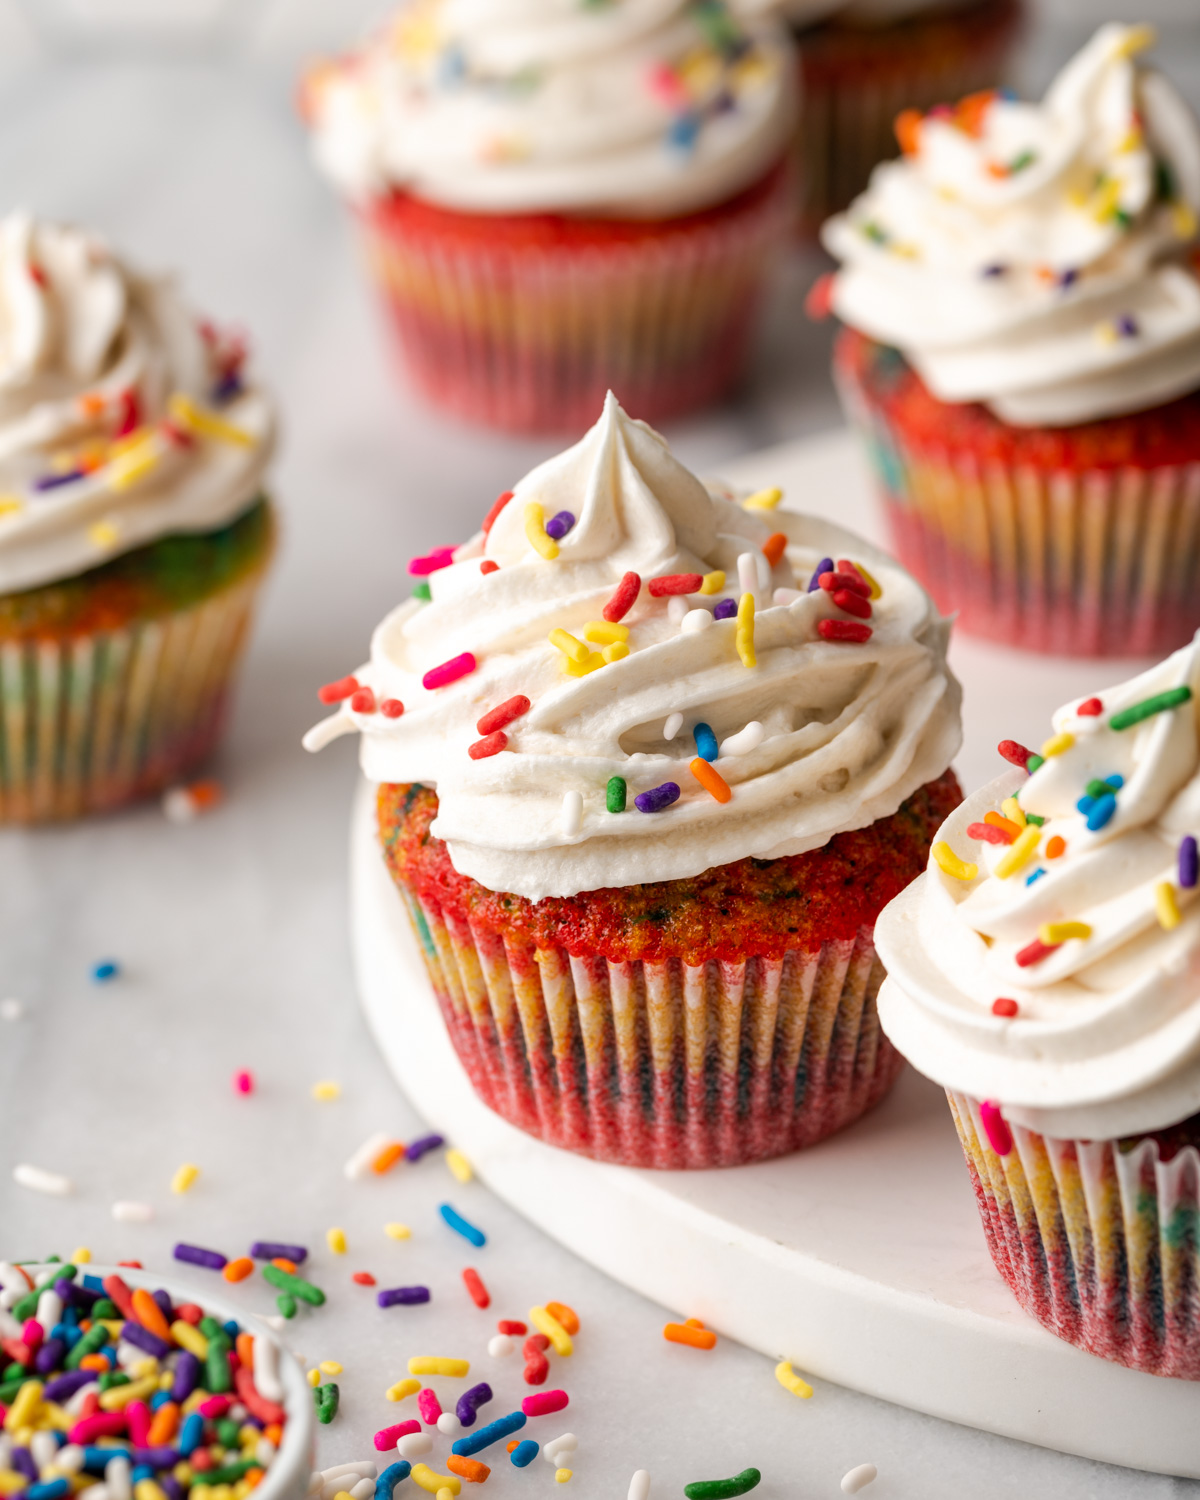
Want to bring a little extra fun to your next celebration? How about making a batch of rainbow tie dye cupcakes.
Everyone will delight in biting into these multicolor cupcakes topped with buttercream frosting. You'll be amazed how each cake turns out a little differently, just like tie-dye fabric. With these easy instructions you can turn any homemade or store bought cake batter into a tie-dye cake.
Plus I've included the recipe for my vanilla frosted gluten free cupcakes at the bottom of the post. Enjoy!
Jump to:
Why You'll Love These Tie Dye Cupcakes
- They are easy to make and customize to any color palette you like.
- Perfect for birthday parties!
- Can be made from scratch or using a store bought cake mix.
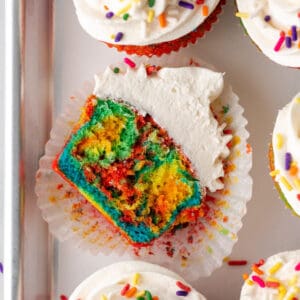
- Each one turns out differently, just like real tie dye.
Ingredients
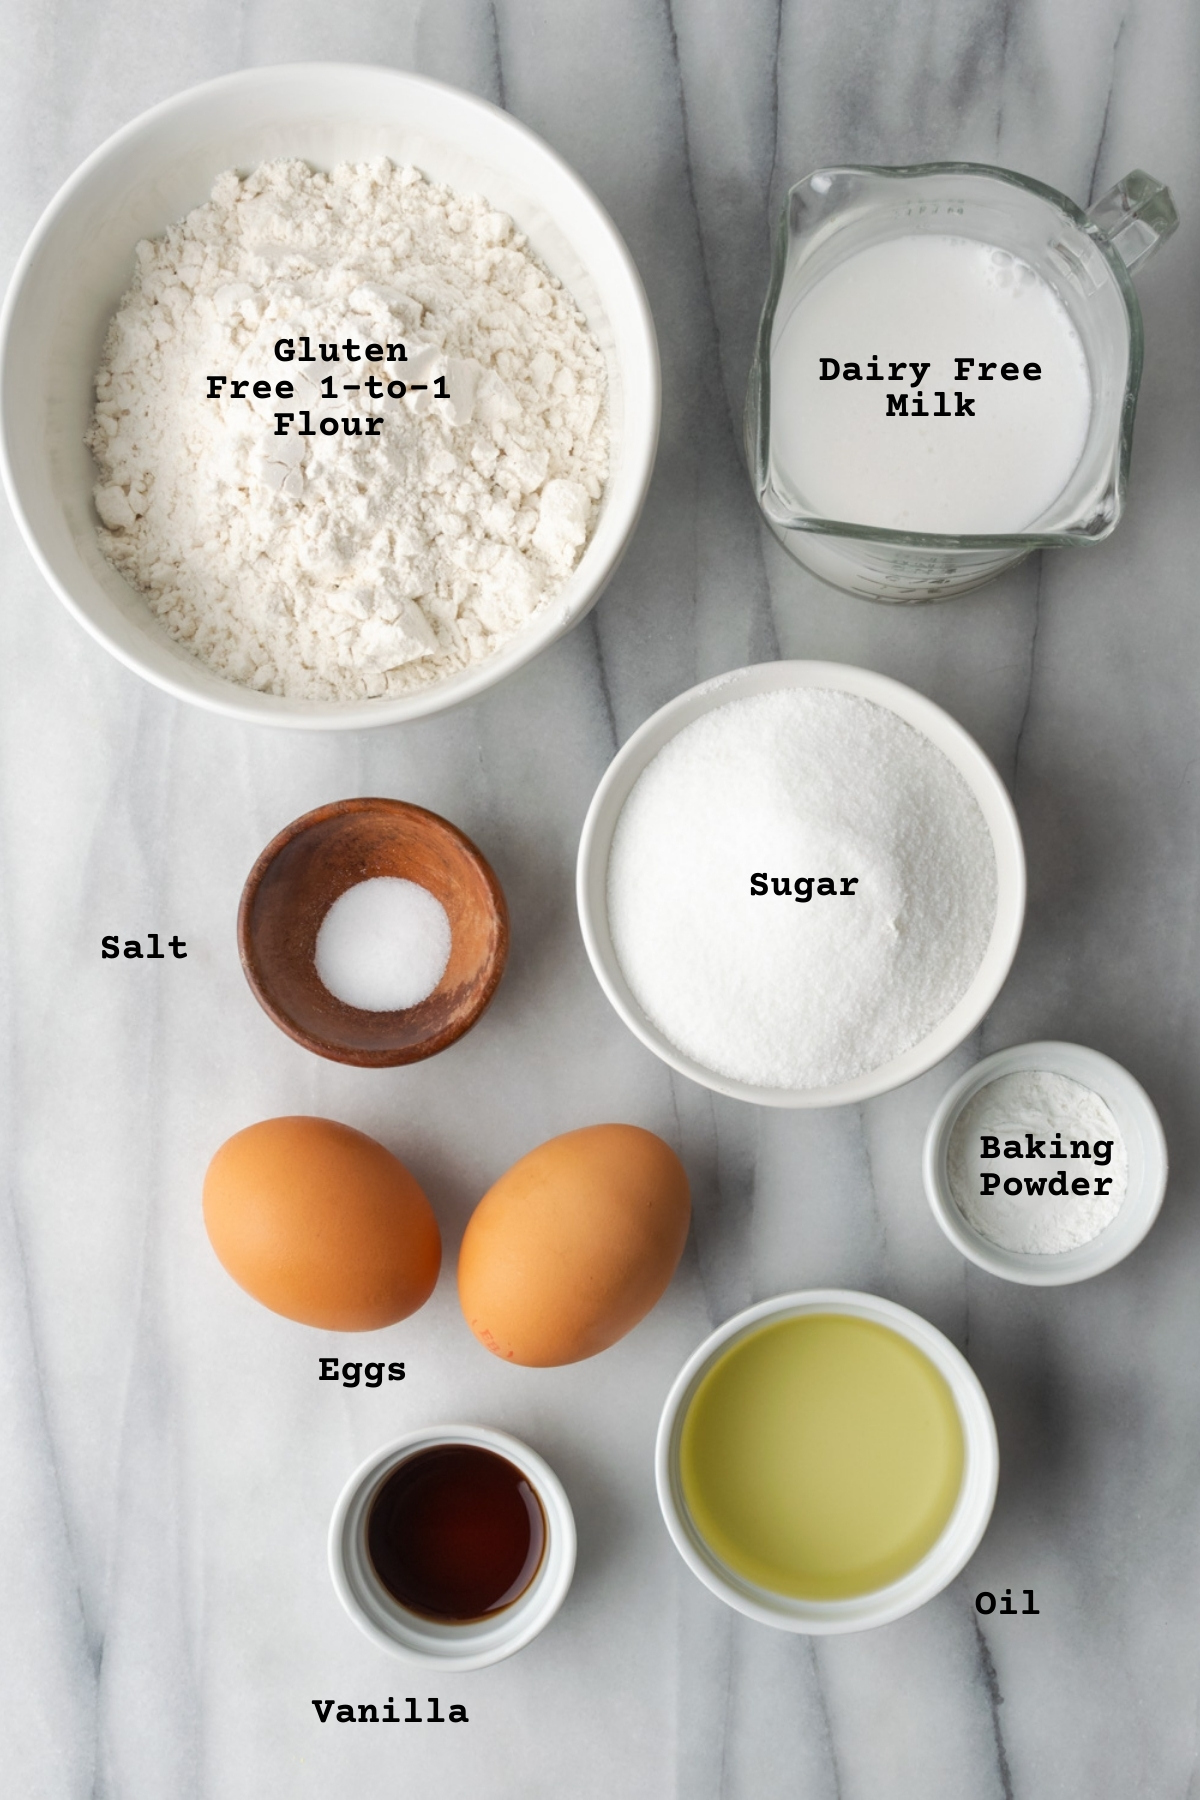
For the cupcakes in the photo I used my gluten free and dairy free vanilla cupcake base.
- Gluten Free Flour - I use Bob's Red Millk 1-to-1 flour blend in my recipes. It is great for cookies, cakes and quickbreads. You can use your favorite blend, but be sure it includes xanthan gum. Measure your flour by weight for the best results.
- Sugar - Just plain white sugar to sweeten the cakes.
- Baking Powder - This helps with the rise, to make the cakes soft and fluffy.
- Salt - Just a little to balance the sweetness.
- Eggs - To provide structure and moisture to the cakes.
- Oil - I use olive oil in my baking, but any light flavored cooking oil can be substituted.
- Non-Dairy Milk - I have used unsweetened coconut milk in this recipe. Any non-dairy or regular milk will work.
- Vanilla - This is key for the vanilla flavor. Use a good quality vanilla since it's the star of the recipe.
- For the frosting:
- Vegan Butter - I use either unsalted Miyokos Vegan Butter or Country Crock Plant Butter for my buttercream. You can use another vegan butter or regular butter if you're not dairy free. Do not use a spreadable butter or margarine.
- Powdered Sugar
- Non-Dairy Milk
- Vanilla
How to make a tie dye cake
- Mix up your cake batter.
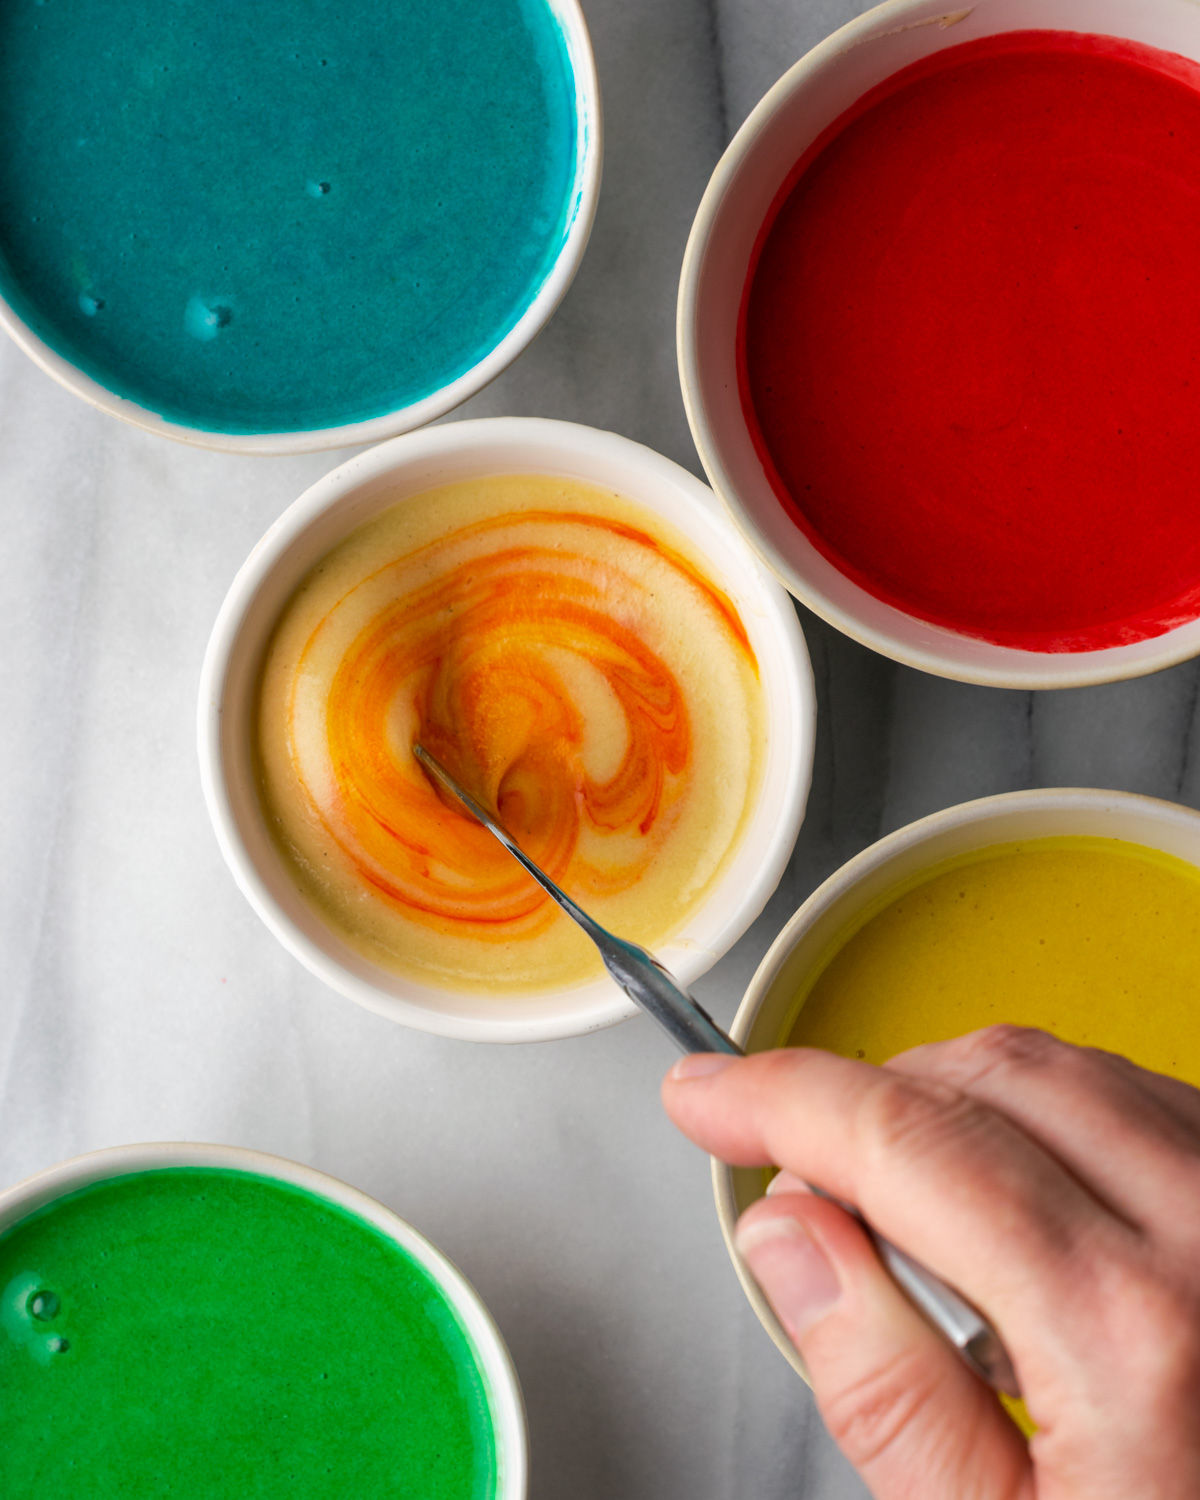
- Divide the batter evenly into small bowls. For the recipe below, which makes 12 cupcakes, I scooped ⅔ cup of batter into five separate bowls. If you're making a 24 cupcake batch, you'll need 1 ⅓ cup of batter per bowl.
- Add 2-3 generous drops of gel food coloring to each bowl. Stir until the color is even.
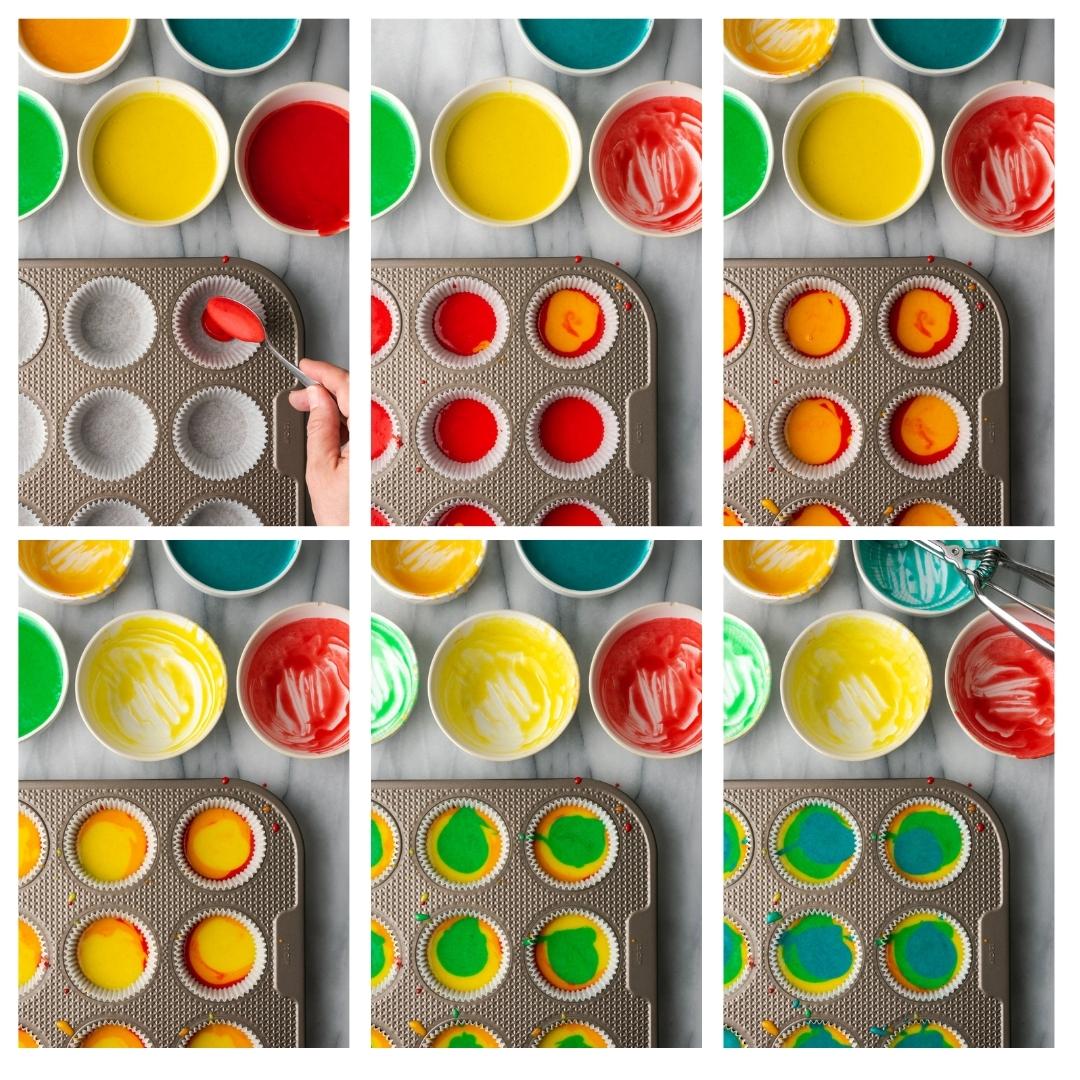
- Scoop the batter one spoonful at a time into your cupcake liners. You can add the colors in any order you wish.
- For cupcakes, I found there was no need to swirl the batter. If you make a tie dye cake, you will want to run your knife or toothpick around the pan to mingle the colors a little.
- Bake and decorate!

Tips for success
- Use yellow or white cake for the most vibrant color.
- Do not use more than 5 colors. 4-5 is the sweet spot if you want it to look tie dyed.
- Use gel food coloring. The liquid food coloring sold at most grocery stores will require a lot to get a good color and that will affect the texture of your cake.
- Use a mini cookie scoop or measuring spoon to get even amounts of batter in each color.
How to Make Dairy Free Vanilla Buttercream Frosting
To get the lightest, fluffiest buttercream you will need to use an electric mixer.
- First, cut your vegan butter into cubes and place it into a large mixing bowl. Beat the butter until it's smooth and creamy.
- Then sift your powdered sugar into the bowl.
- Turn the mixer on a low setting and mix until it turns into a thick paste. Do not mix on high or you will spray sugar everywhere. 🙂
- Add the dairy free milk and the vanilla.
- Finally, begin mixing about medium speed. Once all the liquid from the milk has been incorporated, turn the mixer to high and beat about 4-5 minutes.
The frosting will have increased a lot in volume and will be very light, almost white in color.
You can frost your cupcakes immediately or cover the bowl with plastic wrap and place it in the refrigerator until ready to use.
Recipe FAQs
Gently poke the top center of your cupcake. If the top springs back then it is cooked through. If it leaves an indentation, then cook for another 2 minutes and check again. Repeat until ready.
Absolutely. Because of the baking powder, you cannot really mix them up and bake them later. But you can definitely bake them before you need them.
If it’s just a day or two, they will be fine to store in an airtight container or wrapped in plastic wrap in the refrigerator.
If it’s longer than that, wrap each cupcake individually in plastic wrap and place in a freezer bag. Store in the freezer up to 3 months. Bring to room temperature before serving.
Yes, it works great and provides the perfect single serving treat when you have a sweet tooth.
Just freeze the cupcakes until solid, 4-8 hours. Then individually wrap each cupcake in plastic wrap and place in the freezer container or storage bag. Freeze up to 3 months. Thaw before eating.
Sure thing! If you want to make your frosting ahead of time, freeze it in an airtight container. Thaw in the refrigerator overnight. Then give it a quick beating with the mixer to fluff it up back to the original state.
More celebration cakes to consider:
If you try this recipe, please leave a 🌟🌟🌟🌟🌟 star rating and let me know how you liked it in the comments below.
Recipe
Tie Dye Cupcakes
Ingredients
For the cupcakes
- 1 ⅓ Cup Gluten Free 1-to-1 Flour Blend I use Bob's Red Mill
- 1 Cup Sugar
- 2 teaspoon Baking Powder
- ½ teaspoon Salt
- 2 Eggs room temperature
- 6 Tablespoon Olive Oil or other light flavored oil
- ⅔ Cup Non Dairy Milk
- 2 teaspoon Vanilla
- Gel Food Coloring
For the vanilla buttercream
- ¾ Cup Vegan Butter
- 3 Cup Powdered Sugar sifted
- 1 Tablespoon Non Dairy Milk
- 2 teaspoon Vanilla
- Rainbow Sprinkles
Instructions
For the cupcakes
- Preheat your oven to 350 degrees. Line a 12 cupcake pan with paper liners.
- Add the flour, sugar, baking powder and salt to a large bowl. Whisk together until well combined.1 ⅓ Cup Gluten Free 1-to-1 Flour Blend, 1 Cup Sugar, 2 teaspoon Baking Powder, ½ teaspoon Salt
- Add the eggs, oil, milk and vanilla. Whisk until smooth.2 Eggs, 6 Tablespoon Olive Oil, ⅔ Cup Non Dairy Milk, 2 teaspoon Vanilla
- Portion the batter into smaller bowls. If you're using 5 colors, then you need about ⅔ cup of batter in each bowl.
- Add 2-3 drops of gel food coloring to each bowl. Stir until it's evenly mixed.Gel Food Coloring
- Divide the batter amongst the 12 cups using a spoon or a measuring spoon.
- Bake in preheated oven for 20-22 minutes, until tops spring back when gently poked.
- Remove from oven and cool for 10 minutes in the pan. The remove from the pan to a wire cooling rack to cool for at least one hour before frosting.
For the buttercream frosting
- Cut the vegan butter into cubes and place it into the bowl of an electric mixer. Beat on medium speed until the butter is soft and smooth. Scrape down the bowl.¾ Cup Vegan Butter
- Add the sifted powdered sugar and beat on the lowest speed until incorporated. It will look like thick paste.3 Cup Powdered Sugar
- Add the vanilla and milk. Beat on medium-low speed until the milk is incorporated. Then turn the mixer to high speed and beat for 4-5 minutes. The buttercream should be very light in color and have increased in volume.1 Tablespoon Non Dairy Milk, 2 teaspoon Vanilla
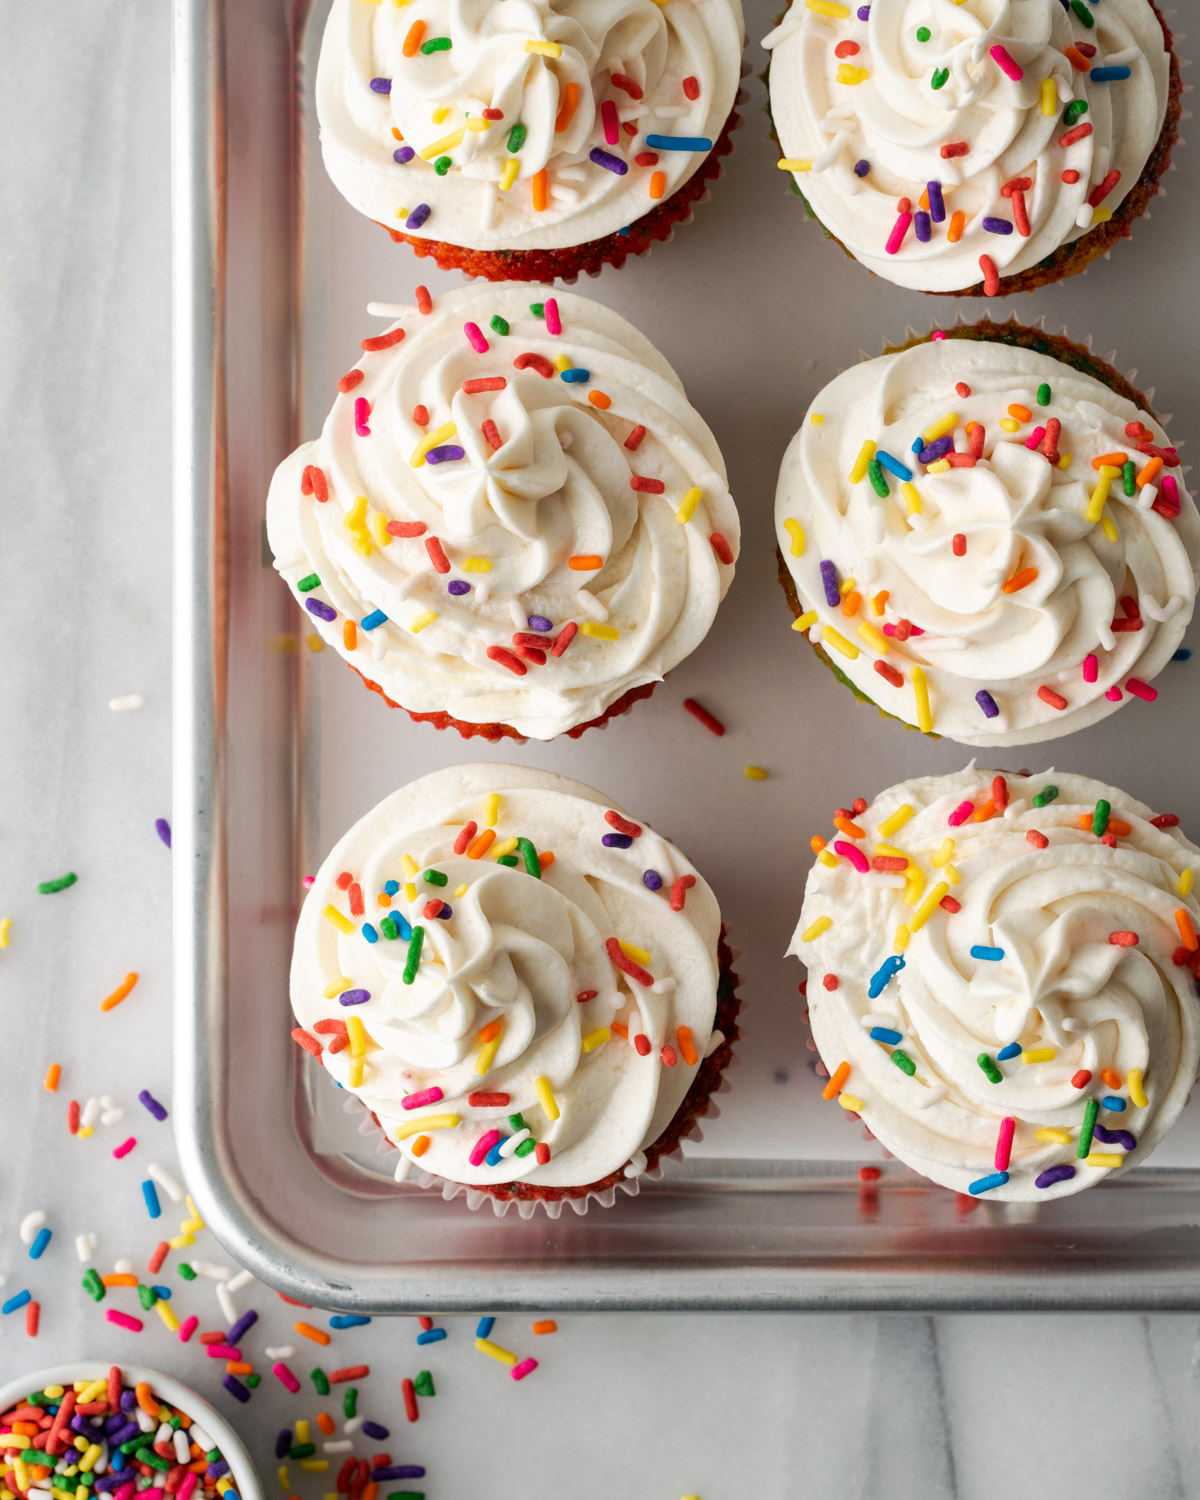
- Move to a piping bag to decorate the cupcakes or apply with a spatula. Top with rainbow sprinkles.Rainbow Sprinkles
Notes

Tiffany is the recipe developer, stylist and food photographer behind Well Fed Baker. As a lifelong baker who had to go gluten free and dairy free in 2016, Tiffany strives to share allergen friendly recipes that never feel like they are free from anything.

Leave a Comment