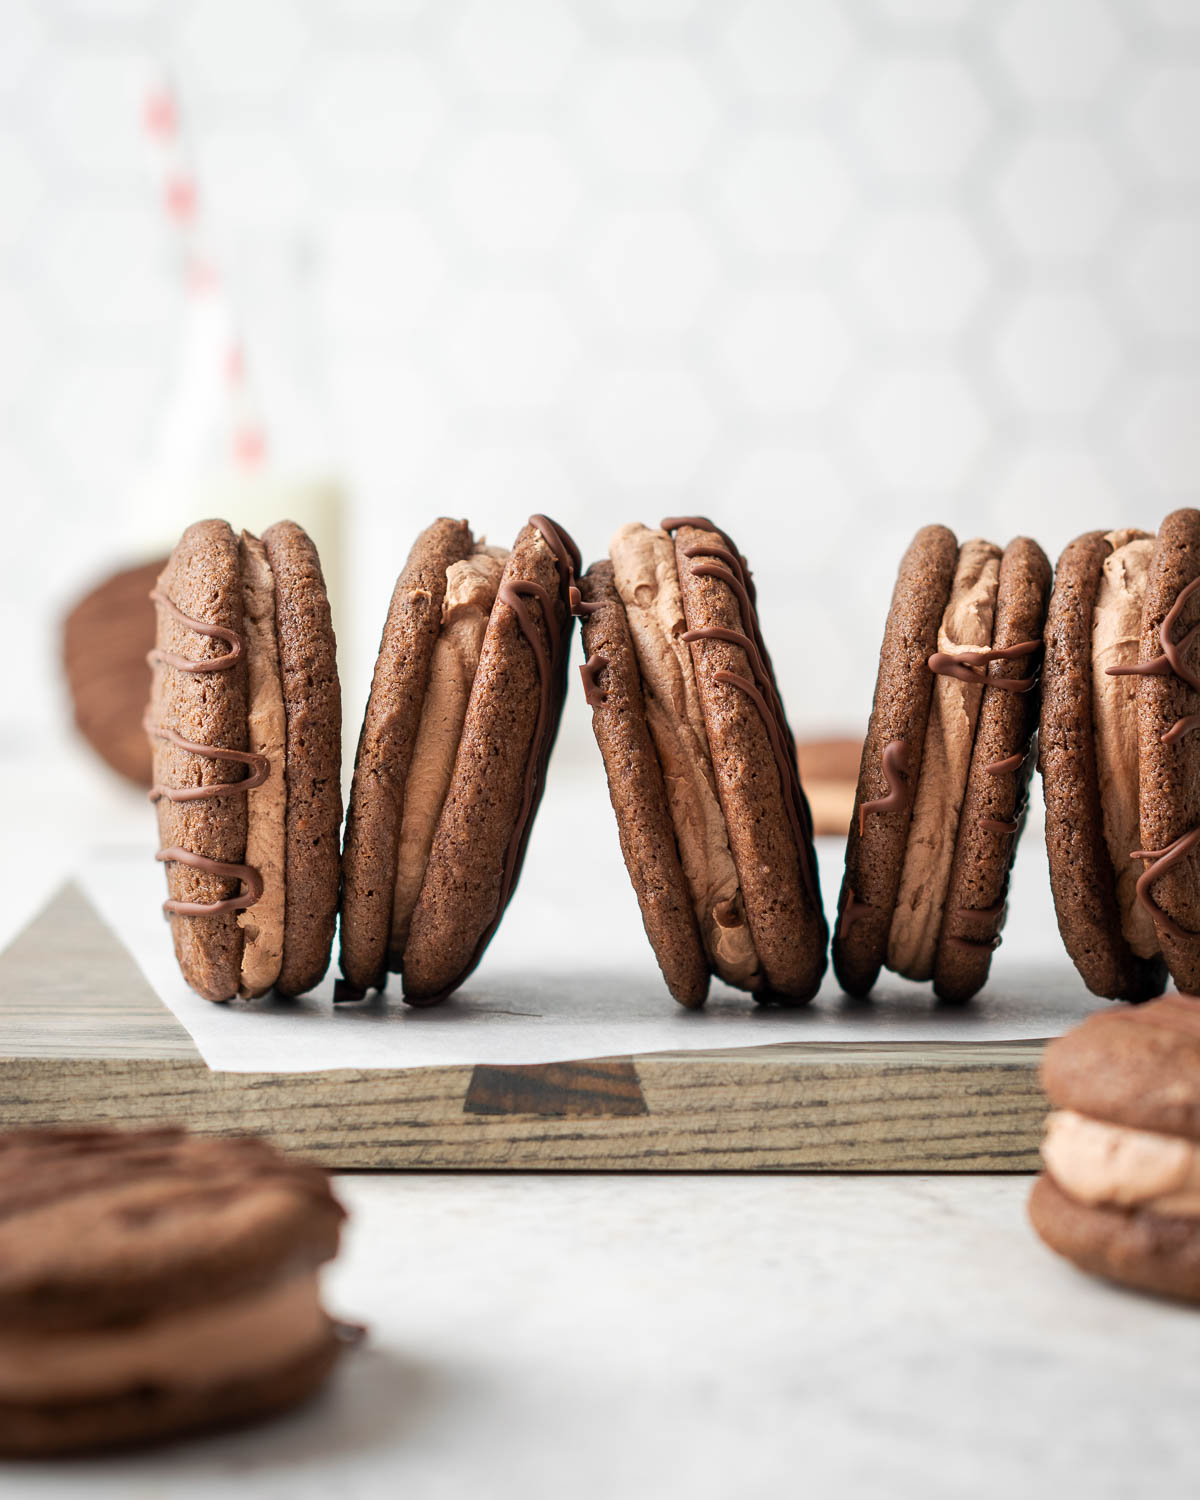
I have really been enjoying creating copycat recipes lately. Snack makers take note: gluten free people love indulgent snacks as much as everyone else. Not everything gluten free needs to be made of nuts and seeds held together by dates and agave syrup. Sometimes you just want a Little Debbie cake. If you feel the same, then this recipe is perfect for you! It's been many years since I've eaten a Little Debbie Fudge Round, but one bite of these cookies took me right back. Bonus, they are not made with any weird, hard to pronounce ingredients.
Why You'll Love These Fudge Rounds
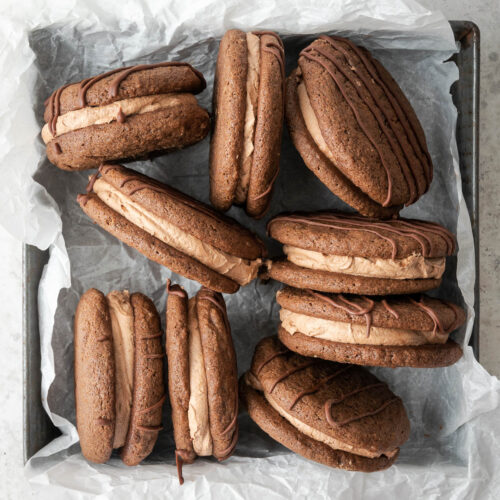
They are perfectly chewy and soft, just like the real deal. The chocolate cream filling melts in your mouth. You can't help but smile when eating a fudge round!
What Ingredients Go in Gluten Free Fudge Rounds?
Flour - I used Bob's Red Mill Gluten Free 1-to-1 Flour to develop and test this recipe. You can use your own blend, but the results may not be the same.
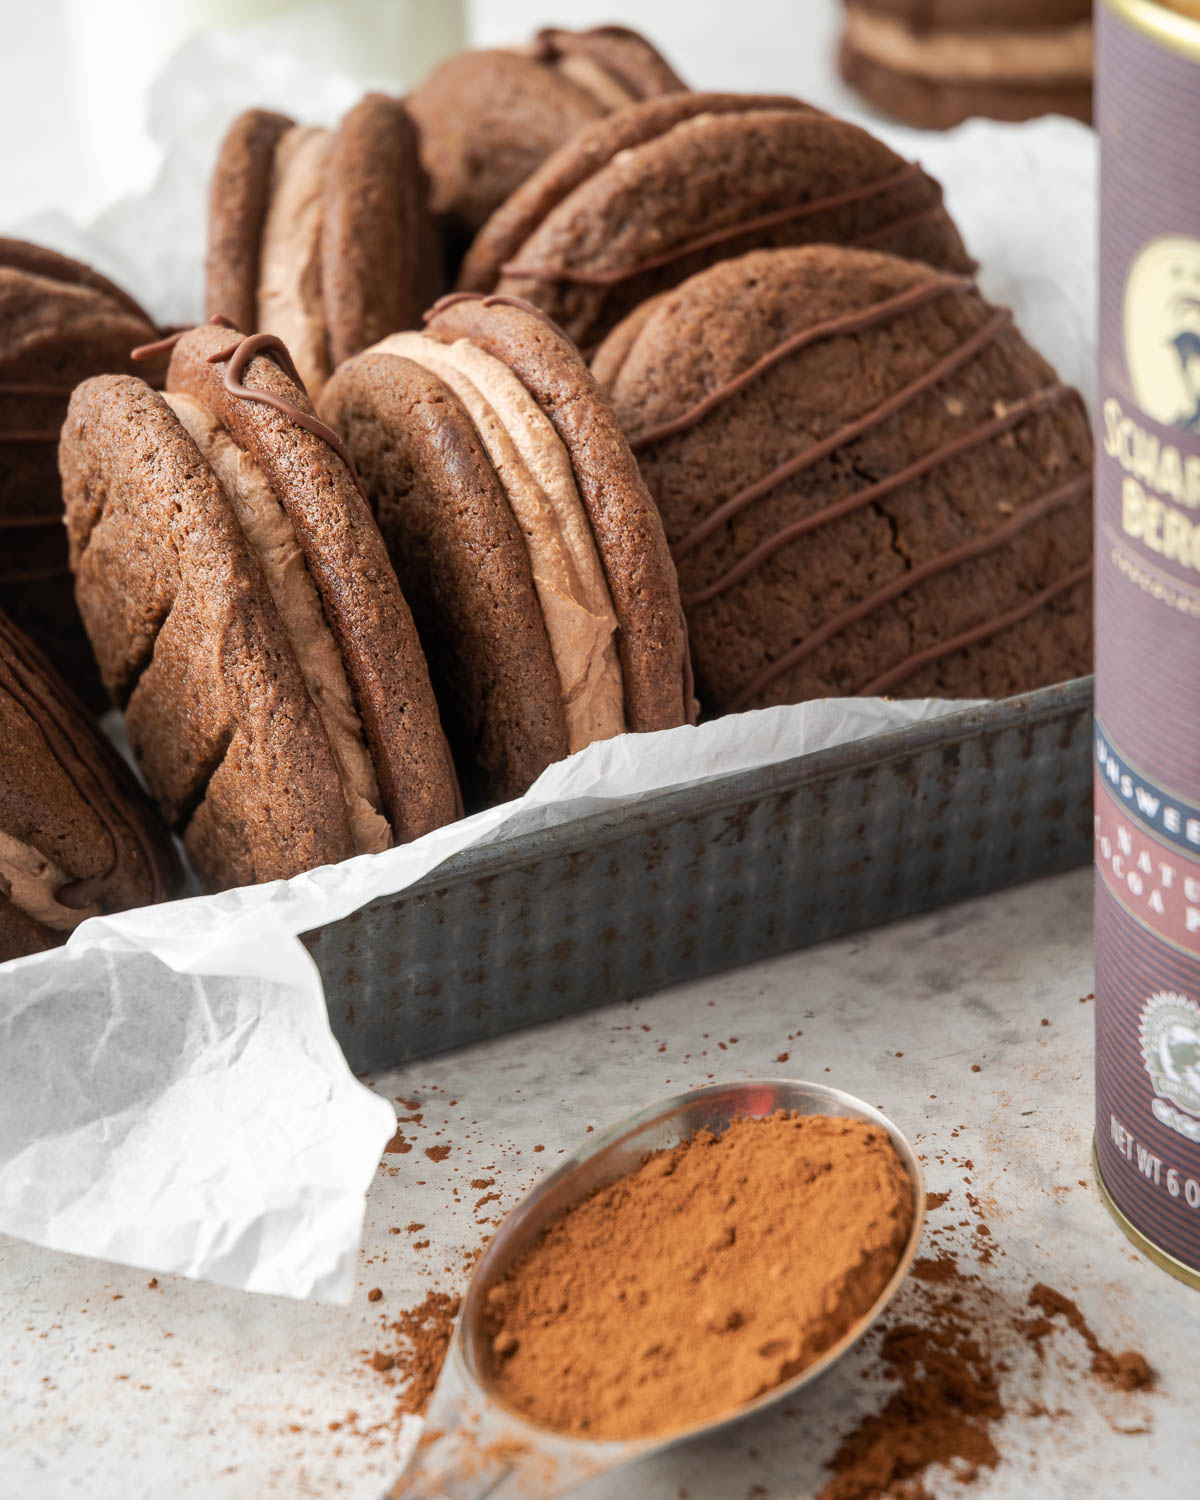
Cocoa Powder - Cocoa will be used in both the cookie and cream center of this cookie. Make sure your cocoa powder is gluten free. I typically bake with Scharffenberger or Hershey's brand cocoa powder.
Baking Soda - Because of the chocolate, we will use baking soda to leaven this recipe. It will help the cookies to spread out to make a thinner sandwich cookie.
Butter - You can use either vegan butter or regular butter. I use either Country Crock Plant Butter or Miyokos Vegan Butter for all of my baking.
Sugar - We need some sweetness to counter the unsweetened cocoa. Sugar will also help the cookies to spread when baking and get a nice chew to them. A perfect copycat of Little Debbie.
Egg - Just one large egg.
Vanilla & Salt - to balance the flavors.
We will also need some powdered sugar and chocolate chips for the filling and stripes on top.
How to Make a Homemade Fudge Rounds
Step 1: Cream the butter and sugar until smooth and fluffly, about 2 minutes.
Step 2: Add the egg and vanilla. Beat another 60 seconds.
Step 3: Add the dry ingredients and stir until well incorporated.
Step 4: Bake the cookies on a lined baking sheet.
Step 5: While the cookies are cooling, prepared your chocolate butter cream. Combine the butter, powdered sugar, cocoa and vanilla in a mixer and beat about 5 minutes until fluffy.
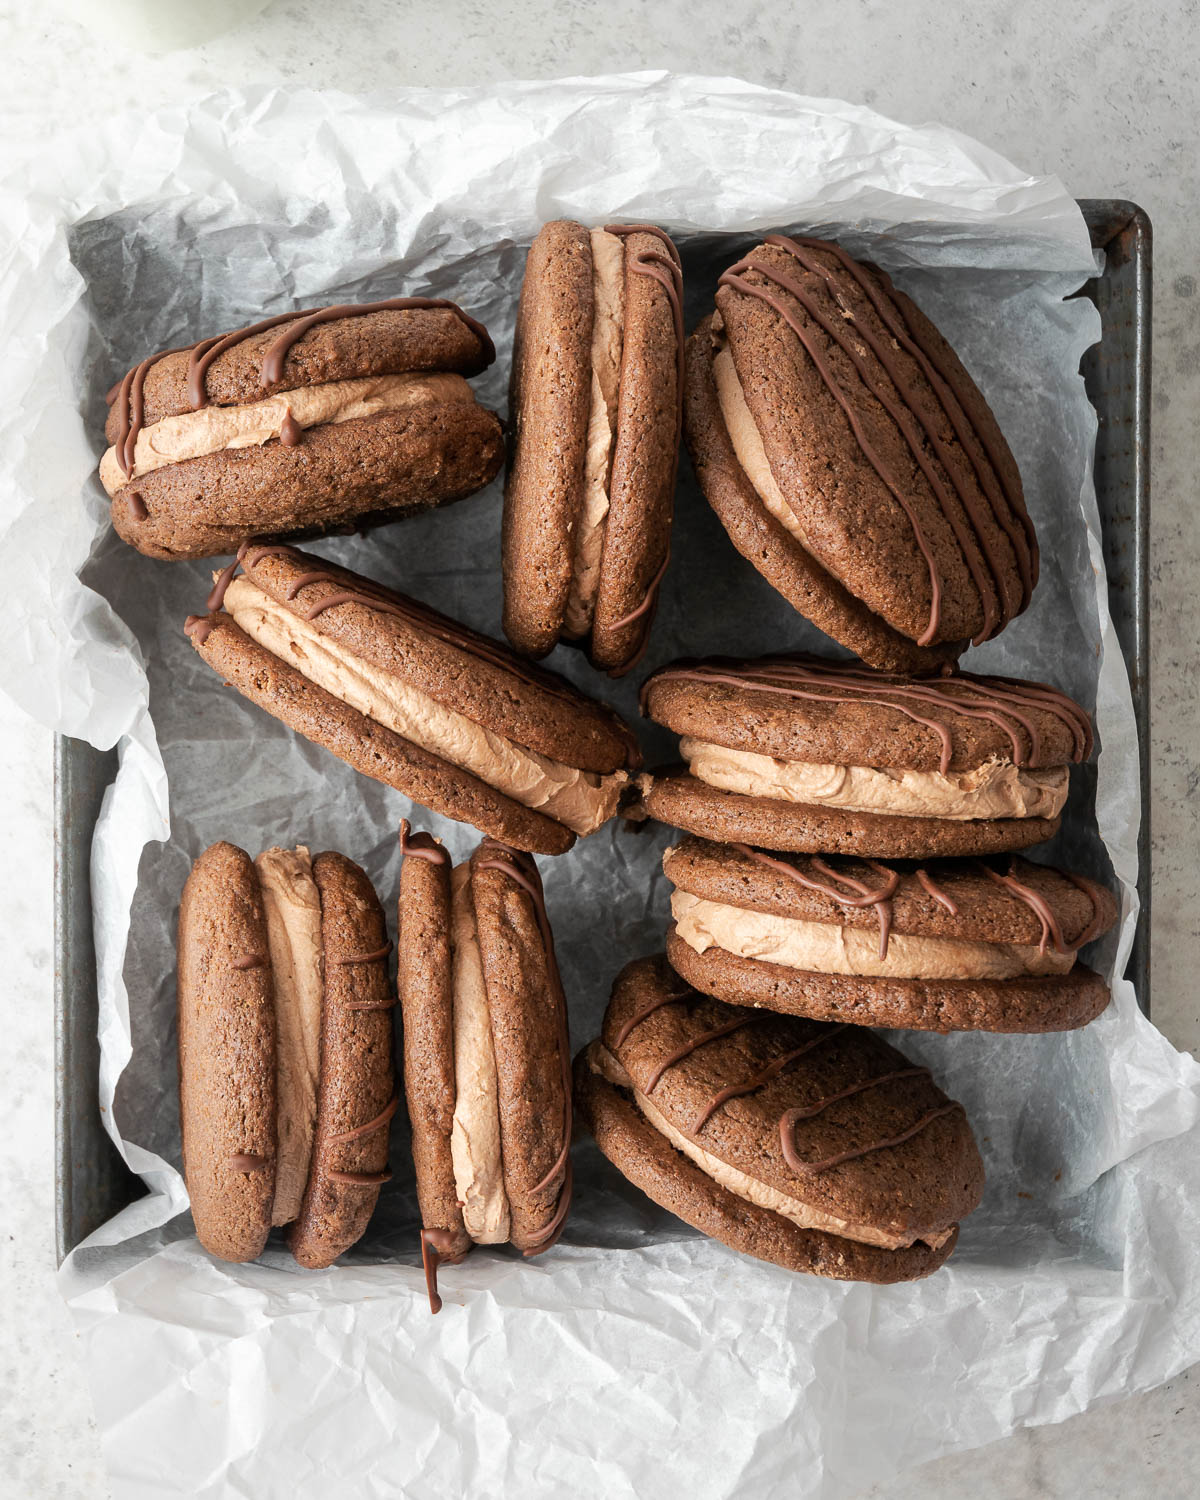
Step 6: Divide the butter cream between 9 cookies (or adjust if your portions didn't make 18 cookie halves). Sandwich the cookies together.
Step 7: Heat chocolate chips in a microwave safe container at 50% power for about 2 minutes. Drizzle over the cookie sandwiches to make stripes.
Step 8: Refrigerate about an hour to chill the butter cream and chocolate stripes.
Step 9: EAT!
Common Substitutions or Additions
Flour - You will have the best results by weighing your flour. This recipe uses 148 grams. If you're using King Arthur's Measure for Measure, you will need 1 Cup + 3 tablespoon Flour. Other brands may vary.
Butter - Use any type of dairy or non-dairy butter as long as it is the stick type. I do not recommend margarine in this recipe.
How to Store Gluten Free Fudge Rounds
Once the cream and chocolate have set, you can store these cookies at room temperature in an airtight container. They will stay soft and delicious for about 3 days (If they last that long!)
If you love copycat recipes, check out these great ideas!
Gluten Free Copycat Levain Chocolate Chip Cookies
Gluten Free, Vegan Thin Mint Cookies
(Copycat) Gluten Free Starbucks Lemon Loaf
(Copycat) Gluten Free Milk Bar Birthday Cake
To pin this recipe for later, click the save button on any image in this post or the recipe card. Please tag me @wellfedbaker on Instagram if you make this recipe!
Recipe
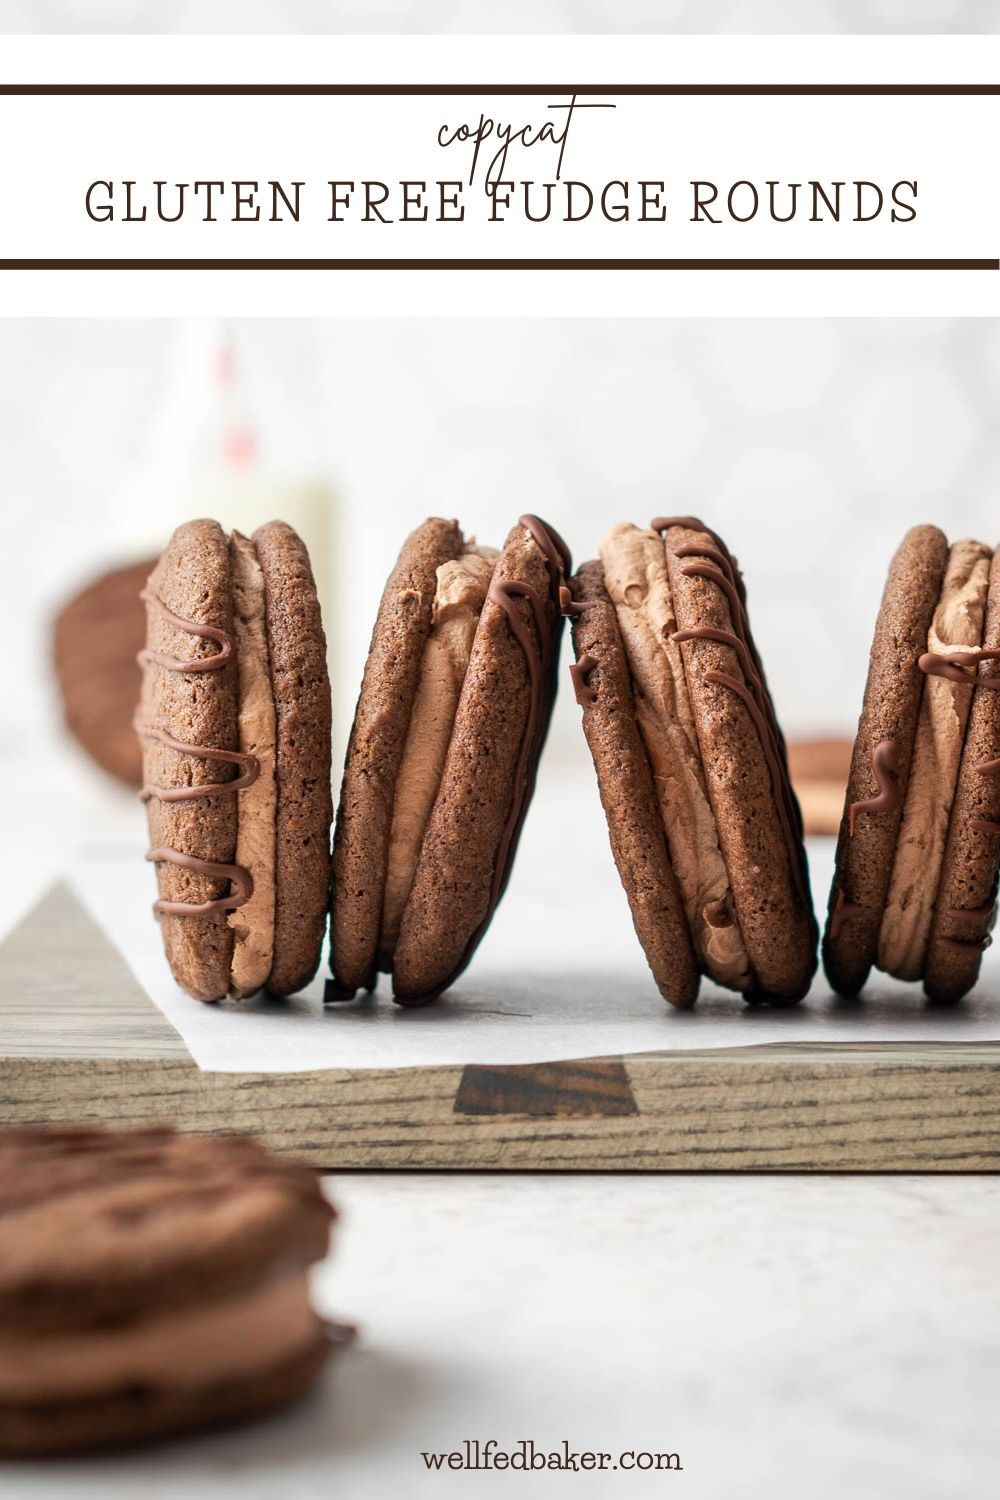
(Little Debbie Copycat) Gluten Free Fudge Rounds
Ingredients
For the cookies
- 1 Cup Gluten Free 1-to-1 Flour Blend I use Bob's Red Mill
- ⅓ Cup Unsweetened Cocoa Powder
- ½ teaspoon Baking Soda
- ¼ teaspoon Salt
- 8 Tablespoon Vegan Butter room temperature
- ¾ Cup Sugar
- 1 Egg room temperature
- 1 teaspoon Vanilla
For the chocolate cream
- 6 Tablespoon Vegan Butter room temperature
- 1 Cup +2 tablespoon Powdered Sugar
- 2 Tablespoon Unsweetened Cocoa Powder
- ½ teaspoon Vanilla
For the chocolate stripes (optional)
- ¼ Cup Allergen Free Chocolate Chips
Instructions
For the cookies
- In a small bowl, combine the flour, ⅓ C cocoa powder, baking soda and salt. Stir until well combined.
- Combine 8 tablespoon butter and sugar in the bowl of an electric mixer. Beat on medium speed for 2 minutes. Scrape down the bowl.
- Add the egg and vanilla. Beat about 60 seconds more. Scrape down the bowl.
- Turn your mixer to the lowest setting, add in the flour mix stirring until the dry ingredients are incorporated.
- Set aside the batter while you preheat the oven. You do not need to refrigerate.
- Preheat your oven to 350 degrees F. Line two baking sheets with parchment paper.
- Once your oven is preheated, scoop the cookie dough into balls about the size of a golf ball. Place on the sheet leaving 2-3 inches in between. They will spread a good bit.
- Bake in preheated oven for 7-8 minutes until the edges are just set if you feel with your fingertip. If your cookies spread too much, you can refrigerate the dough for about 20 minutes before baking the next batch (this could be an issue if your kitchen is especially warm)
- Cool the cookies on the baking sheet for 5 minutes and then remove to a wire rack to cool completely.
For the chocolate cream
- Place 6 tablespoon butter, powdered sugar, 2 tablespoon cocoa powder and ½ teaspoon vanilla in the bowl of an electric mixer. Mix on a low speed until the ingredients come together and are no longer powder. Scrape down the bowl and the beater. Then return to mixing at med-high speed for 5 minutes. You will notice the mixture turning a lighter color and becoming very fluffy.
- Scoop about 3 tablespoon of cream onto 9 cookie halves. You should have exactly the right amount of cream. Top with a second cookie half and gently press together to make a sandwich.
For the chocolate stripes
- Place your chocolate chips in a microwave safe bowl. Heat on 50% power for 2 minutes, then stir. If the chips aren't melted, continue to cook in 30 second intervals stirring each time.
- Place your cookie sandwiches on a lined baking sheet.
- Use a spoon to scoop and drizzle the melted chocolate over the sandwiches, creating stripes.
- Place the tray of cookie sandwiches in the refrigerator for 1 hour to set the cream center and the chocolate stripes.

Tiffany is the recipe developer, stylist and food photographer behind Well Fed Baker. As a lifelong baker who had to go gluten free and dairy free in 2016, Tiffany strives to share allergen friendly recipes that never feel like they are free from anything.
Selina May says
These taste delicious! Thanks so much for the recipe. Wondering…can you freeze them?
I haven't tried freezing them, but I think it would work out fine. I would probably wrap each sandwich cookie in plastic wrap then put them inside a freezer container.
Stephanie says
Definitely 5 stars for the taste, but I had a lot of technical difficulties with this recipe. I made no substitutions.
1. I’m going to use my stand mixer next time. I used my hand mixer as suggested and even on the lowest setting cocoa powder, flour and butter got all over my counters and floor. Just a huge mess everywhere.
2. I used a tablespoon cookie scoop and I only got 5 sandwich cookies, not 9. My cookies are pretty small, too. Any smaller to make the serving size in the recipe and they’d be like a bite-sized candy.
3. It was a mess trying to roll out. The batter was melting into my hands as I was trying to make them a uniform shape.
4. Took way longer than 8 minutes to bake. I have an oven thermometer so I know my oven temperature is correct. Mine took 12-14 minutes to bake and really set. They were still nice and soft, but 8 minutes they were still raw.
5. I had to put 2 tablespoons of soy milk into the frosting batter because it was a powdered mess with just what the recipe called for. Once I did that, it turned into a beautiful frosting.
Overall, it tastes delicious. I just need to tweak some things and convert into grams for more accurate measurements and sizes.
Natalie Booras says
I haven't had one of these in forever, due to dietary issues. But with your gluten and dairy-free formula, I am very excited to try this recipe. Thanks so much!
Leigh Ann Nesbitt says
These are so delicious! Thanks for such a wonderful and gluten free version of a popular sweet!
Jenn says
These look delicious.. I am excited to give this a try! Thank you