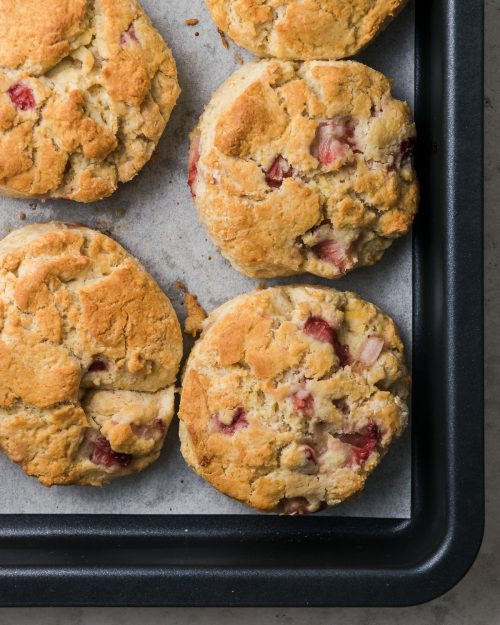
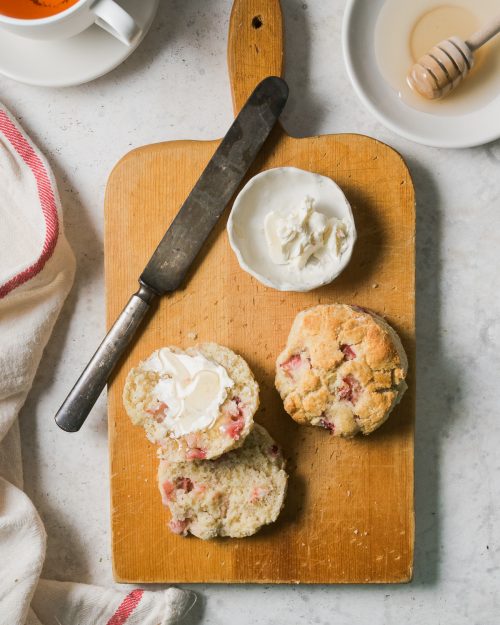
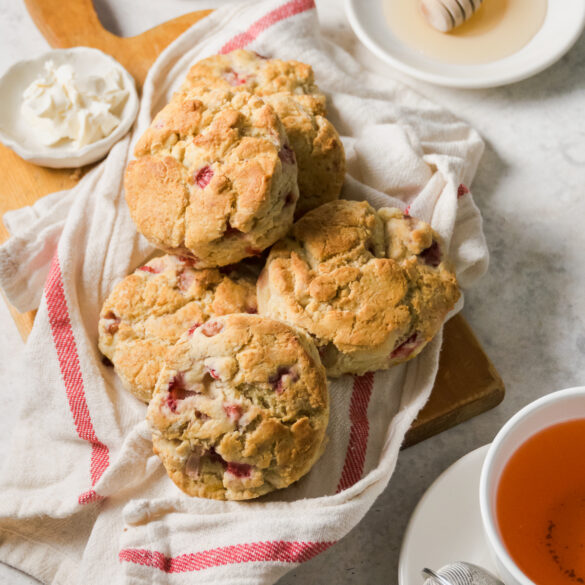
Last weekend, I made these gluten free strawberry lemon scones for breakfast on Saturday and Sunday. They are that good. I think my son could eat them every day of the week. Scones take a little time and care to get right, but the step by step instructions below should give you a good head start on the process.
What is the difference between scones and biscuits?
I liked to think of scones and biscuits in the same family. Both use the biscuit method for mixing and they include the same ingredients but the outcome is slightly altered. Kind of like siblings from the same parents.
Biscuits, which are an American creation, are usually filled with flaky layers. Most often buttery and not sweetened. Although you may sometimes find a flavored biscuit, for the most part they are plain and can be eaten as a savory bread.
Scones, which are a British creation, are a little more soft and crumbly on the inside. They contain less butter than biscuits and only have a very small amount of sugar. Traditional scones would be prepared plain and served with clotted cream and jam. In America, scones are usually an over the top interpretation filled with chocolate, nuts, fruit and sugar.
I like my scones somewhere in the middle of American and British. A little sweeter than a biscuit with some fruit added in, but not so sweet that it cannot be served with jam.
How do you make scones from scratch?
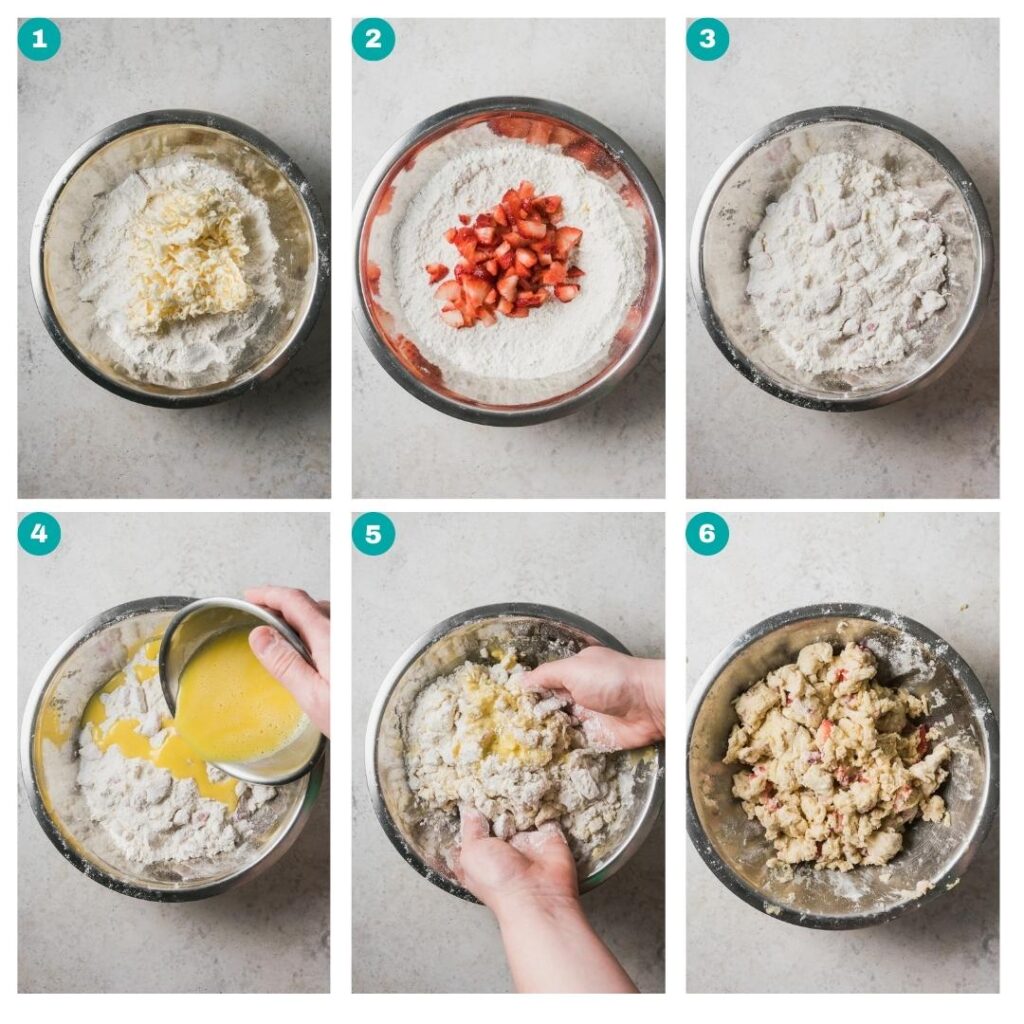
As I mentioned above, scones use the biscuit method for mixing.
First, whisk together all of your dry ingredients in a large bowl. In this case, gluten free 1:1 flour, baking powder, sugar, salt and lemon zest.
Second, incorporate your butter. You can either cut it in using a fork or pastry cutter. I prefer to shred the butter with the box grater and then freeze it, so it's easy to mix in quickly. You ultimately want pea size pieces of butter that are completely coated in flour. You need to work quickly to keep the butter as cold as possible.
Next, add in your strawberries. Whenever you're making scones, you always want to add your mix-ins between the butter and the liquid because the mix-ins can change the amount of liquid you will need in the recipe. Quickly toss it together until the berries are covered with flour.
Finally, add your liquid ingredients. I usually add the liquid a little at a time to make sure the dough does not become too wet. With any biscuit/scone dough the amount of liquid used will not be absolute. It's all about stopping when the dough is shaggy looking and barely holding together. If the dough feels wet and stick on your hands then it is too wet. Adding too much liquid is far more difficult to correct than having a dough that's too dry. So definitely err on the side of less liquid here.
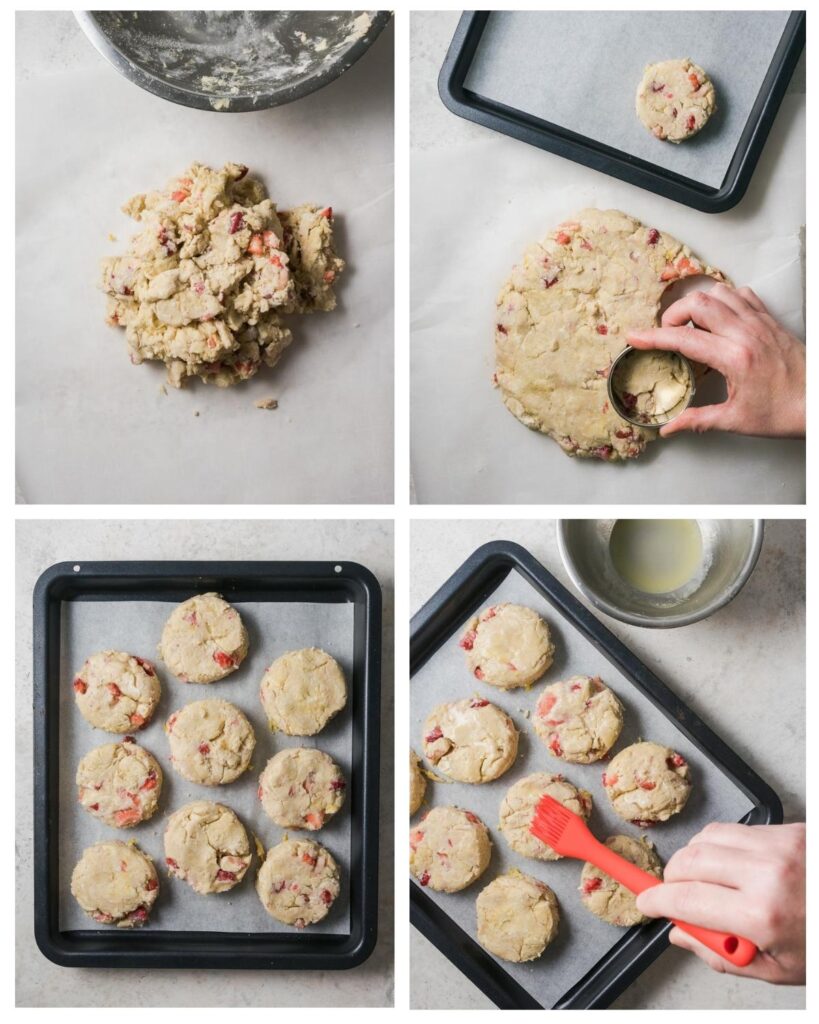
Once the dough has come together in a shaggy mess, dump it onto your work surface. Do not flour the surface. I simply use a piece of parchment paper to avoid sticking. Resist the urge to knead the dough, that will make the scones turn out tough and deflate the rise.
Gently pat the dough into a small paddy about 1-inch thick. Use a biscuit cutter to cut out your circles and place them on a parchment lined baking sheet in an offset pattern leaving only ¼"-½" between the scones. Being closer together will help with the rise during baking. Place your prepared scones in the refrigerator for 30 minutes and then brush the tops with the leftover liquid before baking. Take care not to coat the sides. Bake in a hot oven and enjoy!
How do you get scones to rise and be more fluffy?
The key to light fluffy scones is in the handling of the dough.
- Keep the butter as cold as possible. Cold butter coated in flour melts in the oven to release steam. The steam is what gives your dough the extra rise.
- Make sure not to add too much liquid. If the dough is too wet it will become dense and the rise will be affected.
- Gently handle the dough once the liquid has been added. As soon as baking powder becomes wet, it's bubbly reaction begins. Any forceful pressing will deflate the much needed air bubbles in the dough.
- Taking care not to twist your biscuit cutter when making circles. If you twist, you will seal the edges and they won't grow in the oven.
- Perforated placement on your baking sheet. The scones being close together but not touching helps them rise taller during baking.
- Make sure to bake until the scones are done. If you're unsure, you can quickly remove the top from a center scone. If the inside looks doughy it needs more baking time. If it looks done then they are ready. If you under bake your scones, they will deflate once you take them out of the oven.
Can you freeze scones?
You can definitely make scones ahead of time and freeze them to bake or eat later. You have two options:
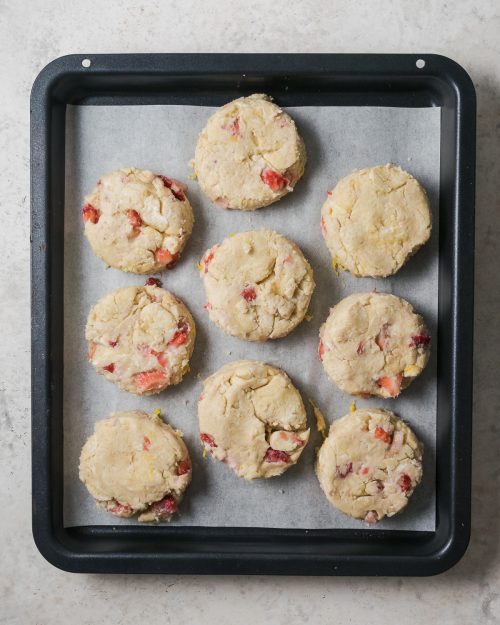
- Freeze the unbaked scones on your baking sheet for at least and hour, then place into a freezer bag or storage container. When you're ready to bake, that them overnight in the refrigerator, then bake as instructed.
- Freeze already baked scones. After they have cooled, place them into a freezer bag or airtight storage container. When you're ready to eat, thaw at room temperature for 30 minutes to 1 hour, then reheat at 350 degrees for 10 minutes.
How do you store leftover scones?
Scones should be stored in an airtight container and can be kept at room temperature for 1-2 days. Reheat at 350 degrees for 10 minutes before serving for best results.
If you love scones, check out these other great recipes!
Gluten Free Sweet Potato Cinnamon Swirl Scones (Dairy Free Option)
Gluten Free Pecan Blueberry Scones
To pin this recipe for later, click the save button on any image in this post or the recipe card. Please tag me @wellfedbaker on Instagram if you make this recipe!
Recipe
Gluten Free Strawberry Lemon Scones
Ingredients
- 2 ¼ Cup Gluten Free 1-to-1 Flour Blend I use Bob's Red Mill
- 4 teaspoon Baking Powder
- ¼ Cup Sugar
- ½ teaspoon Salt
- 2 teaspoon Lemon Zest
- 6 Tablespoon Vegan Butter grated and frozen
- 3 Tablespoon Honey
- 2 Tablespoon Non-Dairy Milk
- 2 Tablespoon Lemon Juice
- 1 Large Egg + 1 Egg Yolk beaten
- 1 Cup Fresh Strawberries sliced and quartered
Instructions
- In a large bowl, combine the flour, baking powder, sugar, salt and lemon zest. Whisk together.
- Add the frozen, grated butter to the flour mixture. Work quickly to coat all of the butter with flour.
- Add the strawberries and toss together to coat with flour.
- In a small bowl, combine the beaten eggs, milk, honey and lemon juice.
- Add half of the liquid to the flour mixture and work together. Add half again of the remaining liquid. Continue adding and mixing until the dough is a shaggy mess. You may not need all of the liquid.
- Reserve any leftover liquid for later.
- Dump the dough onto a parchment paper lined surface. Do NOT flour the surface.
- Gently pat the dough into a 1" thick paddy.
- Use a biscuit cutter to cut the circles, being careful not to twist when you cut.
- Move the cut out shapes onto a parchment paper lined baking sheet. Arrange in a perforated placement leaving no more than ½" between scones.
- Place cut scones into the refrigerator for 30 minutes.
- Preheat oven to 425 degrees.
- Remove scones from the refrigerator and brush the tops (only tops) with the remaining liquid.
- Back for 23-25 minutes until the inside is done.

Tiffany is the recipe developer, stylist and food photographer behind Well Fed Baker. As a lifelong baker who had to go gluten free and dairy free in 2016, Tiffany strives to share allergen friendly recipes that never feel like they are free from anything.

Min says
Hi! Looks divine! I can not hav tapioca (or millet soy or oat)... I have not found a "blend" without. Do you know of any?
I don't know of any pre-made blends without those ingredients, tapioca starch is pretty common. I'd suggest making up your own baking blend and just keeping a large container of it on hand to use as a 1:1 flour. Try 4 3/4 C white rice flour + 1 2/3 C brown rice flour + 1 1/3 C potato starch (not the same as potato flour) + 3/4 C arrowroot powder. This will make about 8 1/2 cups of flour blend, so it should be enough for a few recipes. Don't forget you will need to add xanthan gum to your flour mixture since it won't be in there. For most cookies/cake recipes, use 1/2 tsp xanthan gum per 1 C of flour mix. I have not tested a homemade blend with this scone recipe, which is flour heavy. But I have had good luck with homemade blends for cookies, cakes and brownies. Let me know how it turns out if you give it a try.