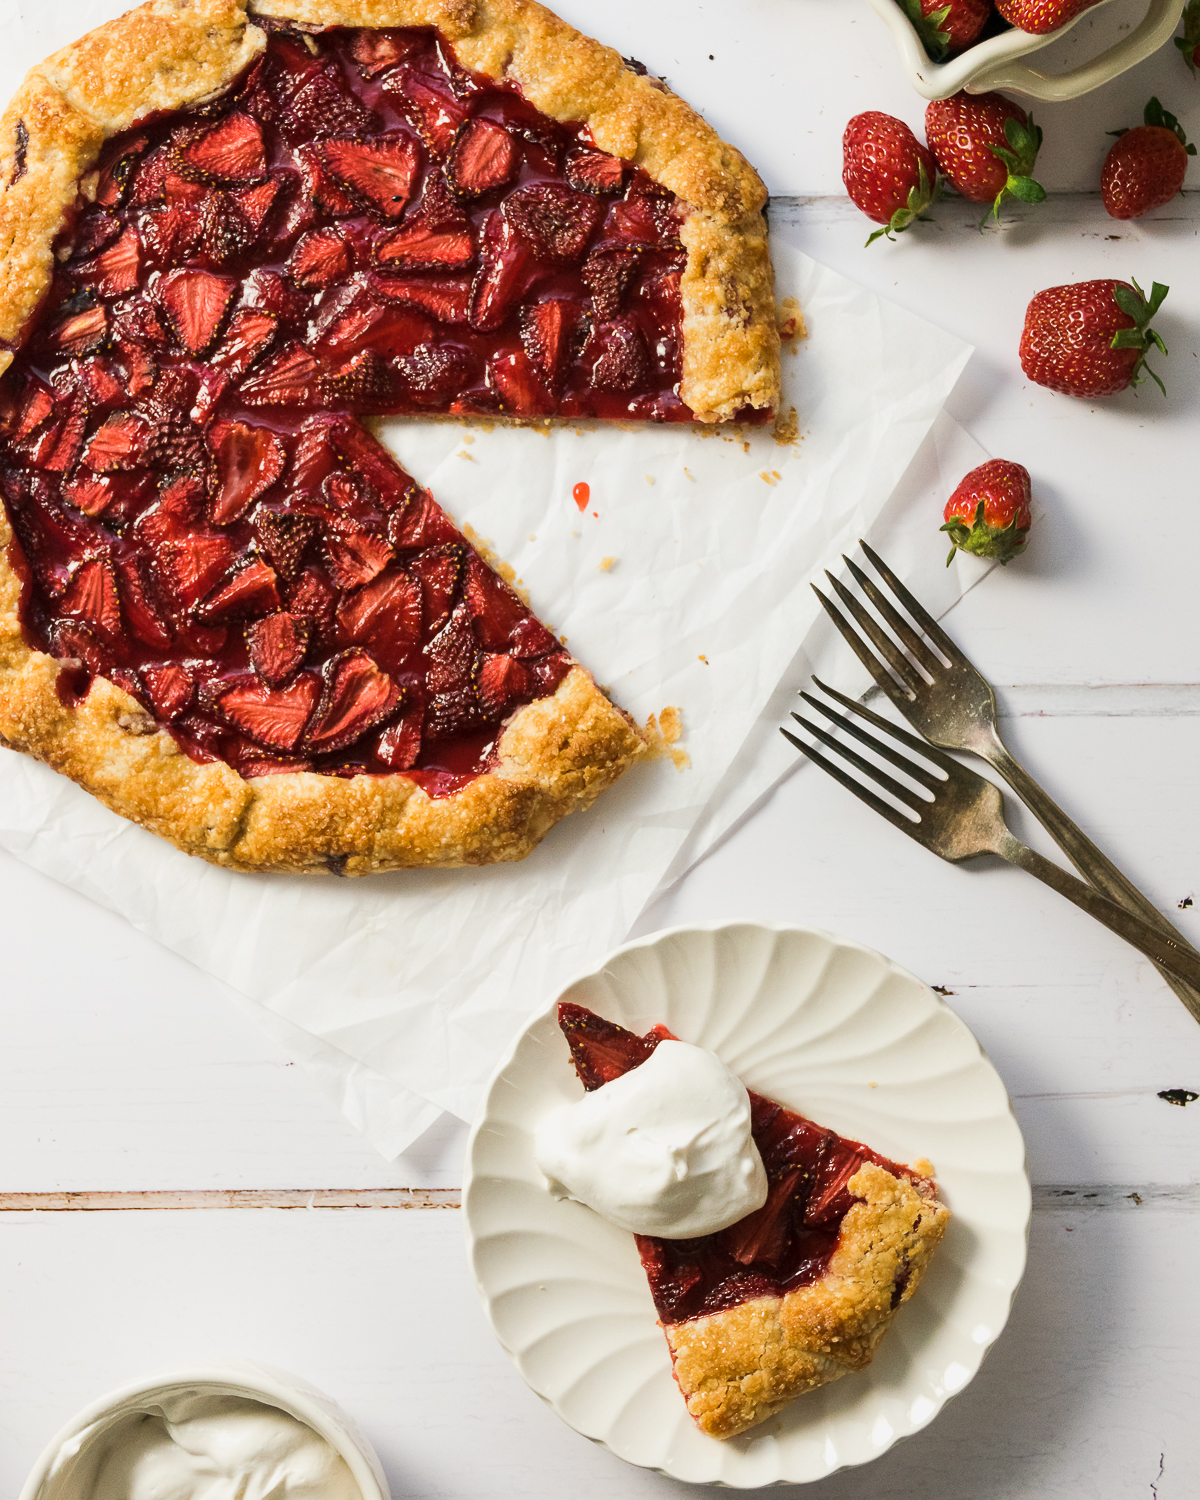
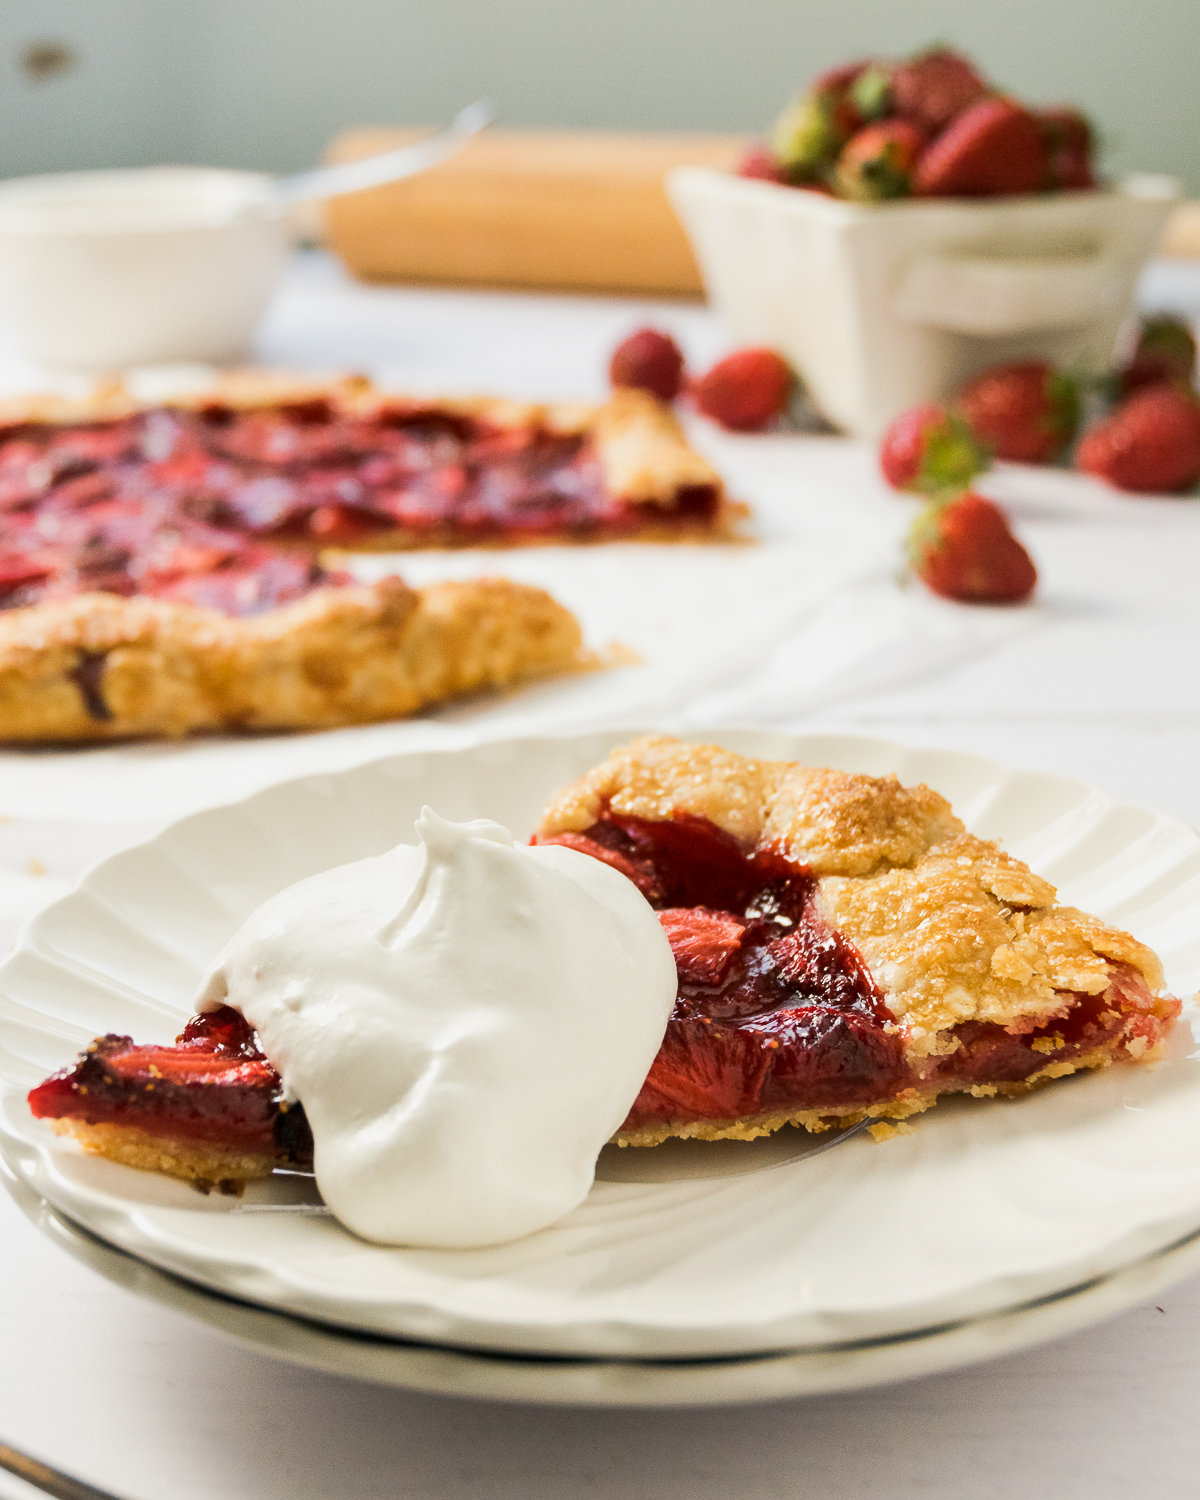
I think I could eat a slice of this gluten free strawberry galette every day of strawberry season. It is so simple and yet so full of flavor. The crispy flakiness of the my favorite gluten free pie crust pairs perfectly with the jammy strawberry center. It kind of reminds me of those Toaster Streudel things I used to eat as a kid. It is perfect topped with dairy free whipped cream or ice cream. Take some time to make this, I promise you will love it as much as we do!
Jump to:
Why You'll Love This Recipe
- Galettes are meant to be rustic, so they are easier to make than pie.
- It's the perfect showcase for fresh strawberries.
- It's gluten free and dairy free!
Ingredients
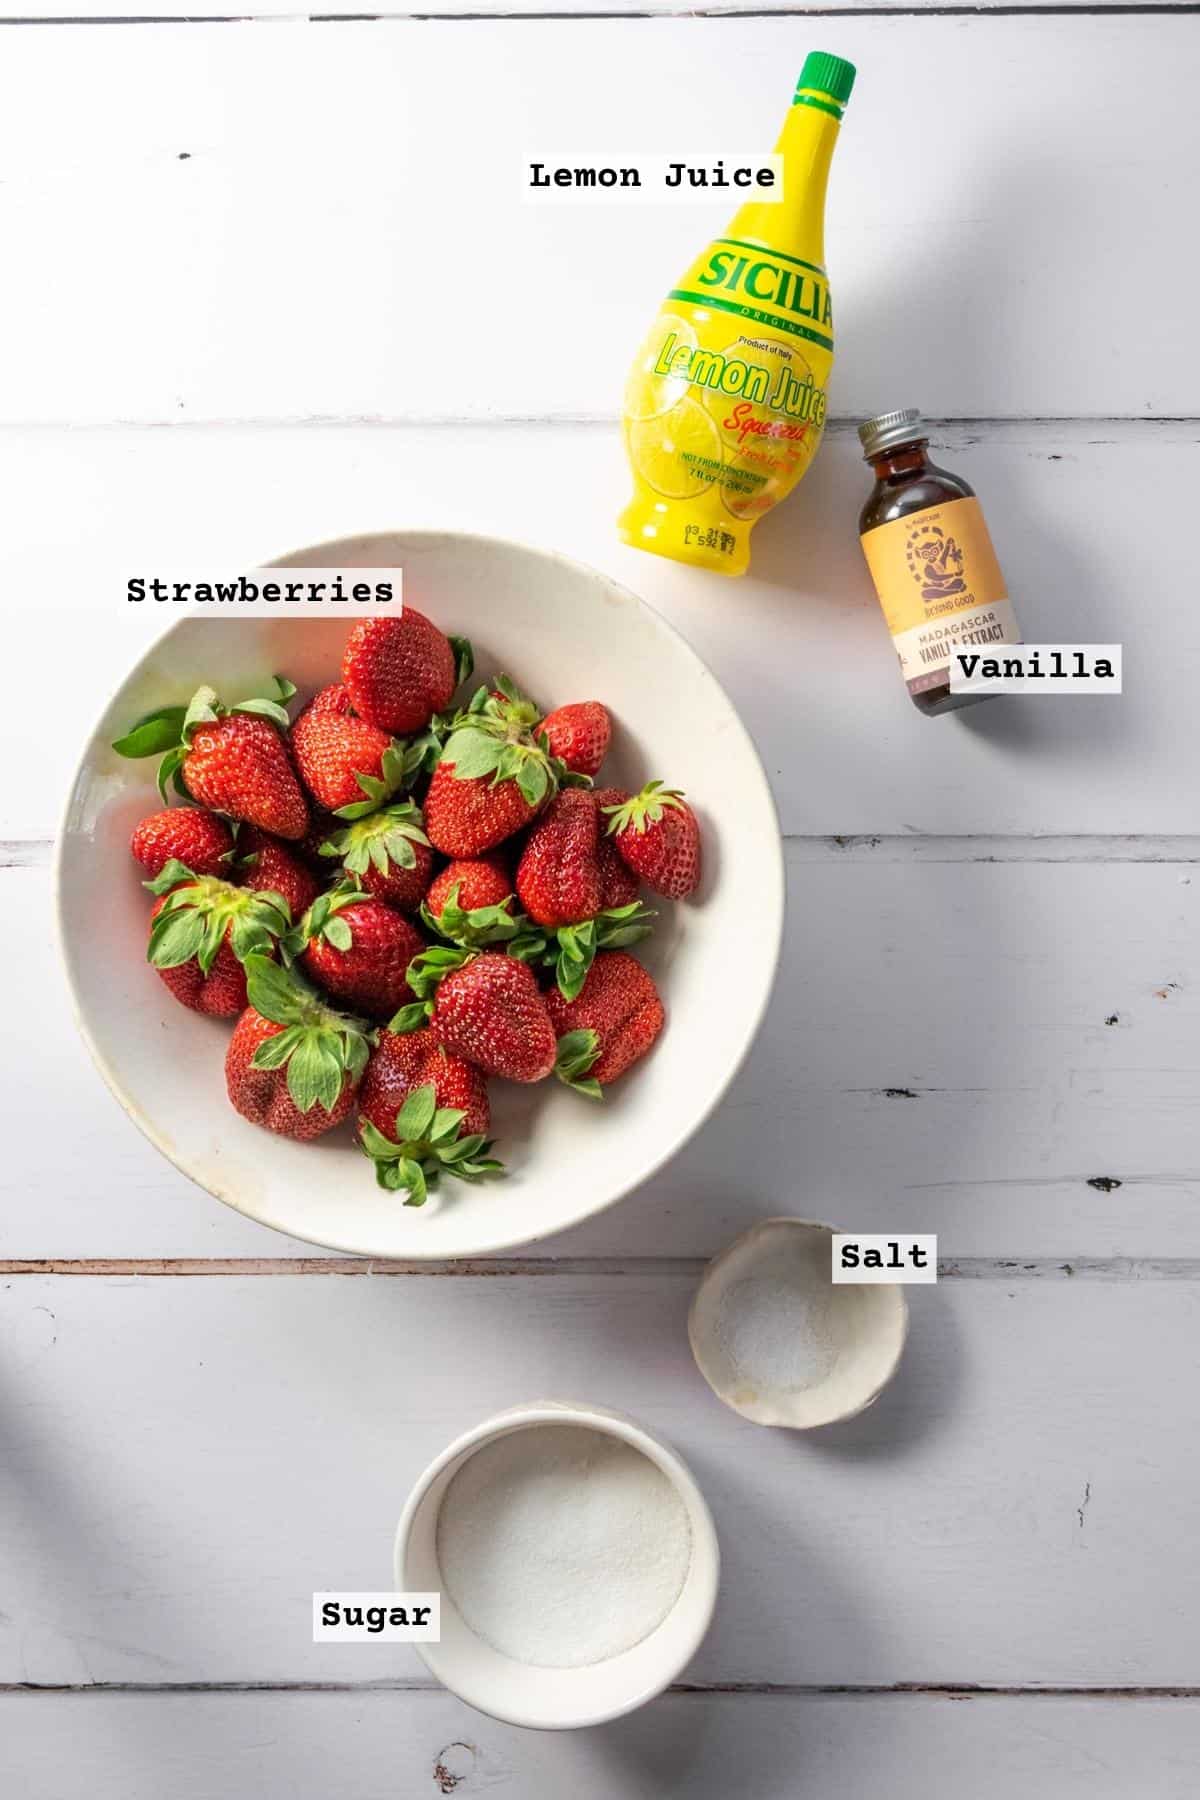
The filling for this strawberry galette uses just 5 ingredients that you probably already have on hand:
- Strawberries - Use fresh strawberries for this recipe. Frozen will give off too much moisture during baking and leave you with a soggy mess.
- Sugar - Help the strawberry filling become jam-like and delicious.
- Salt
- Lemon Juice
- Vanilla
- Cornstarch or Arrowroot Powder (not pictured)
- Gluten Free Pie Crust
See recipe card for full ingredient list and quantities.
How to Make Galette Crust
If you've never made a gluten free pie crust, it's actually a pretty simple process. The main goal is to keep your ingredients very cold.
Cold butter, coated in flour, will melt when it hits the hot oven releasing steam which makes the little air pockets that create super flaky crust. If your butter is too warm or not completely coated in flour, the fat will leak out during baking and the crust will become more crunchy than flaky. It's happened to the best of us (and luckily is still edible).
Here's a video showing you how to mix up gluten free pie dough. A galette is a great way to practice your gluten free pie crust skills since it is supposed to look rustic and doesn't involve any fancy crimping or lattice work.
How to Make a Strawberry Galette
The filling for this recipe is so simple to prepare.
STEP 1: De-stem and slice a pound of fresh strawberries and place them in a bowl. Add the sugar, salt, lemon juice, vanilla, and starch and stir together. Refrigerate while you make the crust.
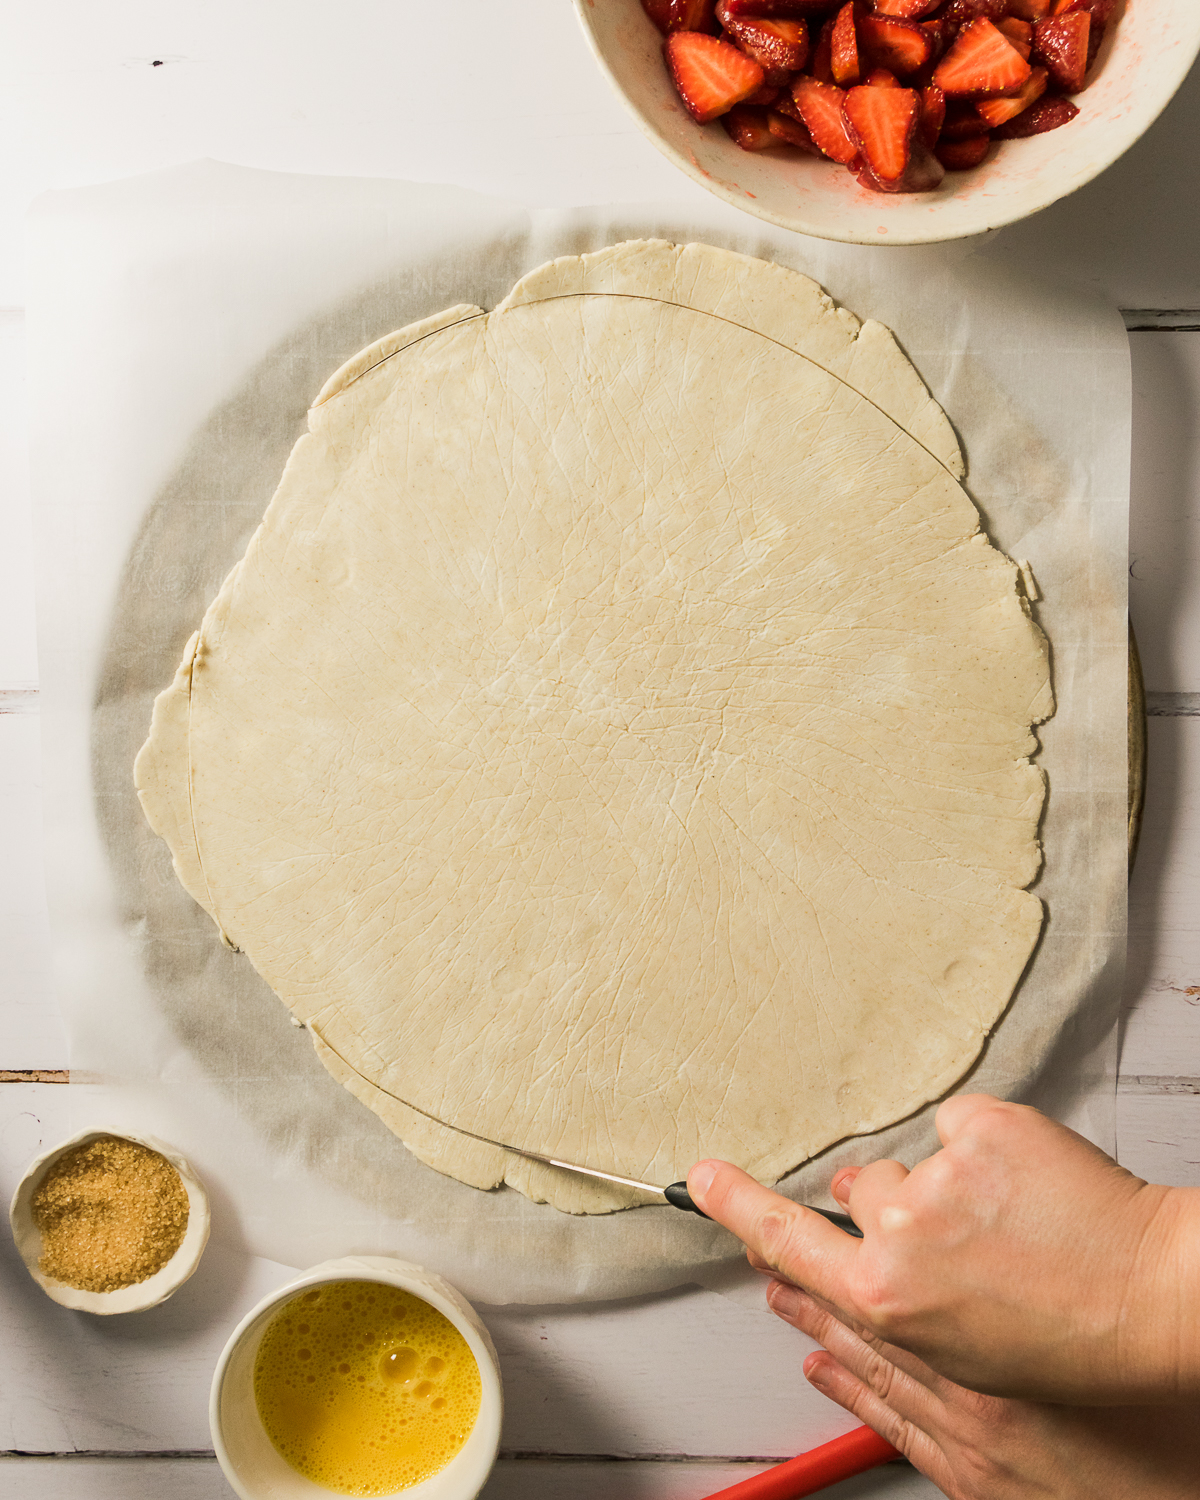
STEP 2: Roll the pie dough out to a large circle and trim the edges if needed.
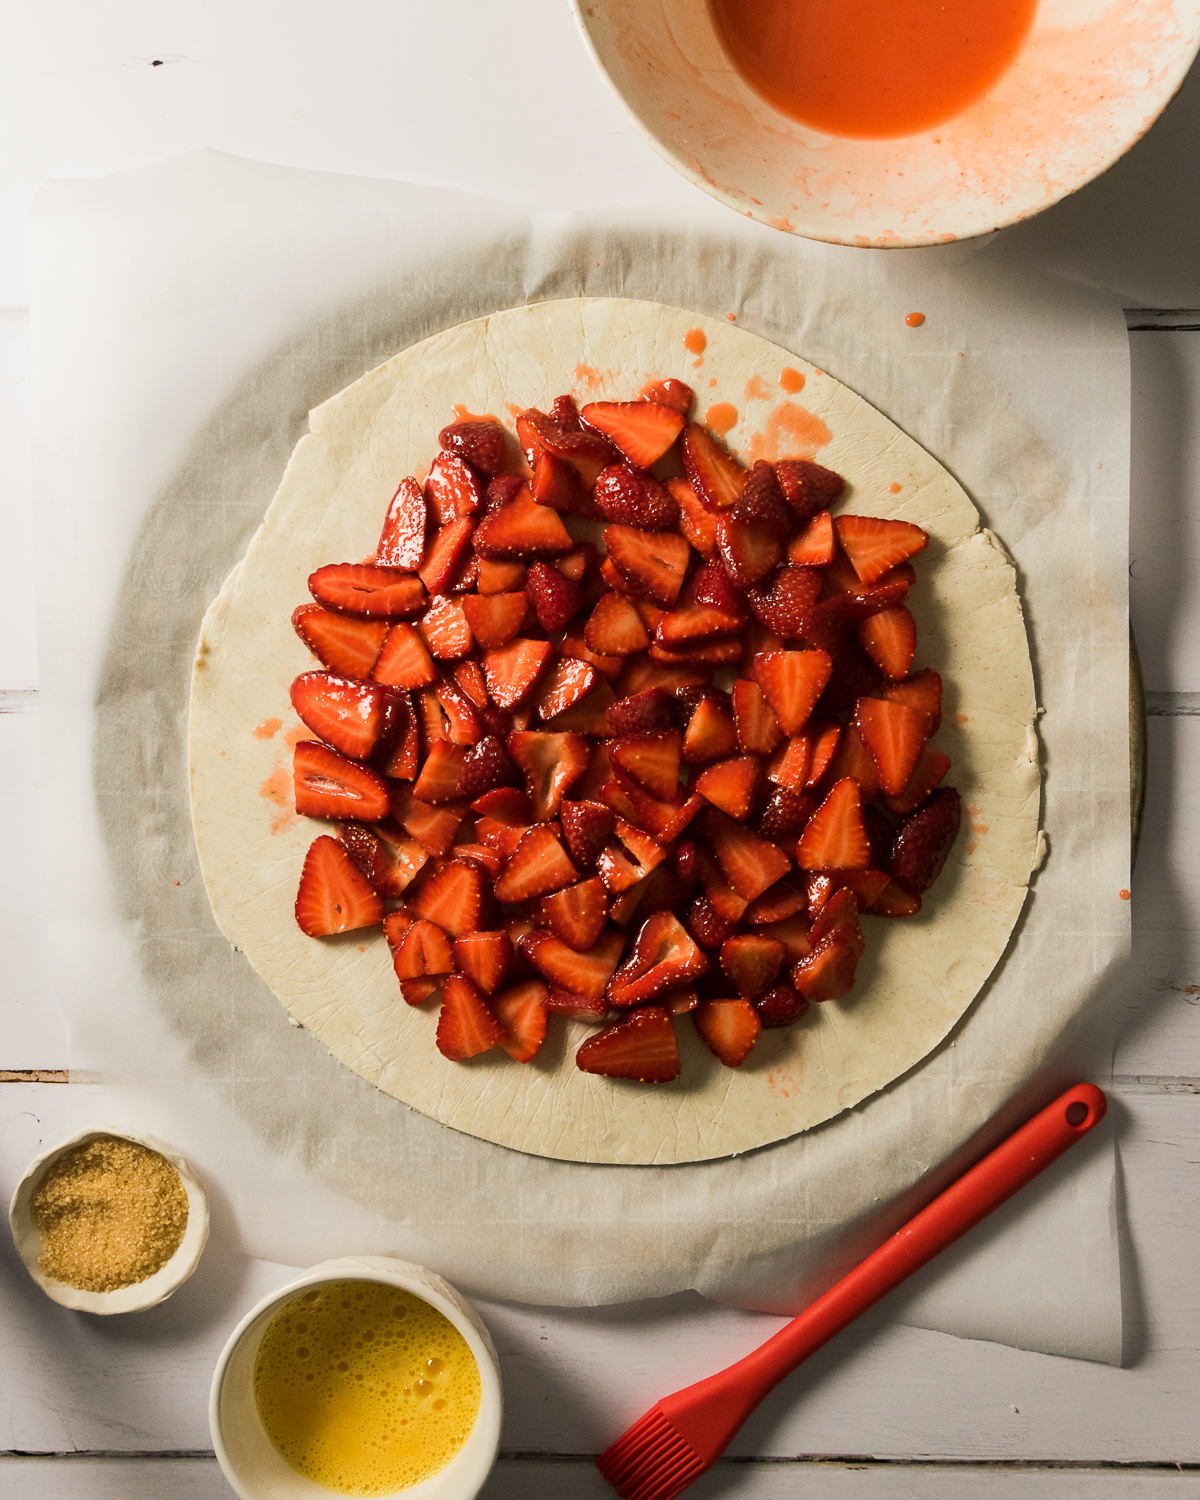
STEP 3: Add the strawberry filling to the center of the pie dough leaving an edge about 1 ½ inches wide. Discard the liquid.
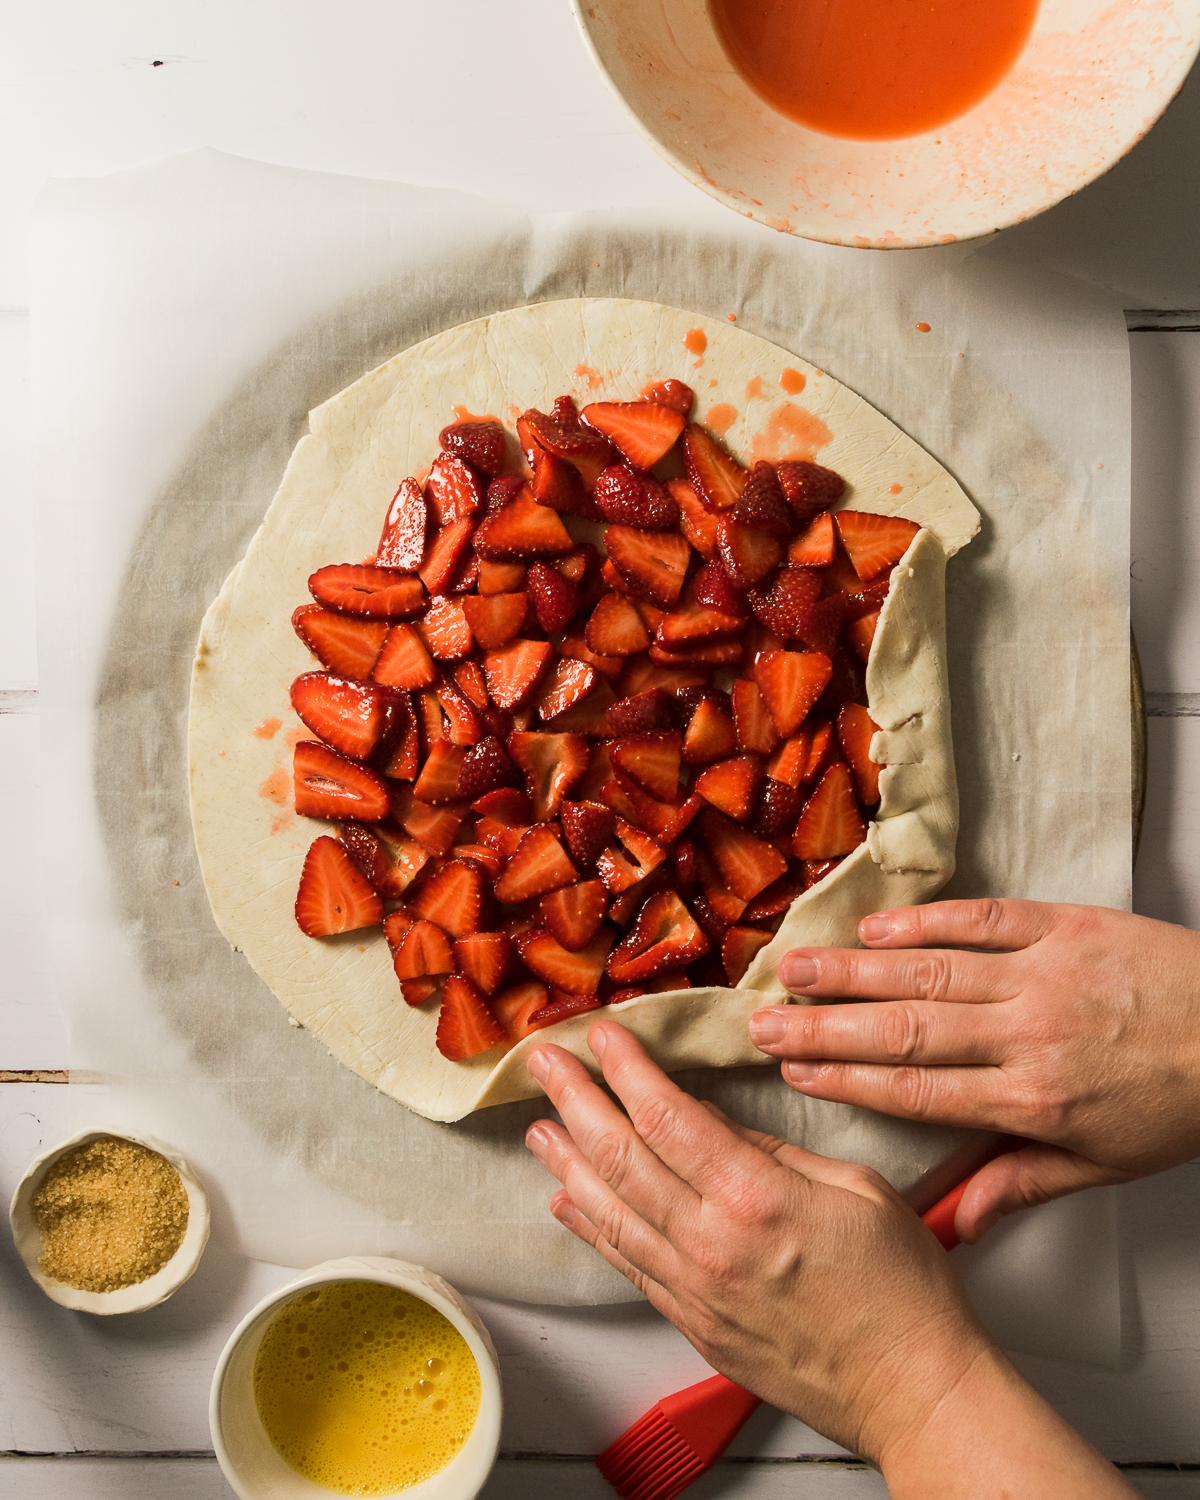
STEP 4: Carefully fold the pie dough toward the center to make a crust. Brush with egg wash, if using, and bake.
Recipe FAQs
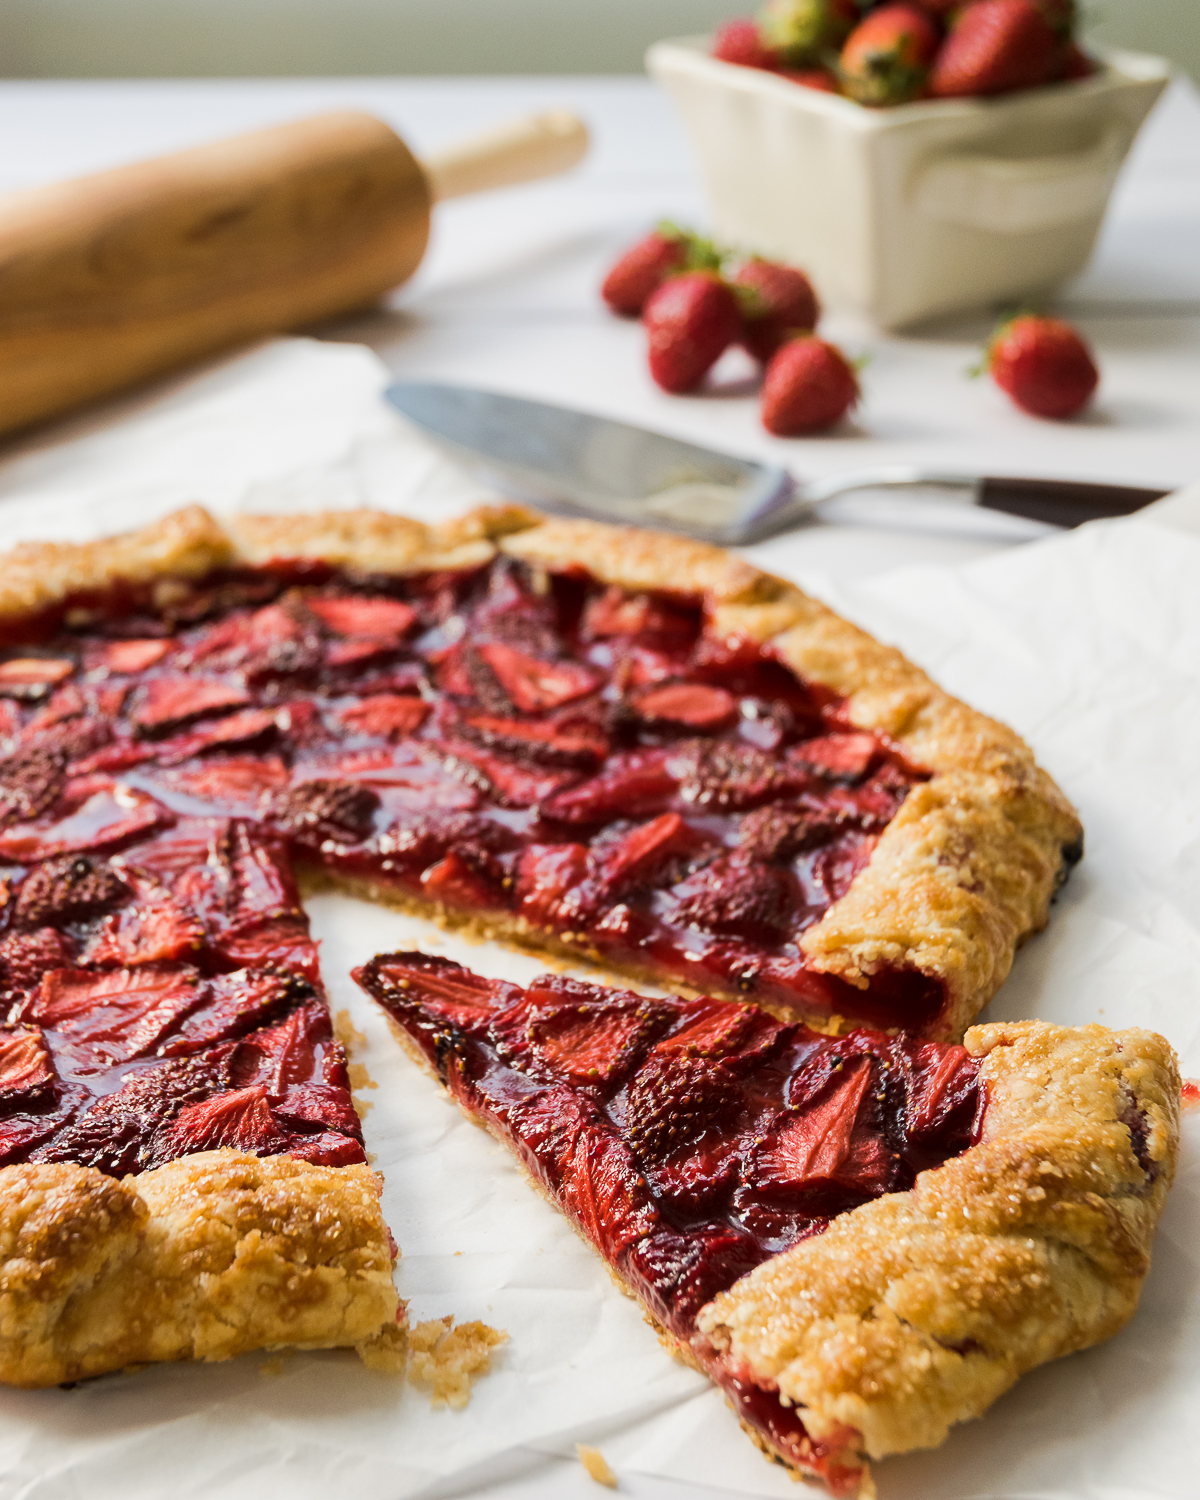
The crust for both is the same. However, a galette is baked on a flat pan instead of in a pie dish. It’s a little more rustic with the edges folded in to create a crust, rather than fancy crimped designs. Because it is flatter, a galette will hold less filling than a pie.
I like to bake my galette on the bottom rack of the oven on a metal pan. I use a round pizza pan, but a baking sheet will work as well. If you bake until the bottom is done it should not be soggy at all.
If you have leftovers, just wrap them in aluminum foil and store in the refrigerator. They will stay good for 2-3 days. I like to reheat mine in a toaster oven at 350 degrees for 10 minutes before serving.
The galette pictured is about 10 inches in diameter. Because it bakes down to a rather thin pie, I'd suggest cutting into 6 servings.
You can definitely prepare your gluten free pie crust ahead of time. You can the dough in the refrigerator for longer than the 2 hours called for, easily going up to 24 hours.
You can also freeze unbaked gluten free pie crust and it will keep for up to 6 months. Just make sure you thaw in the refrigerator overnight before rolling out.
I would not recommend cutting your fruit until you're almost ready to bake.
You can assemble the pie and place it back into the freezer unbaked for 30 minutes to an hour and then bake as directed. I don't recommend working any further ahead than that.
More great pies to consider:
If you try this recipe, please leave a 🌟🌟🌟🌟🌟 star rating and let me know how you liked it in the comments below.
Recipe
Strawberry Galette
Ingredients
For the crust
- 1 ¼ Cup Gluten Free 1-to-1 Flour Blend I use Bob's Red Mill
- ½ teaspoon Salt
- 1 Tablespoon Sugar
- ½ Cup Vegan Butter very cold (regular or non-dairy butter)
- 4 Tablespoon Water cold
For the filling
- 16 ounces Fresh Strawberries de-stemmed and sliced
- ⅓ Cup Sugar
- ¼ teaspoon Salt
- 2 Tablespoon Arrowroot Powder
- 1 teaspoon Lemon Juice
- 1 ½ teaspoon Vanilla
- 1 Egg beaten (for egg wash)
Instructions
For the pie crust
- Cut your butter into cubes and place it into the freezer about 15 minutes before starting.½ Cup Vegan Butter
- Measure out your water and place it into the freezer as well.4 Tablespoon Water
- Combine gluten free flour, salt and sugar in a large bowl.1 ¼ Cup Gluten Free 1-to-1 Flour Blend, ½ teaspoon Salt, 1 Tablespoon Sugar
- Add the cold butter to the flour mixture. Toss is with your hand to coat the butter with flour.
- Then working quickly, press the butter cubes between your fingers and thumb to flatten them into quarter sized discs. Work through all the butter chunks.
- The flour mixture should have tiny pebble looking bits of butter, about the size of peas.
- Add half of your cold water and toss together to mix the water in. Add half again and repeat until the dough is just a shaggy mess that will hold together if you squeeze it in your hand.
- Turn the dough onto a sheet of plastic wrap and form it into a disc about 1 ½" thick. Wrap completely in plastic wrap and refrigerate for a minimum of 2 hours.
For the filling
- Combine all of the filling ingredients in a large bowl.16 ounces Fresh Strawberries, ⅓ Cup Sugar, ¼ teaspoon Salt, 2 Tablespoon Arrowroot Powder, 1 teaspoon Lemon Juice, 1 ½ teaspoon Vanilla
- Cover with plastic wrap and refrigerate while you are waiting for the dough. This will allow the sugar time to draw some of the moisture out of the berries.
To assemble and bake
- Preheat your oven to 425 degrees F. Line a baking sheet with parchment paper.
- Remove the chilled dough from the refrigerator and unwrap. Top with a second sheet of plastic wrap (like a sandwich - plastic, dough, plastic)
- Use a rolling pin to roll the dough out between the two sheets of plastic wrap. It should be about 12-13 inches across.
- Remove the top sheet of plastic wrap and flip your dough onto your lined baking sheet.
- Stick the rolled dough and the baking sheet into the freezer about 15 minutes.
- Remove from freezer and take off the top piece of plastic wrap. Top the dough with the berries. Do not include the liquid. Leave an edge all the way around about 1 ½" wide.
- Carefully fold the edge over the berries creating a crust.
- Brush the crust with the egg wash. (optional)1 Egg
- Bake in preheated oven on the lowest rack for 45 minutes.
Notes

Tiffany is the recipe developer, stylist and food photographer behind Well Fed Baker. As a lifelong baker who had to go gluten free and dairy free in 2016, Tiffany strives to share allergen friendly recipes that never feel like they are free from anything.


Michelle Duncan says
My uncle made this for me with blueberries and strawberries and it was seriously so good. He used country crock fake butter. Highly recommend and will be making again.
Strawberries and blueberries are a great combo! I'm glad you enjoyed the recipe 🙂