Once you try this homemade gluten free chicken pot pie recipe, you will never buy one of those store bought frozen pot pies again. This is a family favorite that everyone cheers for when it arrives on the table.
I've included all the tips about making your own pie crust, as well as an option for crust-less pot pie.
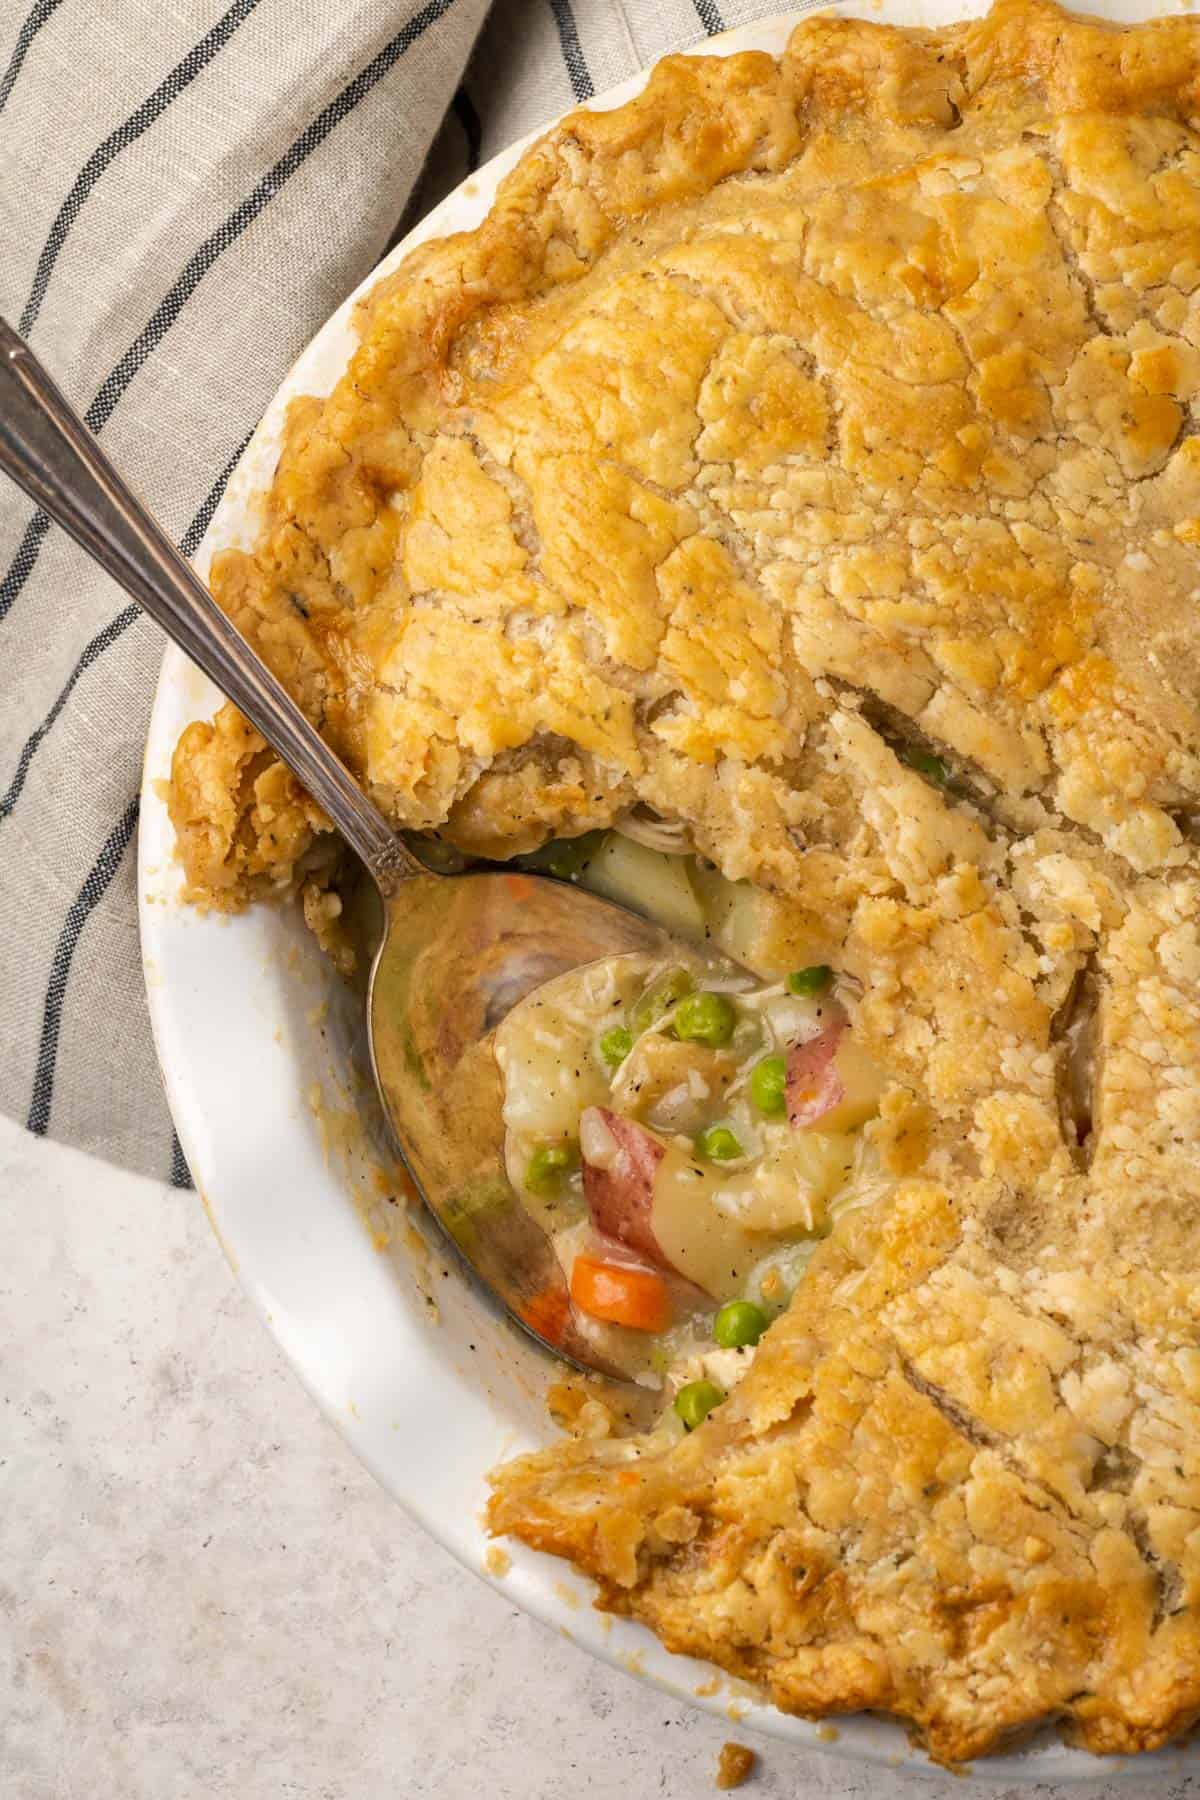
If you love chicken pot pie as much as we do, you should also give my tater tot chicken pot pie casserole a try. I know you're going to love it!
Want to save this recipe?
Enter your email below and we will send it straight to your inbox!
You will also be added to our weekly email list.
Jump to:
- Want to save this recipe?
- Why You'll Love This Gluten Free Chicken Pot Pie Recipe
- Ingredients in a Homemade Chicken Pot Pie
- How to Make a Pot Pie Crust
- Instructions
- Variations & Substitutions
- How to Store/Reheat
- Can you freeze chicken pot pie?
- Shop this recipe
- If you are looking for other chicken dinner ideas, check out these great recipes!
- Recipe
Why You'll Love This Gluten Free Chicken Pot Pie Recipe
- The crust is flaky with no dairy or gluten.
- The chicken and vegetables are swimming in a creamy dairy free sauce.
- It's easily customizable to include your favorite vegetables.
- Works great with leftover chicken, rotisserie chicken, or even turkey.
- Can be made ahead of time and frozen to make weeknights easier.
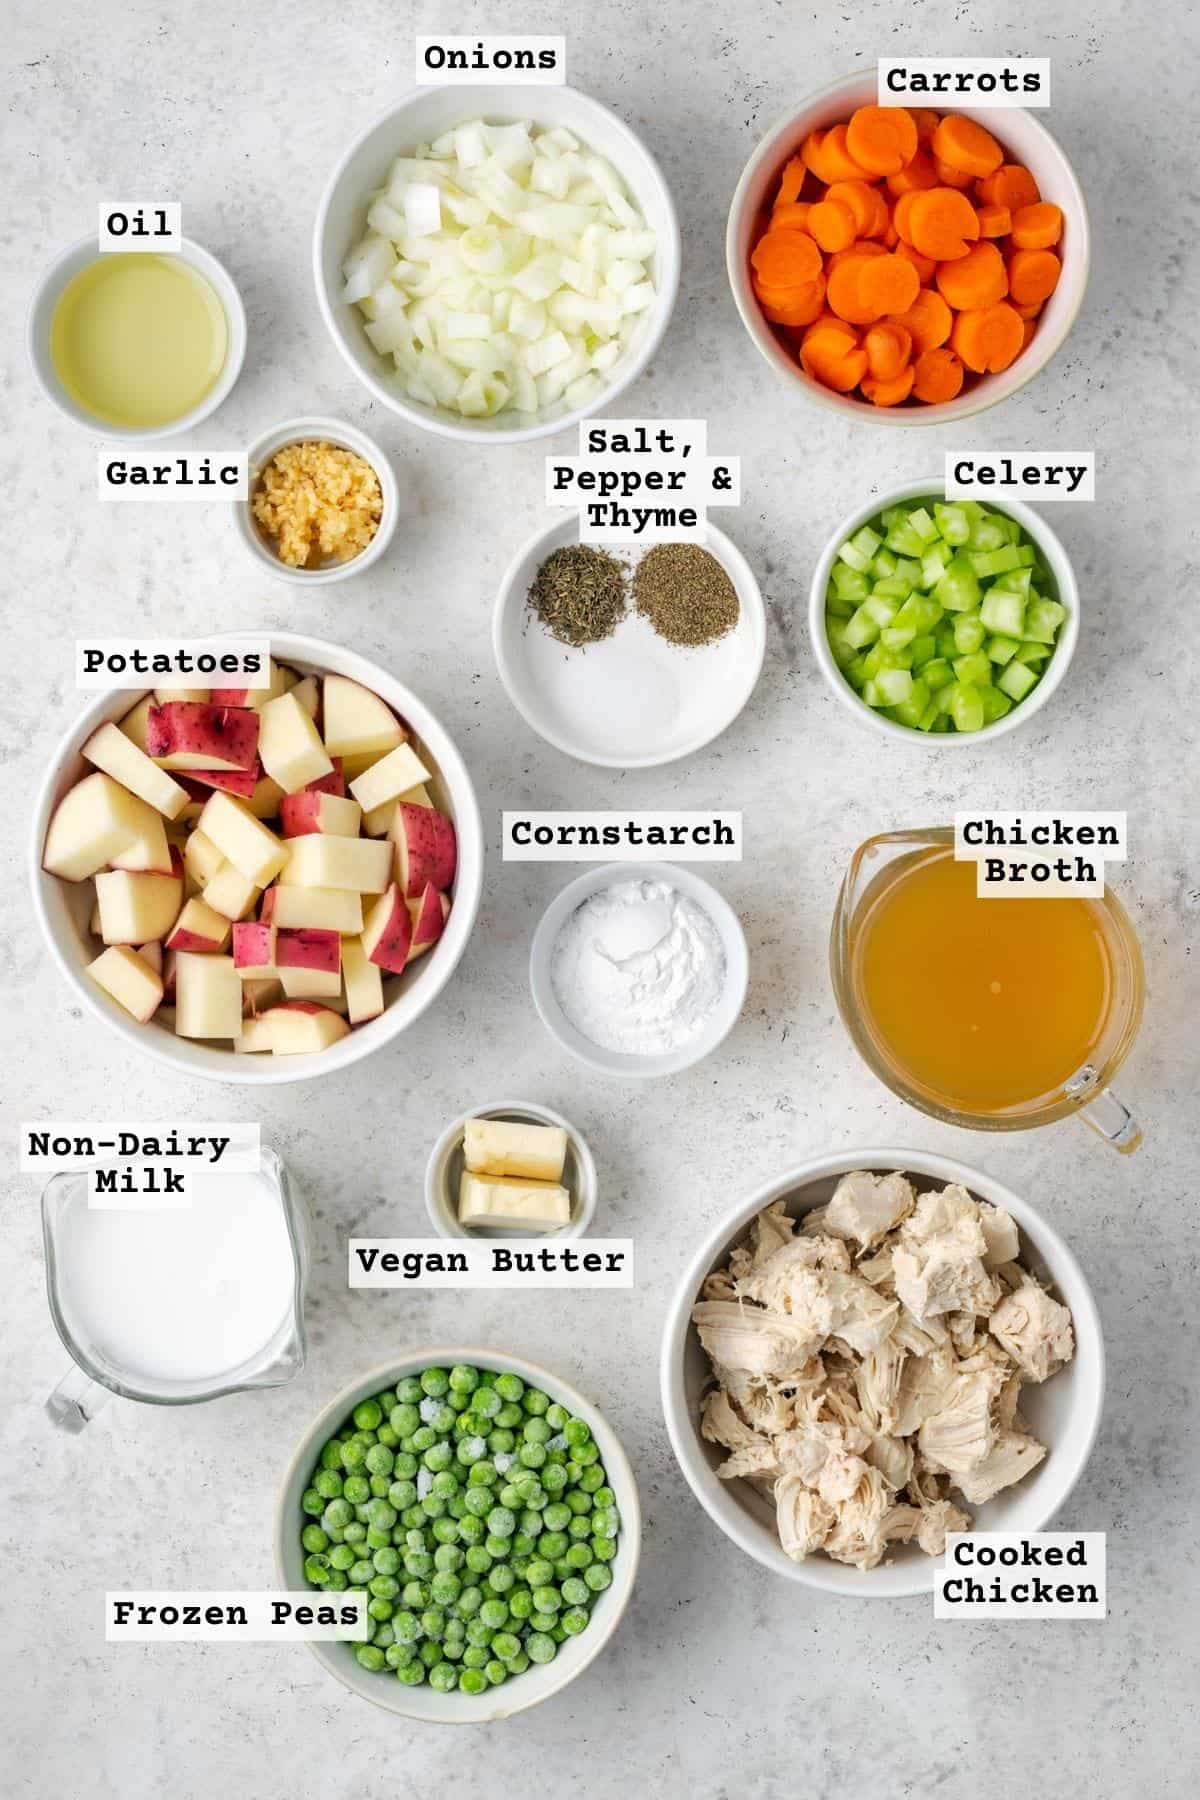
Ingredients in a Homemade Chicken Pot Pie
For the filling you will need the following ingredients:
Cooked Chicken (or Turkey) - You can use any precooked chicken for this recipe. I have cooked a couple of chicken breasts in my instant pot for this preparation. However, in the past I have also used a rotisserie chicken to save time. Whatever product you use, just make sure it is gluten free.
Onion. Celery & Garlic - Adds to the savory flavor of the pie.
Vegetables - I use fresh carrots, frozen peas and cut red potatoes. However, in a pinch, I have also used the full measure of just frozen mixed vegetables. I'm all about doing things the easy way when time or ingredients are limited.
Chicken Broth - make sure you're using gluten free chicken broth. I normally use Pacific Foods brand.
Non-Dairy Milk - I use coconut milk in my baking and cooking. However, if you don't like coconut milk, you can use any unsweetened non-dairy milk. If you're not dairy free, use regular milk in the same measure.
Seasonings - Salt, pepper and thyme.
Vegan Butter - to add to the sauce for a little extra rich flavor and creamy texture.
Starch - This will be used to thicken the sauce. I typically use arrowroot powder or tapioca starch because I try to limit corn products in my diet. But cornstarch would also be suitable in the same measure.
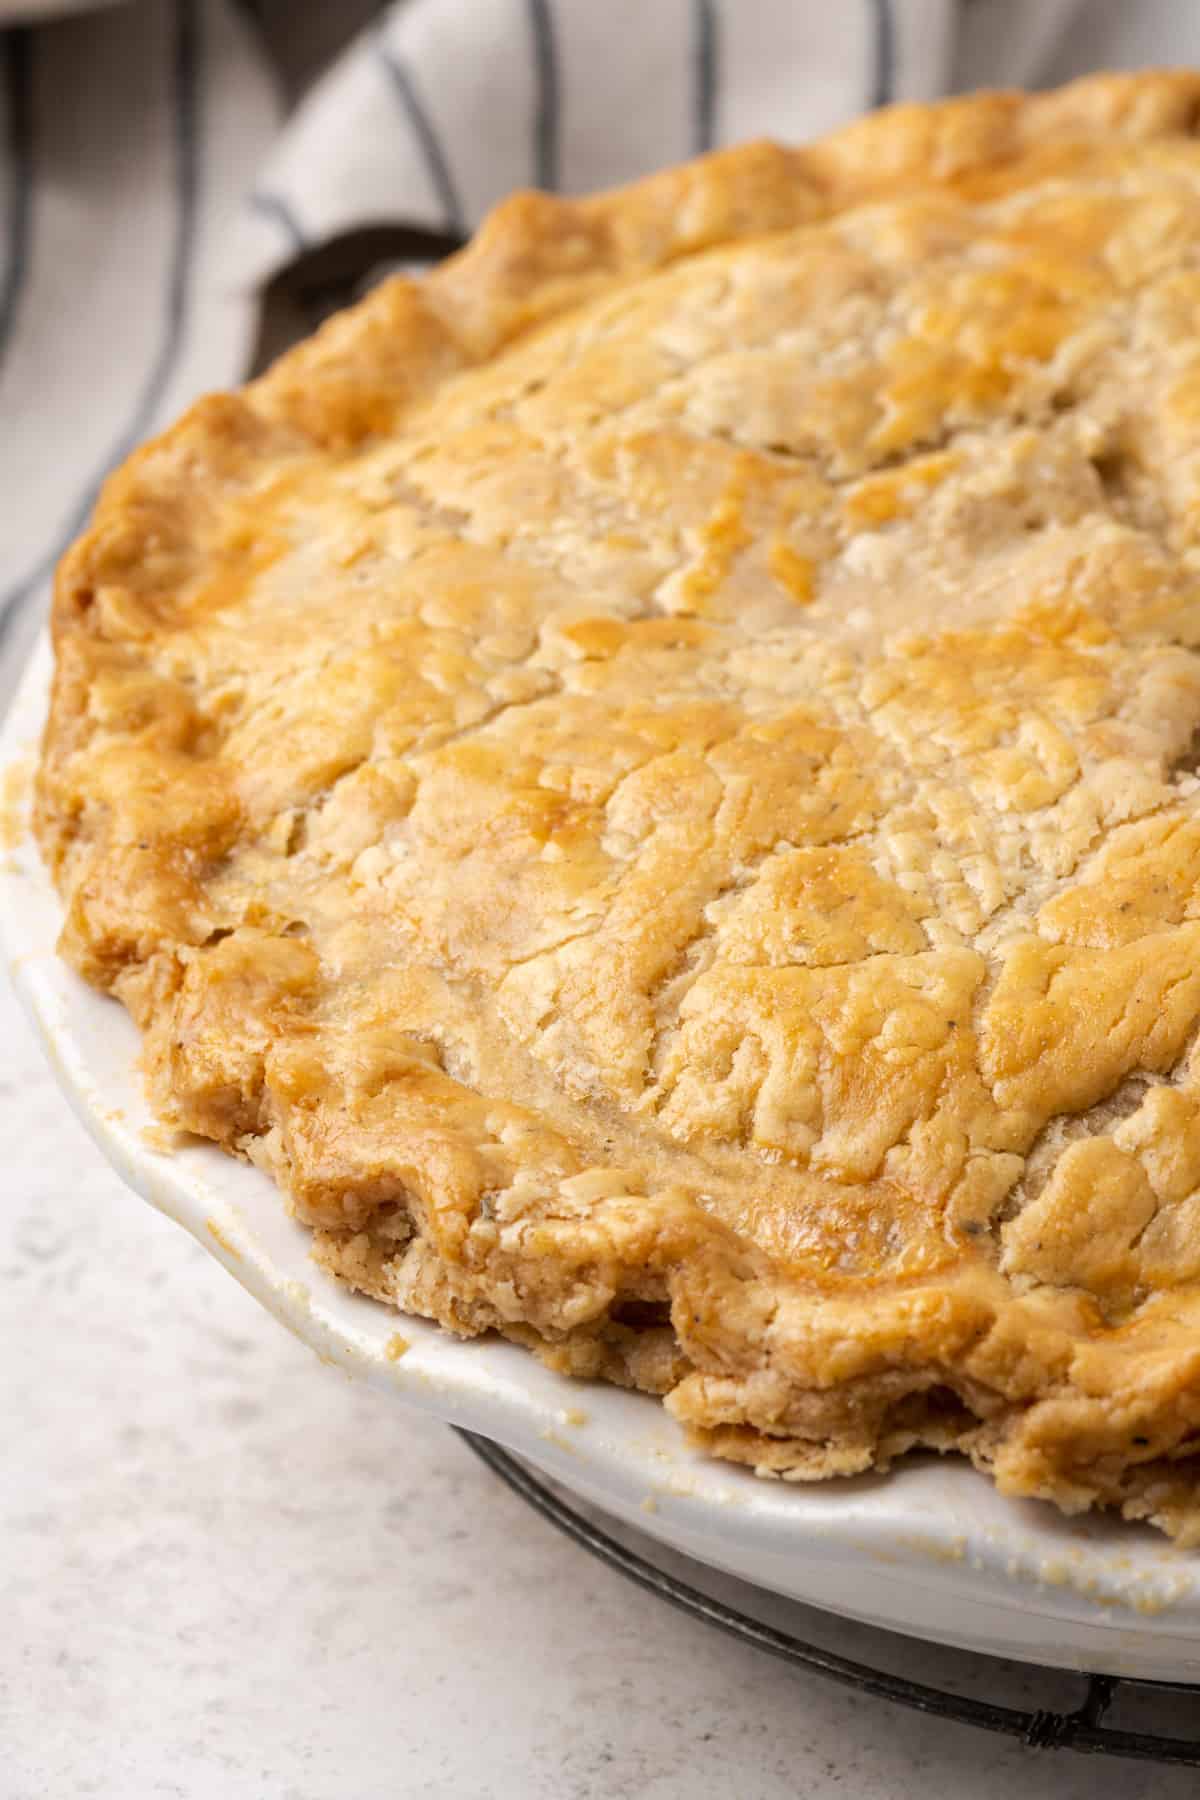
How to Make a Pot Pie Crust
The key to making a gluten free, dairy free pie crust is keeping your dough cold at all times throughout the process.
For chicken pot pie, which I normally make with a double crust (top & bottom), I always use my food processor. This is different than how I make my other pie crusts which is always by hand.
To make crust in the food processor, you simply dump the dry ingredients and the frozen butter into your processor and hit the pulse button about 5 times for 1-2 seconds each. Once your butter appears as little pebbles, about the size of peas, it is ready to remove.
Dump your processed flour/butter mixture into a large bowl. Add half of your very cold water. Toss it together to incorporate the water into the flour. Continue to add water a little at a time until the dough starts to stick together. Take care not to make it too wet as it will take a lot of flour to recover it. It is easier to add more liquid than to make it dry again.
Once your dough has come together, shape it into 2 matching discs about 1-inch thick. Wrap in plastic wrap and refrigerate at least 2 hours.
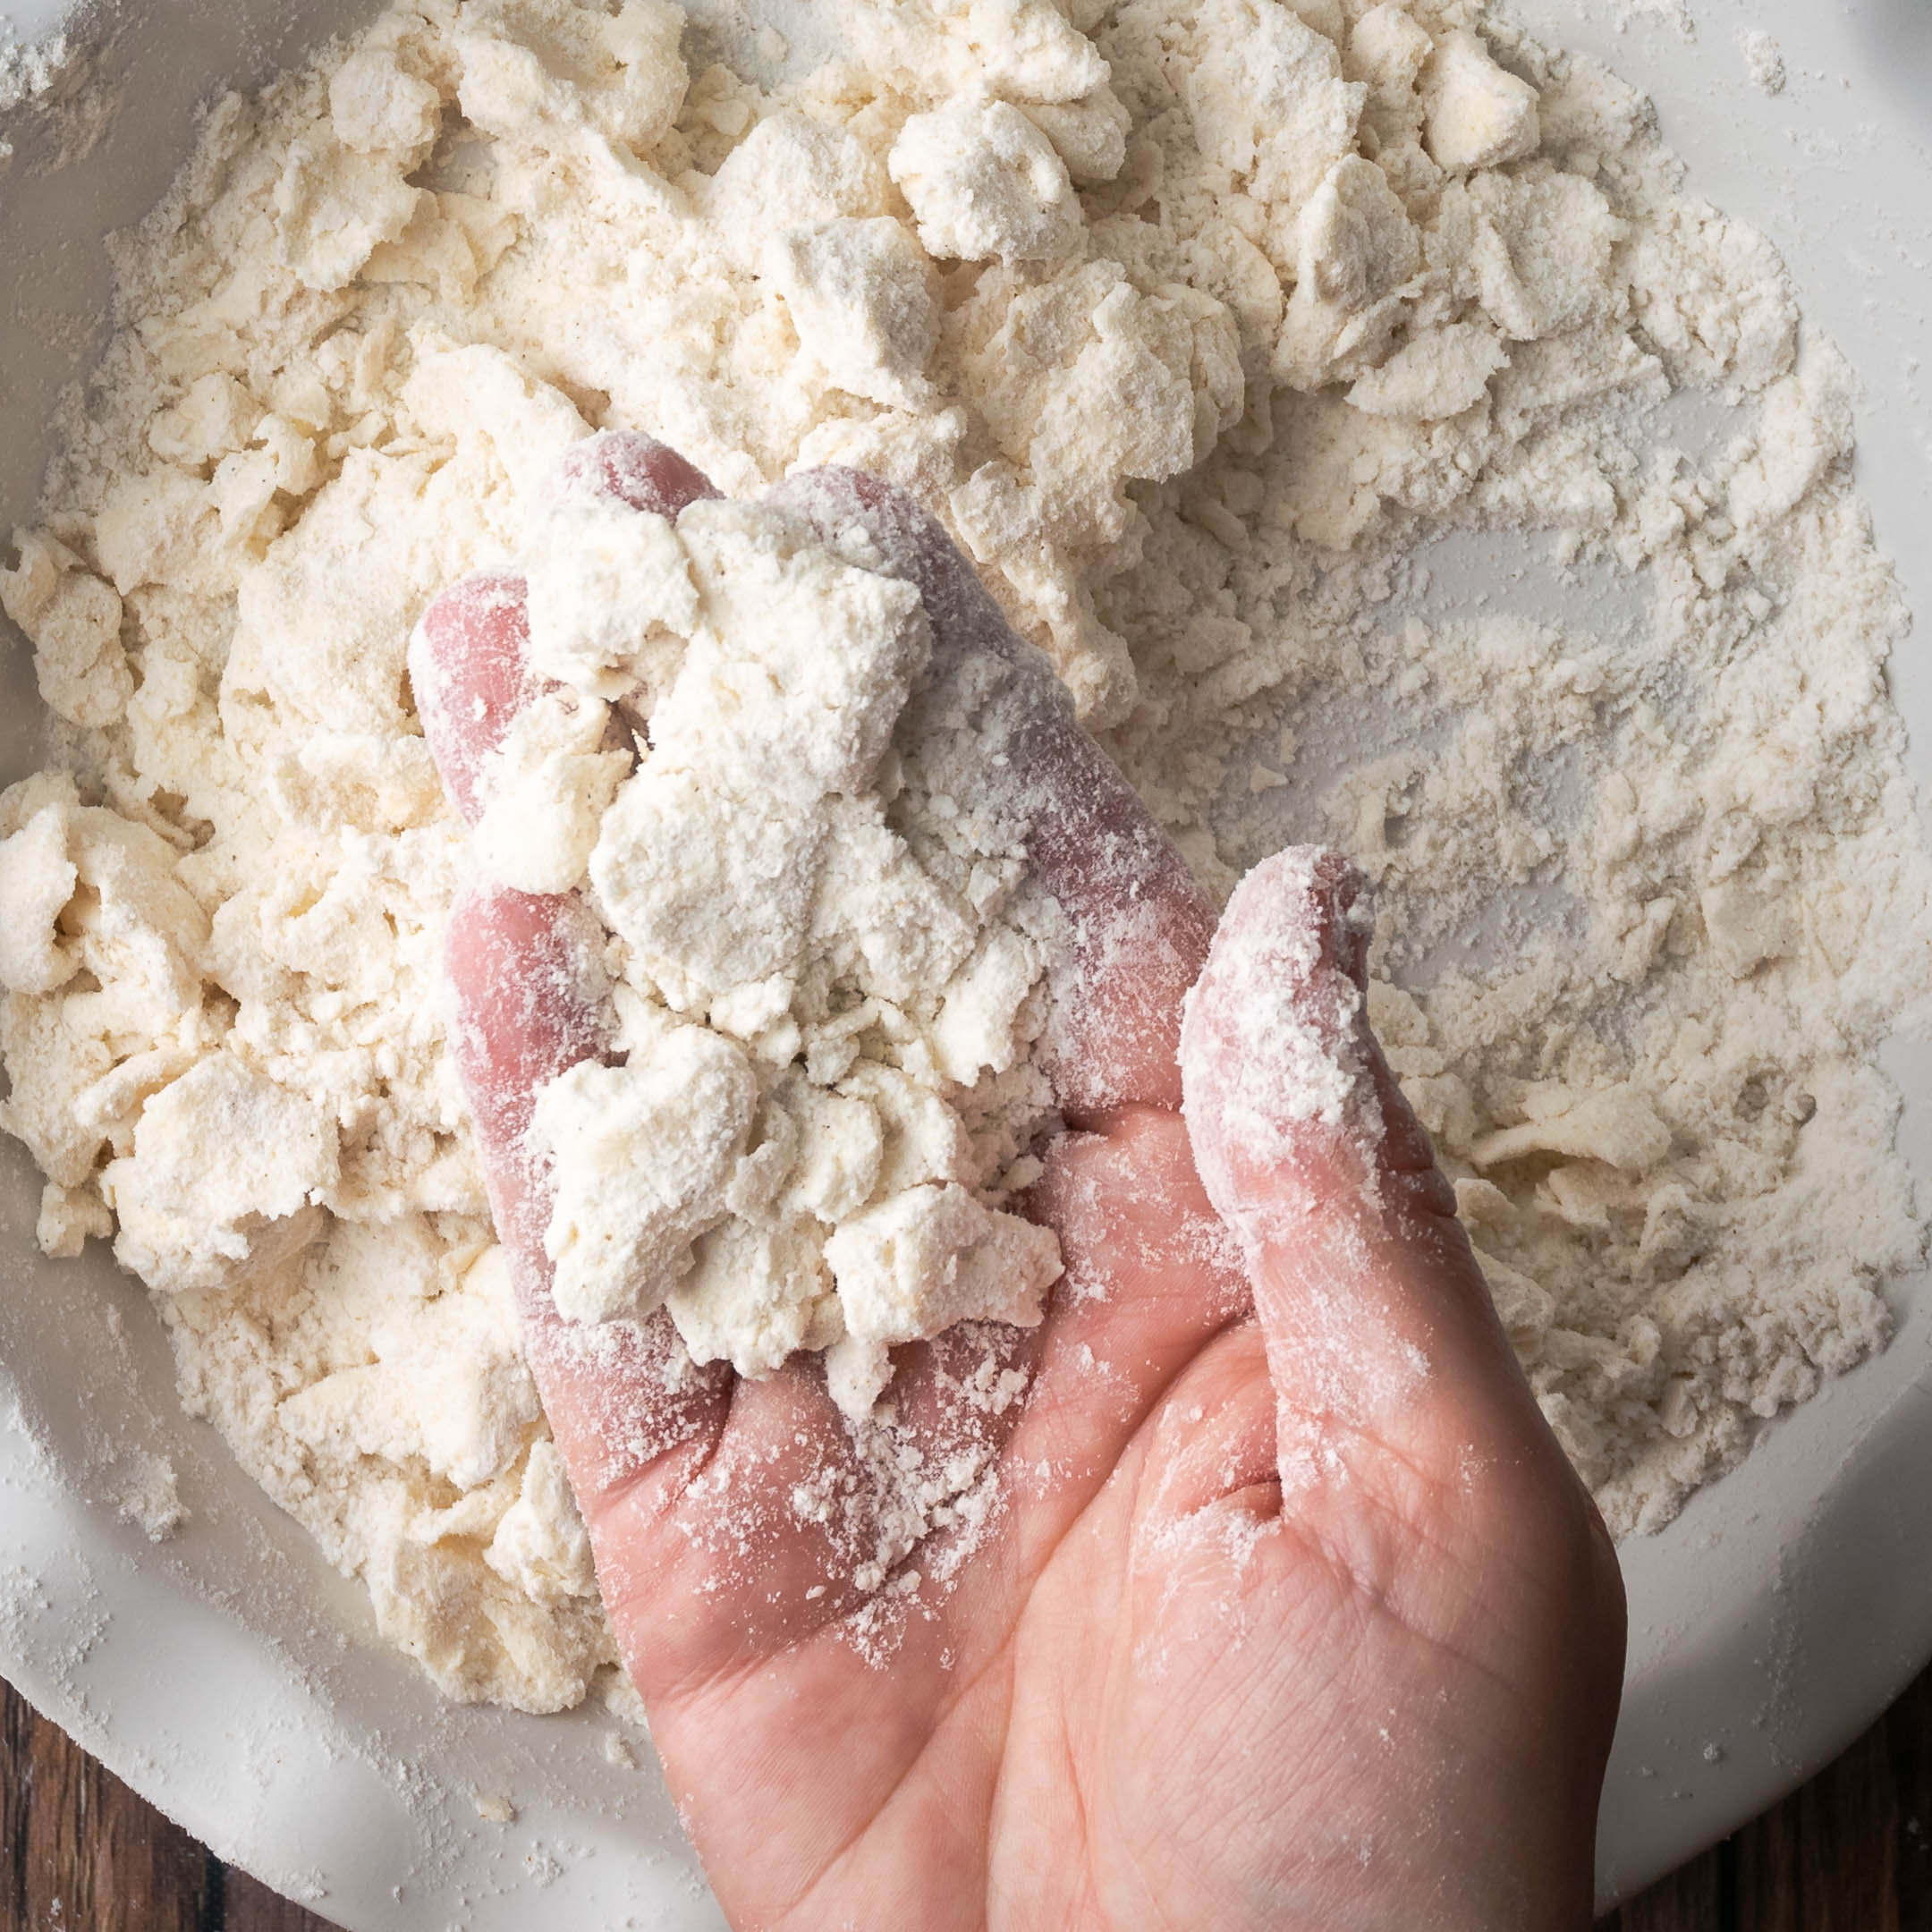
After your dough has been refrigerated, you will remove it and roll it out into a sheet. There are two methods - you can place your disc between two large sheets of plastic wrap and roll it out. The second method is to use flour. Cut a large piece of parchment paper and sprinkle it with about 1 tablespoon of gluten free flour. Place your disc on the floured surface. Sprinkle a little more flour on top of the dough and roll it out with a rolling pin. Whichever method you choose, once you have rolled out two matching sheets of dough, place them on a baking sheet and put them back in the refrigerator for another hour.
Once the chilling time has elapsed, remove one sheet of dough and gently work it into your pie plate. Do not press it in because it will stick to the pan after baking. Take care to patch any holes or tears so the filling doesn't leak out of the crust. Trim the dough to the edge of the pie plate and place the prepared crust into the freezer while you make your filling.
To prepare the top, cut the size of the dough ahead of time. If you want to crimp with a fork, you can cut it to the outer edge of your pie pan. If you want to make a finger crimped edge, leave about ½ inch overhang. Place the cut top sheet on a baking sheet and put in the freezer until you're ready to assemble. The reason we are freezing everything is because the filling will be quite hot and we need as much time as possible to assemble without the dough completely melting. Melted dough will lead to a hard crunchy crust instead of the flakiness you want.
If you want more pie crust tips, check out my post on gluten free pie crust which has step by step photos of the whole process.
Instructions
Once you have your pie crust ready, you need to cook the filling.
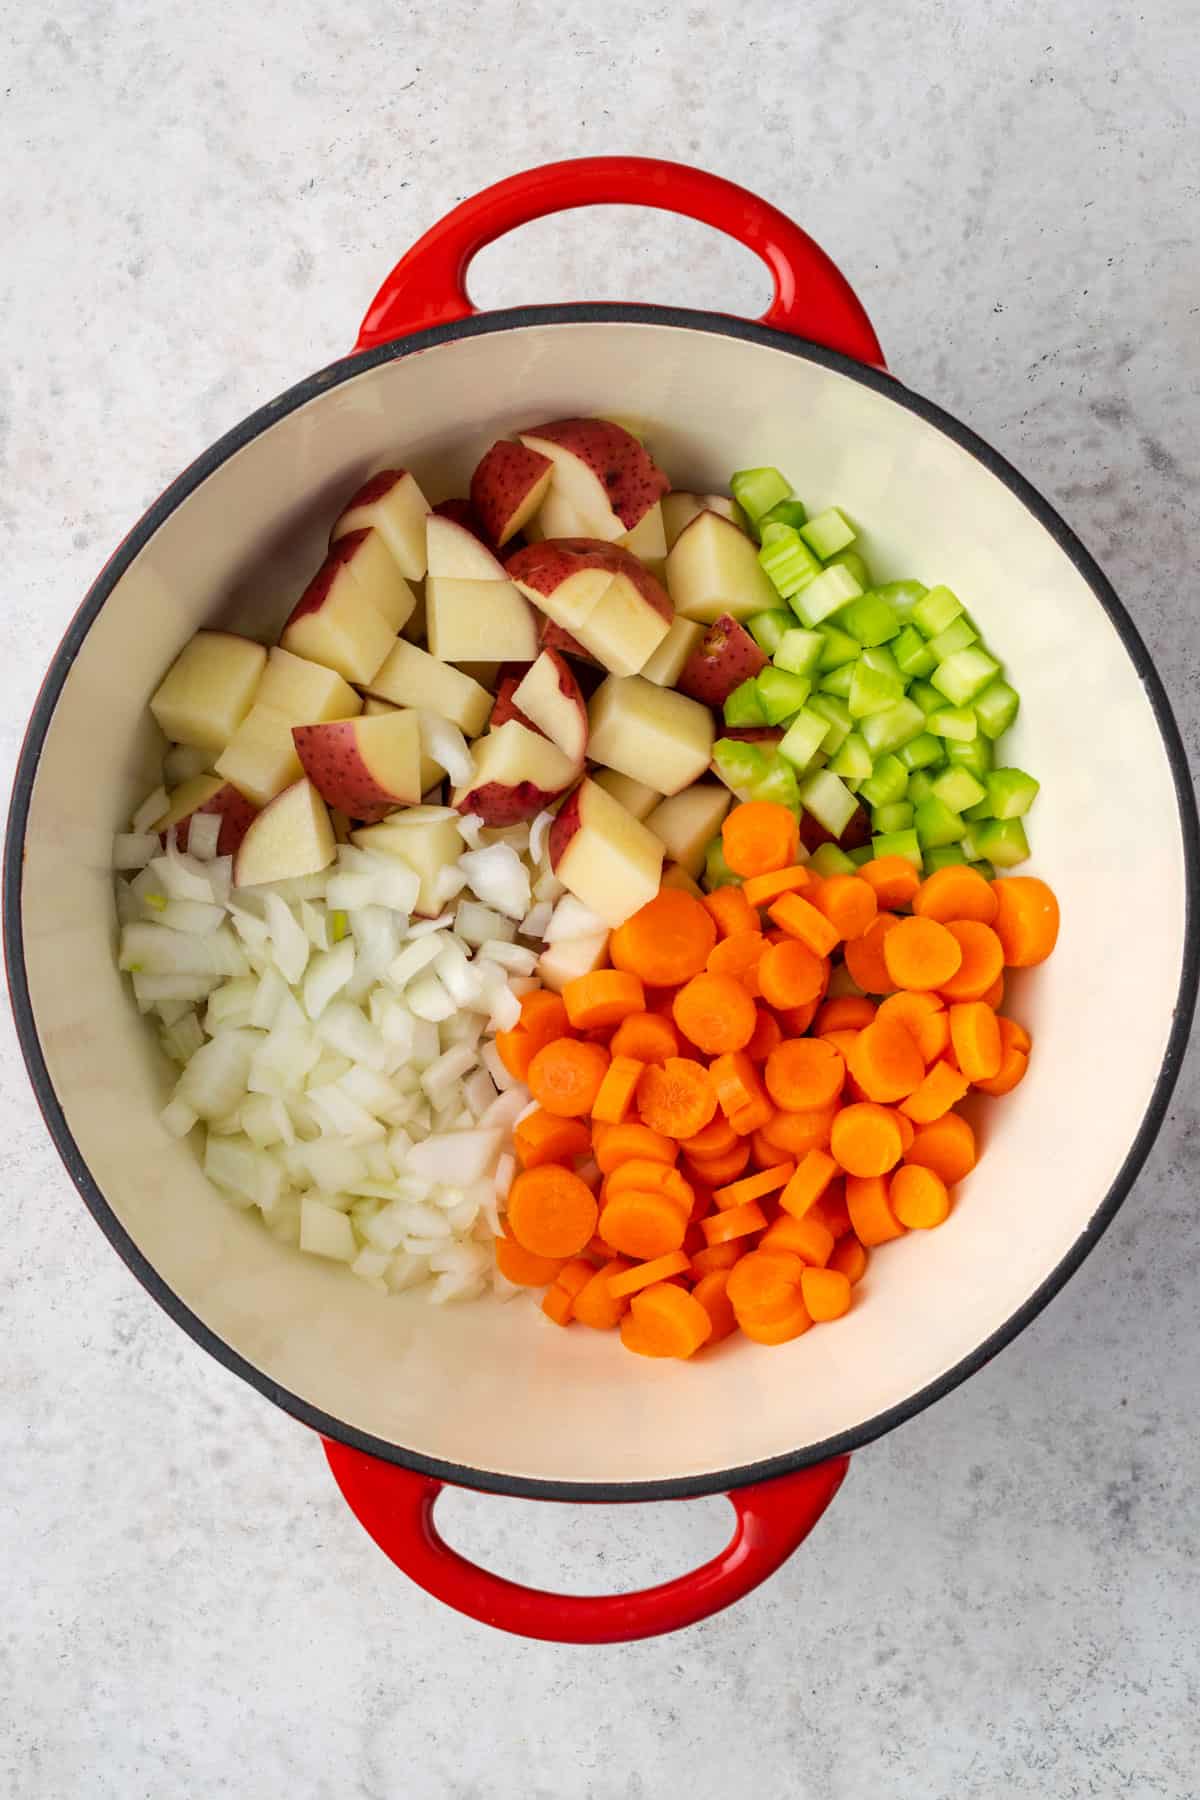
Add the olive oil to a large non-stick pot over medium heat. Once hot, add the potatoes, carrots, onions and celery. Cook for 10 minutes, stirring occasionally.
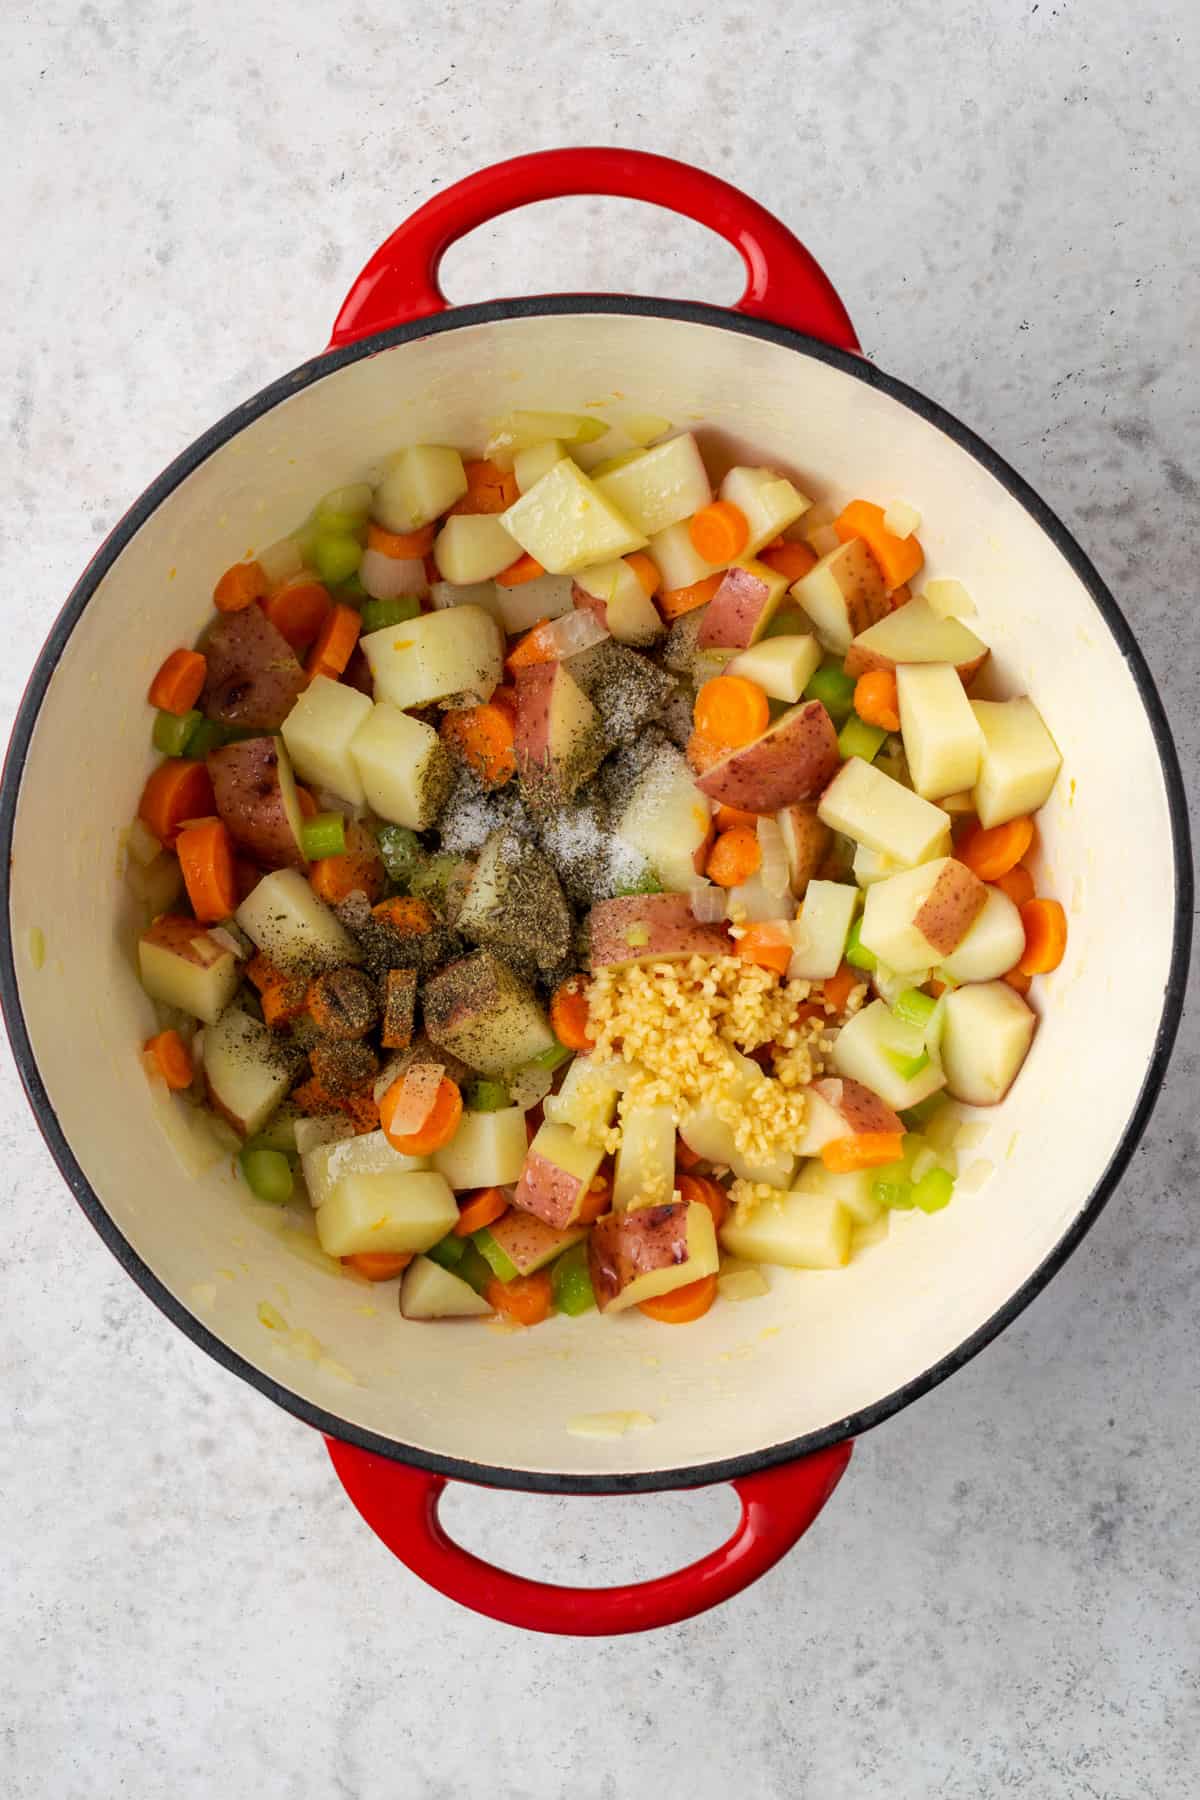
Add the garlic, salt, pepper & thyme to the partially cooked vegetables. Continue to cook for 1 minute, stirring constantly.
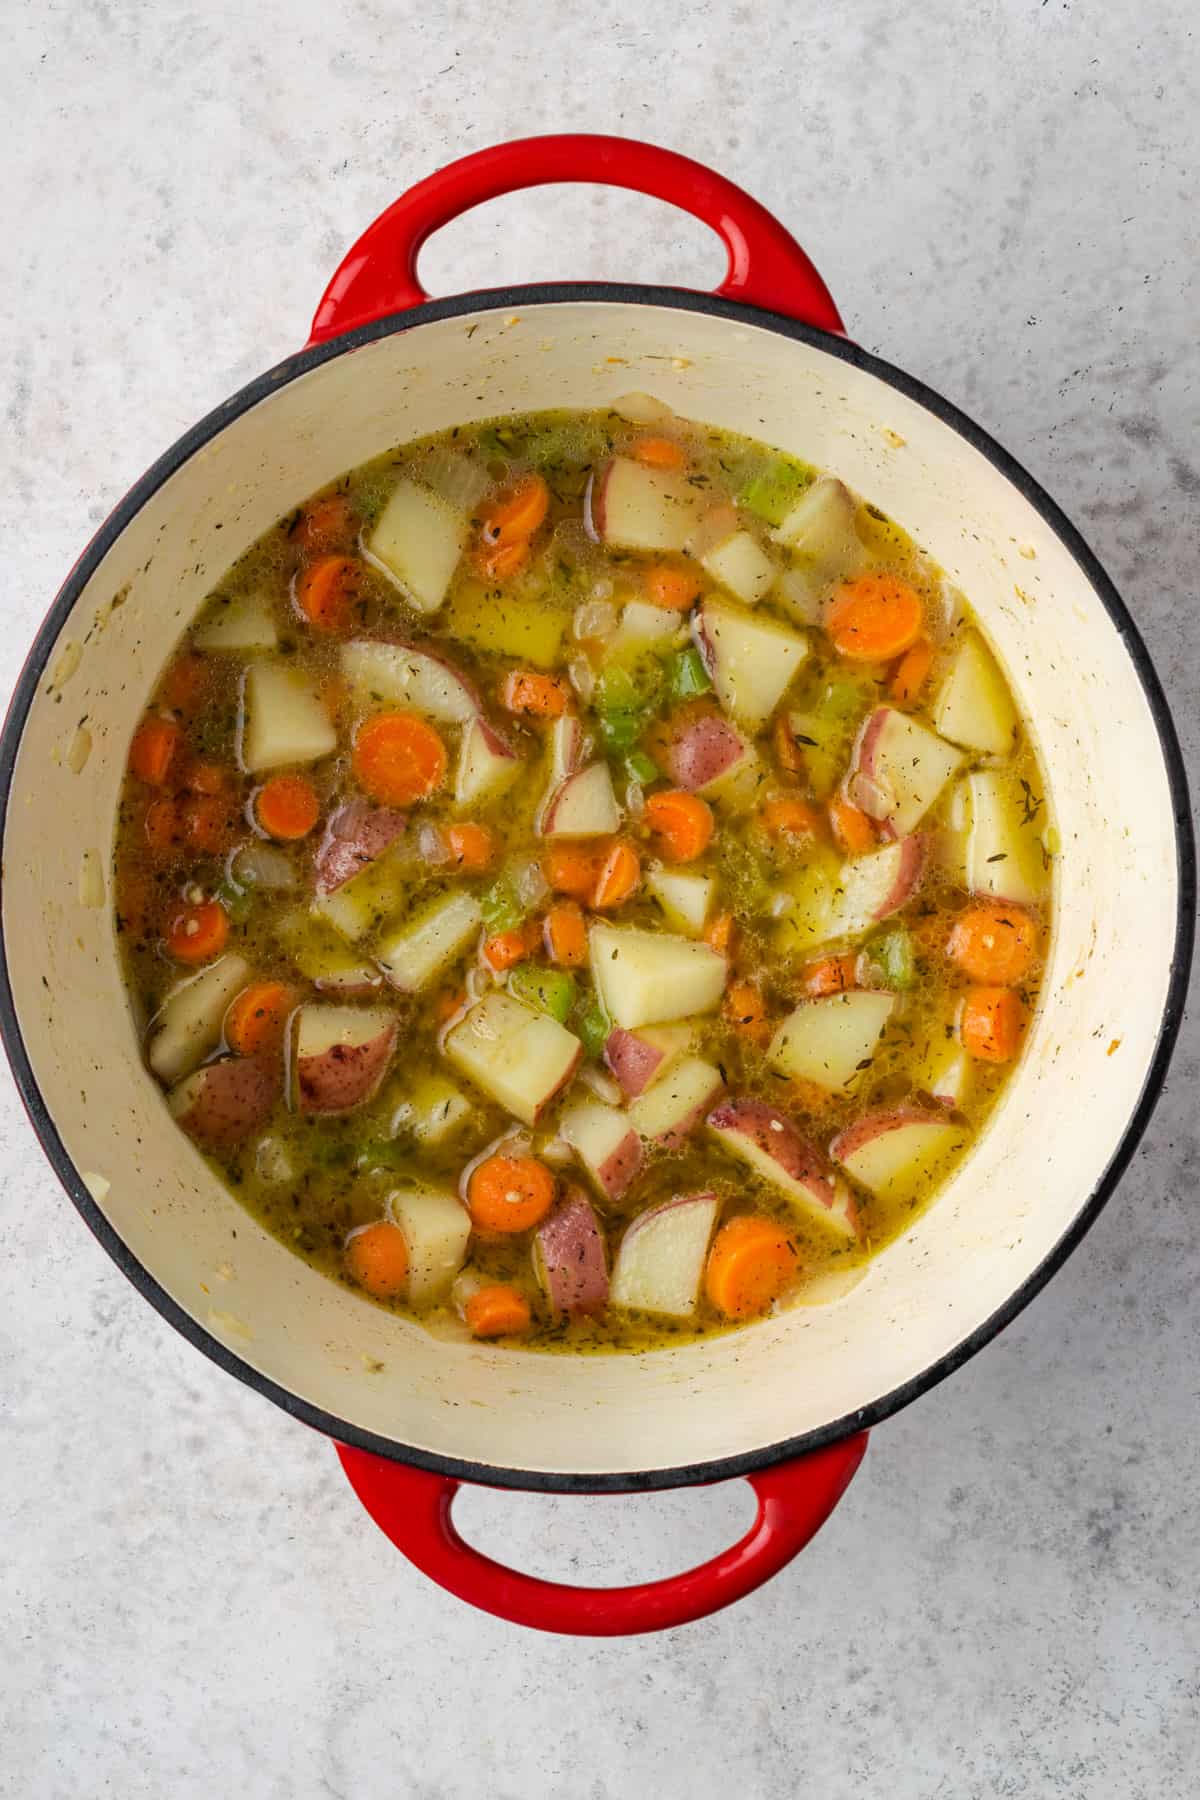
Add the chicken broth to the partially cooked vegetables. Bring to a simmer and cover. Cook for about 10 minutes until the potatoes are fork tender.
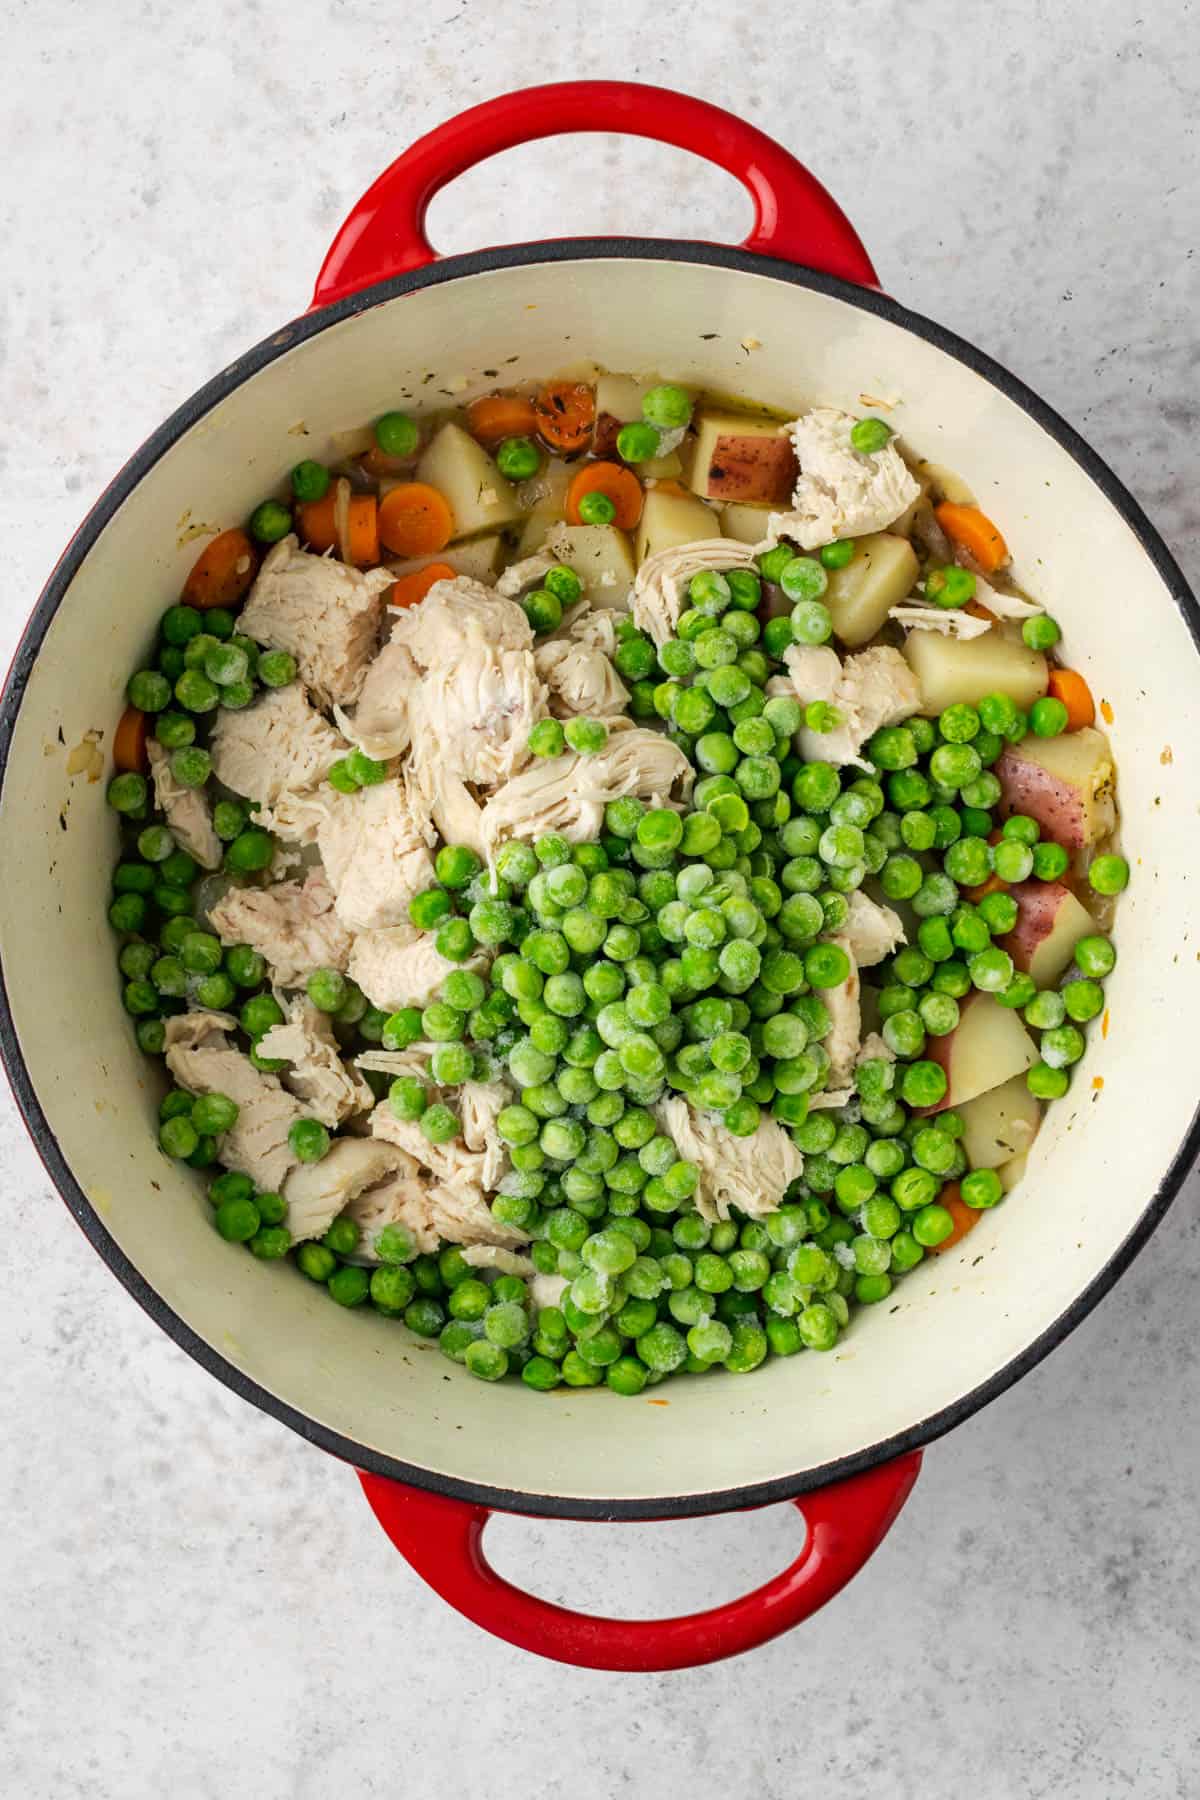
Add the cooked chicken and frozen peas to the vegetables and broth. Stir together.
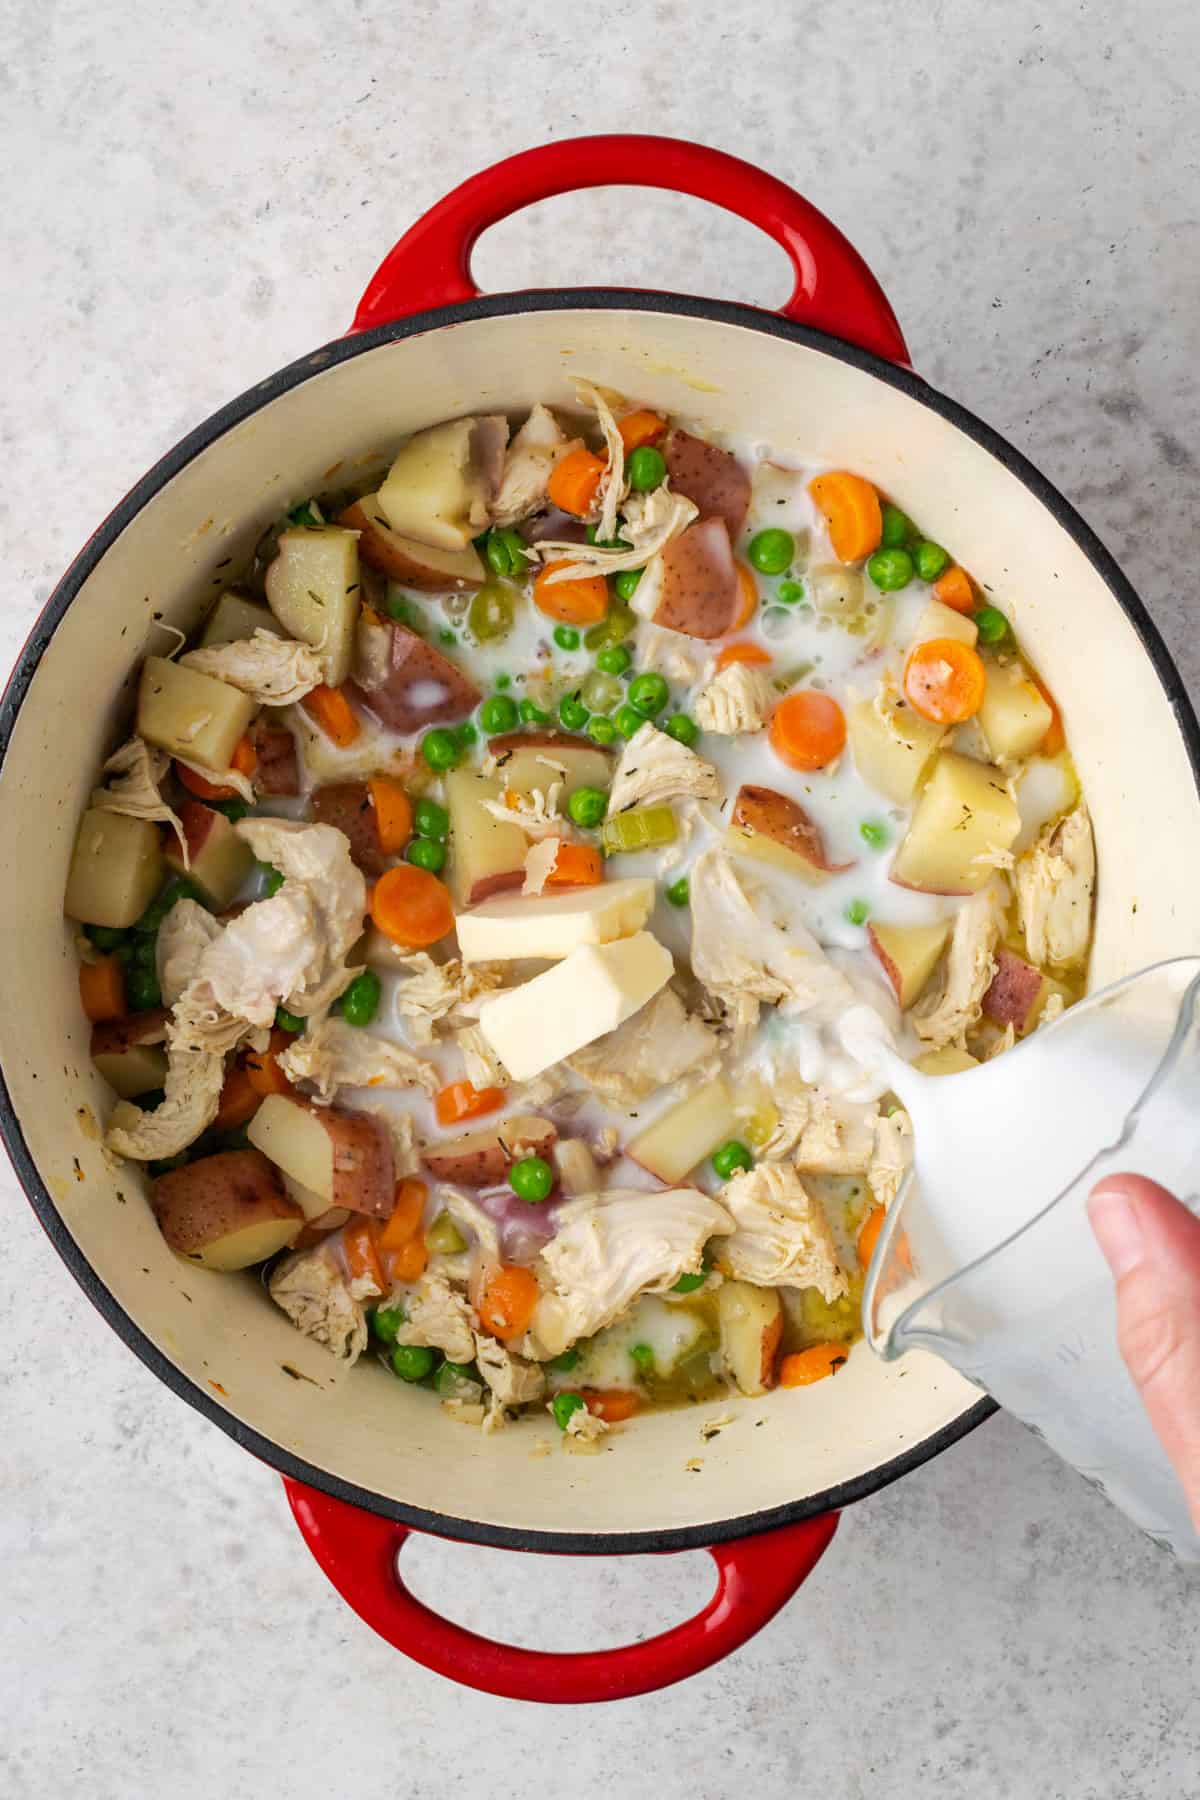
Add the vegan butter and coconut milk to the chicken pot pie filled. Stir well and continue to cook for 2-3 minutes.
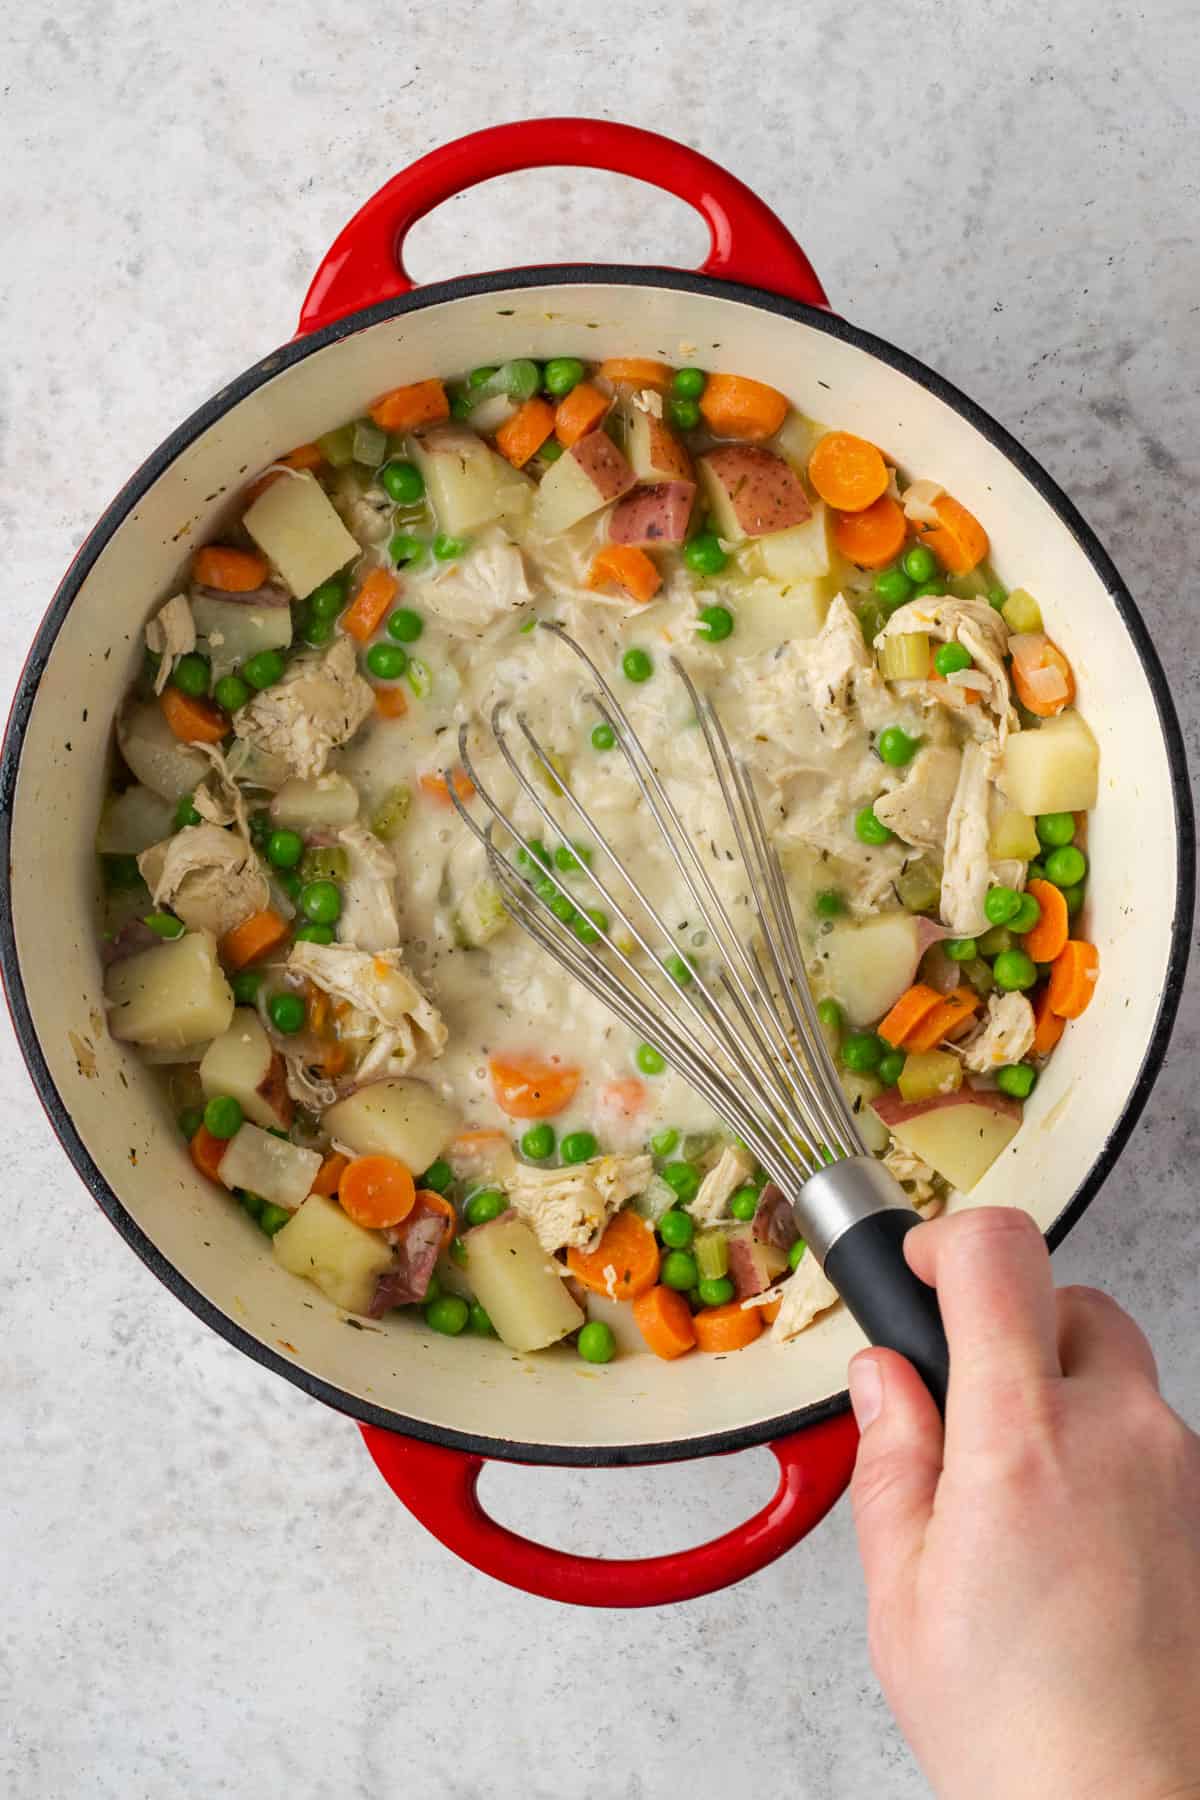
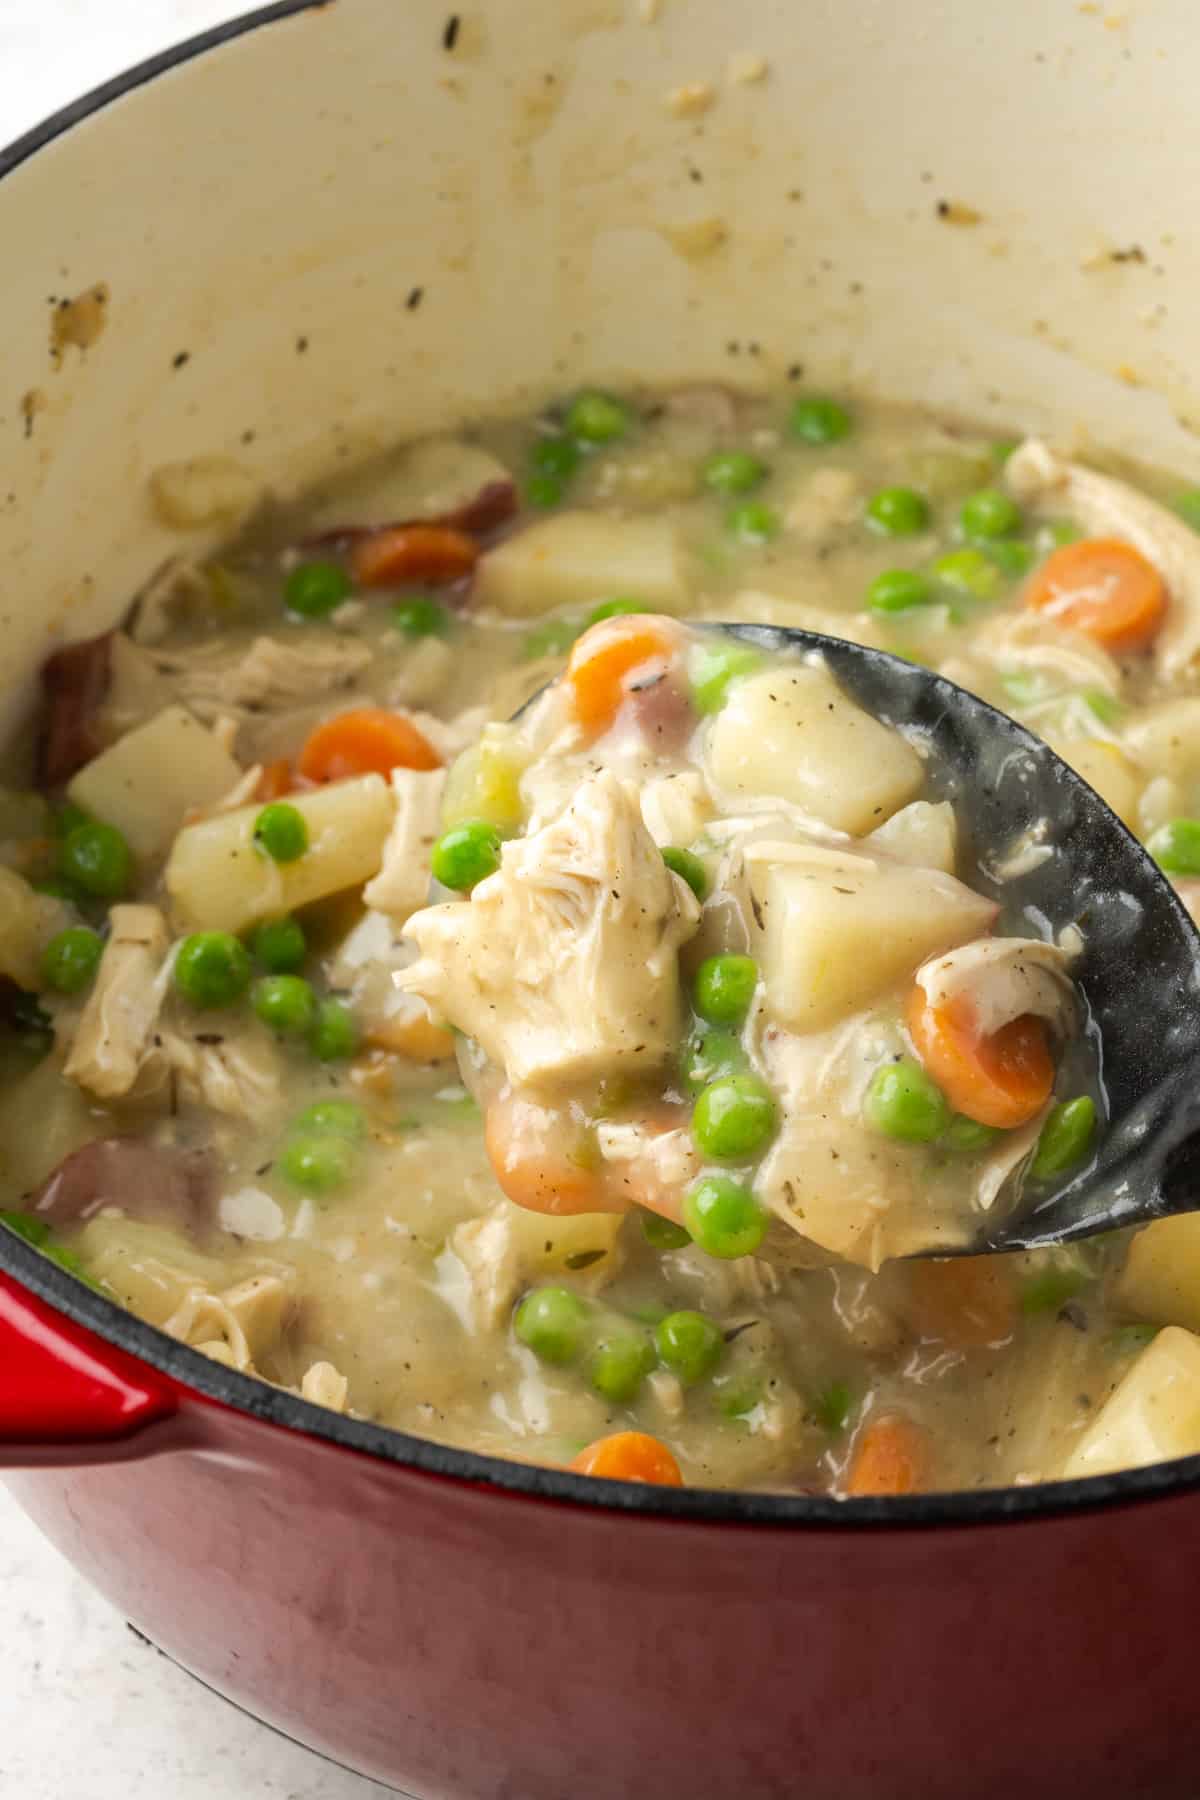
Make a well in the center of the filling mixture and pour in the starch slurry. Whisk until it's incorporated. Continue to cook until the sauce thickens, it should only take about a minute.
Variations & Substitutions
- Prepare the filling as directed and assemble with a frozen store bought pie crust.
- Prepare the recipe as directed but instead of making one large pie, make 8 mini pies. Freeze after baking and you have homemade frozen pot pies - great for dinner in a pinch.
- Do not make a pie crust, instead use tater tots to make a pot pie casserole.
- Replace the peas, carrots and potatoes with 4 cups of frozen mixed vegetables.
- Prepare filling as directed and assemble with gluten free puff pastry in place of the pie crust.
- Prepare filling as directed, transfer to a casserole dish and top with drop biscuits (either homemade or gluten free red lobster cheddar biscuits)
- Make it vegan - replace the chicken broth with vegetable broth, replace the chicken with Quorn Chicken Pieces and omit the egg wash.
How to Store/Reheat
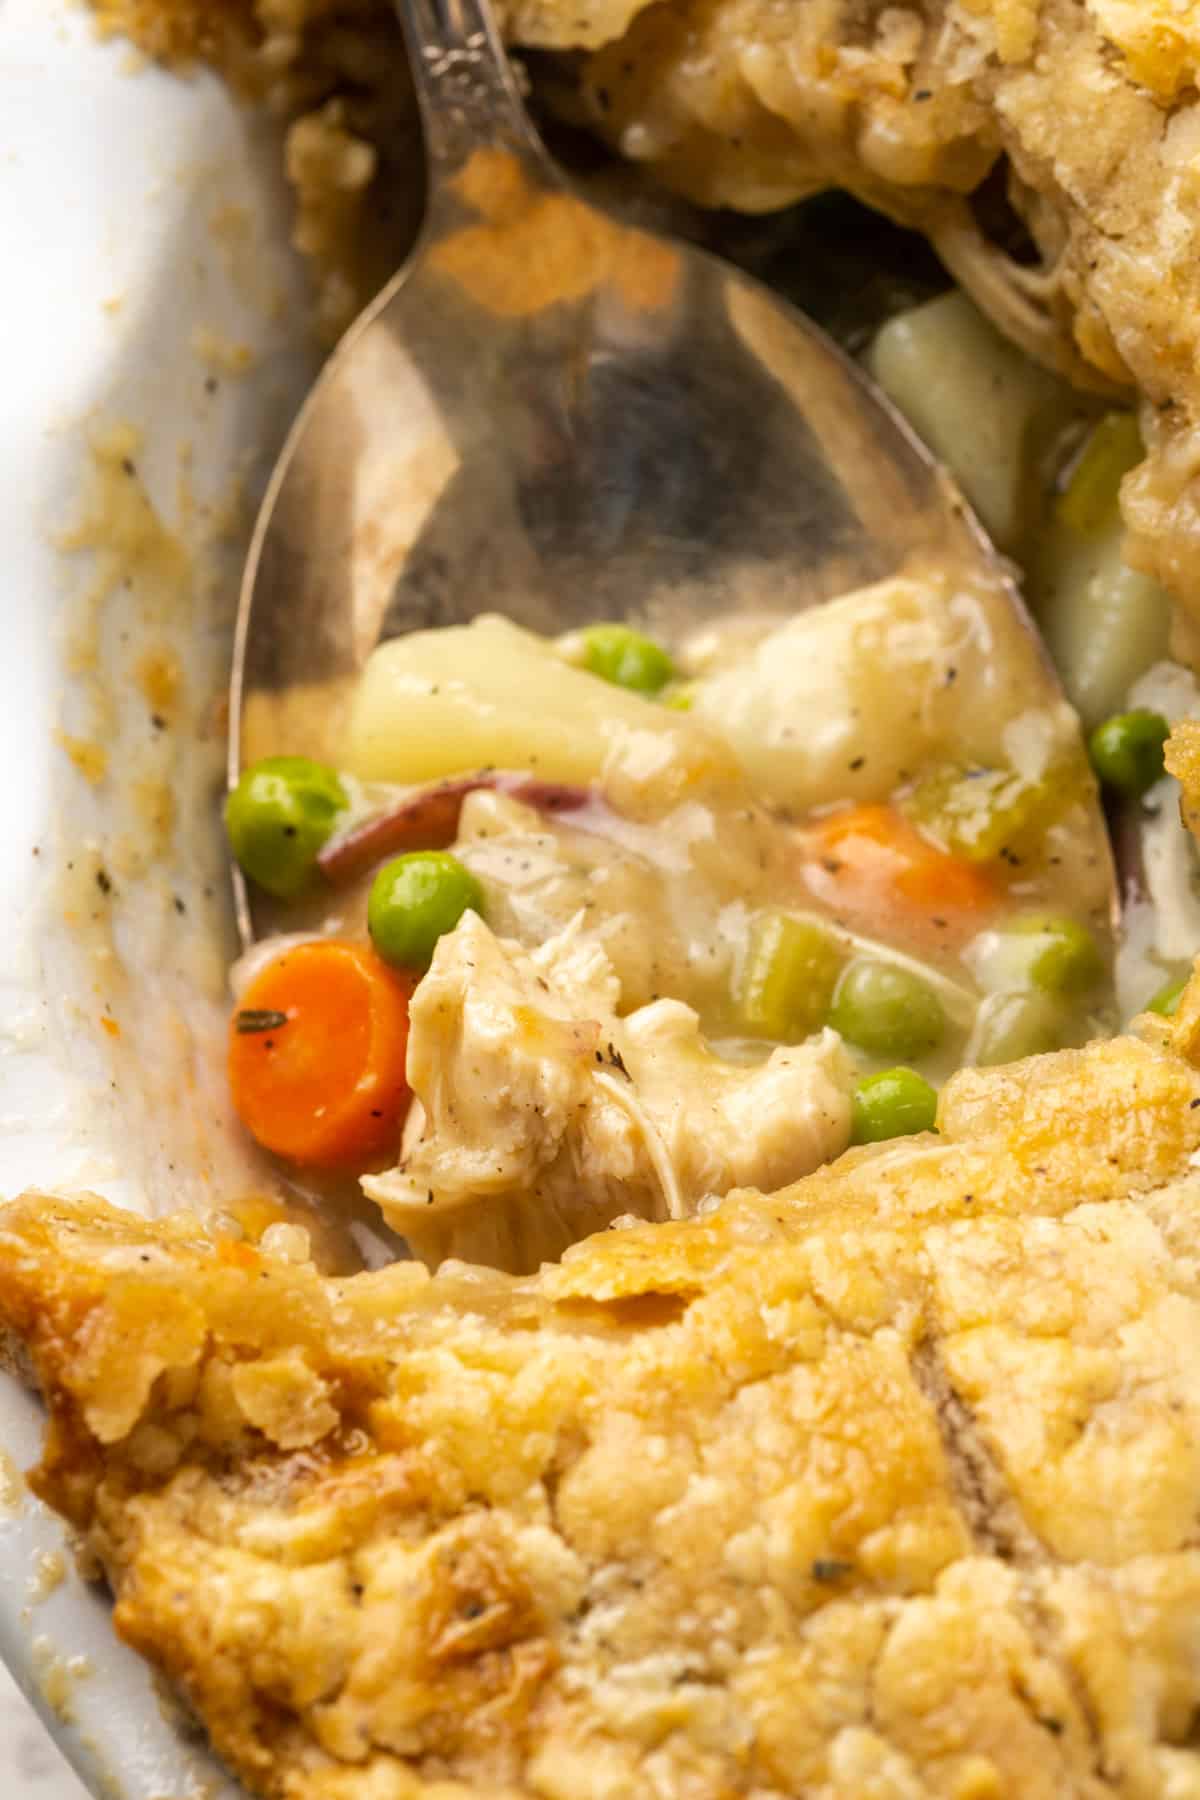
Chicken pot pie made with pie crust will always be most delicious the day it is made. However, having leftovers is one of the great perks of cooking for yourself. So, if you do indeed have leftover pie, leave the pie in the dish and cover it with aluminum foil and refrigerate. You can store it for 2-3 days in the refrigerator. To reheat, bake with the foil on at 350 for about 20-30 minutes until inside is warm.
Alternatively, you can reheat individual slices of pot pie in the microwave, but the crust will become a little bit soggy as the butter is melted.
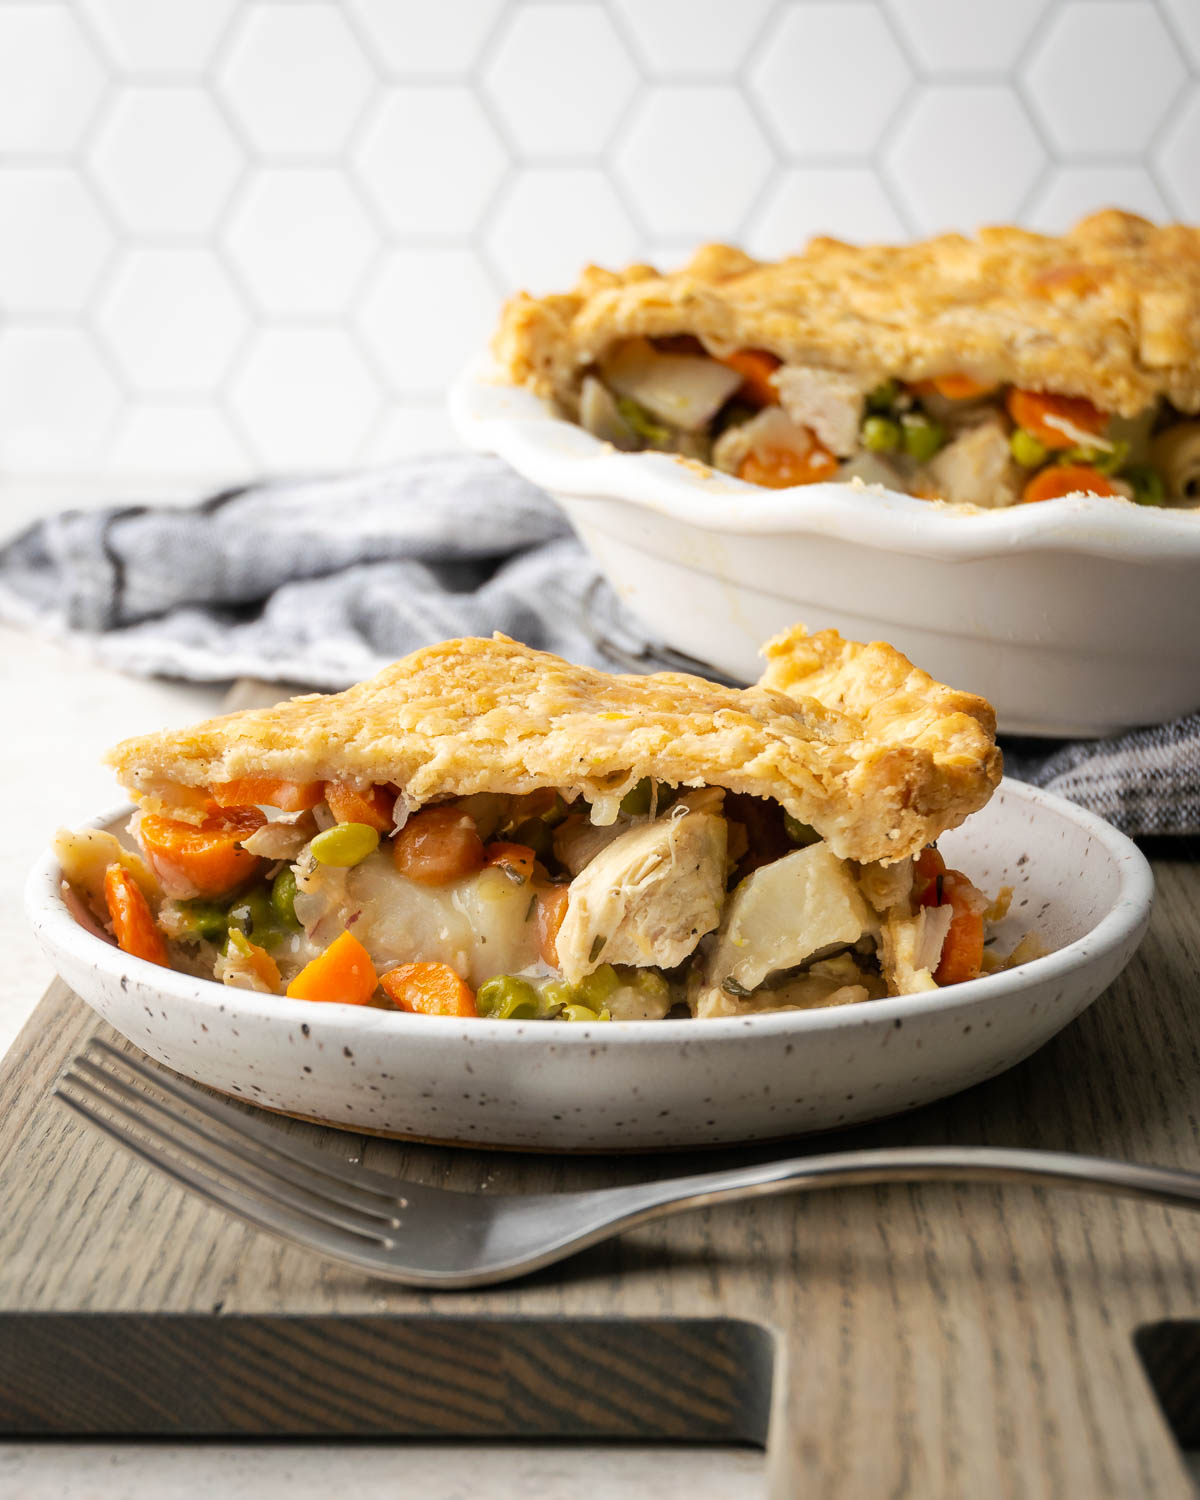
Can you freeze chicken pot pie?
One of my favorite things to do with this chicken pot pie recipe is to make it ahead of time and freeze it. Prepare and bake the pie as instructed. Once it has cooled, wrap the entire pie and pan in several layers of plastic wrap, making sure it is completely sealed. Place the wrapped pie inside a freezer storage bag or airtight container and freeze. The frozen pot pie will last for about 3 months. When you're ready to eat it, simple move it to the refrigerator to thaw overnight. Then bake covered with aluminum foil at 400 degrees for about 50 minutes until the center is warm.
When we go on car trips, I frequently bring a frozen pot pie in our cooler and just bake it at the place we are staying. It's an easy way to have a home-cooked meal without standing at the stove on vacation.
Shop this recipe
 Buy Now →
Gluten Free 1-to-1 Flour Blend
Buy Now → Buy Now →
 If you are looking for other chicken dinner ideas, check out these great recipes!
White Bean Chicken Chili (Gluten Free & Dairy Free)
Chicken Enchilada Soup with Gluten Free Corn Fritters
Spicy Honey Chicken
(Copycat) Chili's Southwest Chicken Soup
To pin this recipe for later, click the save button on any image in this post or the recipe card. Please tag me @wellfedbaker on Instagram if you make this recipe!
Recipe
Gluten Free Dairy Free Chicken Pot Pie
Ingredients
For the double pie crust
- 2 Cup + 2 tablespoon Gluten Free 1-to-1 Flour Blend I use Bob's Red Mill brand
- 2 Tablespoon Tapioca Starch
- 1 Cup Vegan Butter cut into cubes and frozen
- 1 teaspoon Salt
- ½ teaspoon Black Pepper
- ¼ teaspoon Paprika
- ¼ teaspoon Thyme
- 2 teaspoon Sugar
- ½ Cup Water ice cold
- 1 Egg
For the pot pie filling
- 2 Tablespoon Olive Oil
- ¾ Cup Yellow Onion diced, about ½ medium sized onion
- ½ Cup Celery diced
- 1 Cup Carrots sliced, about 4-5 large carrots
- 2 Cup Red Potatoes cut into ½ inch cubes
- 2 cloves Garlic minced
- ½ teaspoon Salt
- ½ teaspoon Black Pepper
- ½ teaspoon Thyme
- 1 Cup Gluten Free Chicken Broth
- 2 Cup Chicken cooked and cut into cubes
- 1 Cup Frozen Green Peas
- 2 Tablespoon Vegan Butter
- 1 Cup Non-Dairy Milk
- 3 Tablespoon Tapioca Starch or Cornstarch
- 3 Tablespoon Water
Instructions
To prepare the pie crust
- Combine all of the dry ingredients and the frozen butter into a food processor. Pulse for 1-2 seconds about 5 times until the butter is in pebble form about the size of peas.2 Cup + 2 tablespoon Gluten Free 1-to-1 Flour Blend, 2 Tablespoon Tapioca Starch, 1 Cup Vegan Butter, 1 teaspoon Salt, ½ teaspoon Black Pepper, ¼ teaspoon Paprika, ¼ teaspoon Thyme, 2 teaspoon Sugar
- Pour the flour/butter mixture into a large bowl. Add half of the cold water. Work together with your hands by tossing the water and flour to combine. Continue adding a little water at a time and working together until the dough starts to form into a ball.½ Cup Water
- Divide the dough ball into two halves. Wrap in plastic wrap and form into two discs about 1 inch thick. Refrigerate for 2 hours.
- Remove the cold dough from the refrigerator. Place one dough disc between two sheets of plastic wrap and roll out using a rolling pin. Once the dough is large enough to fit the pie plate, place onto a baking sheet and return to the refrigerator. Repeat with second dough disc. Refrigerate dough sheets for 1 hour.
- Remove one dough sheet from the refrigerator and measure and cut to match the outer ring of the pie plate. Place the circle on a baking sheet and put in the freezer (this will be the top).
- Remove the second dough sheet from the refrigerator and gently work it into the pie pan taking care not to press down the dough. Trim the dough to the outer edge of the pie plate and place the whole pie shell in the freezer while you make the filling.
- Preheat the oven to 400 degrees F.
To make the filling
- Pour olive oil into a large skillet or non stick saucepan. Heat over medium heat.2 Tablespoon Olive Oil
- Add the onions, celery, carrots and potatoes to the oil. Cook for 10 minutes, stirring occasionally to ensure they are not sticking.¾ Cup Yellow Onion, ½ Cup Celery, 1 Cup Carrots, 2 Cup Red Potatoes
- Add the garlic, salt, pepper and thyme. Stir and cook 1 minute more.2 cloves Garlic, ½ teaspoon Salt, ½ teaspoon Black Pepper, ½ teaspoon Thyme
- Add the chicken broth. Stir well one time then bring to a simmer. Cover and cook for 10 minutes or until potatoes are just about fork tender.1 Cup Gluten Free Chicken Broth
- Add the cooked chicken and frozen peas to the broth and vegetables.2 Cup Chicken, 1 Cup Frozen Green Peas
- Then add in the coconut milk and butter, cook another 2-3 minutes.1 Cup Non-Dairy Milk, 2 Tablespoon Vegan Butter
- In a small measuring cup, combine the starch and water and stir to form a slurry. Make a well in your filling using a whisk and whisk continuously while pouring the slurry into the broth. It will thicken fairly quickly. Once it does, remove it from the heat.3 Tablespoon Tapioca Starch, 3 Tablespoon Water
- Remove your pie shell from the freezer. Beat the egg and add 1 tablespoon water to make an egg wash. Brush the egg wash around the edge of the pie crust to create a glue to bind the top crust to the bottom.1 Egg
- Pour the filling into the crust.
- Working quickly, place the top crust over the filling and crimp the edges. Brush the entire top with the egg wash.
- Place your pie on a baking sheet (to avoid spilling in the oven) and bake for 45 minutes on the lowest oven rack. If your top crust begins to get too brown during baking, just lay a piece of aluminum foil lightly over the top.

Tiffany is the recipe developer, stylist and food photographer behind Well Fed Baker. As a lifelong baker who had to go gluten free and dairy free in 2016, Tiffany strives to share allergen friendly recipes that never feel like they are free from anything.

Donna Pierangeli says
I tried this recipe. I had crusts already made on the freezer of my own. It still took 2 1/2:hrs to complete the recipe. It was good but I thought it needed a lot more gravy.