At my house, every holiday is an opportunity for cute themed cookies. Queue the most adorable Easter sugar cookies, that will have the bunnies in your life grinning from ear to ear.
These soft cut out sugar cookies are just perfect for decorating with royal icing as Easter eggs or Easter bunnies. You could even host a cookie decorating party in lieu of the typical Easter egg hunt. Because these cookies are both gluten free and dairy free, they can be enjoyed by kids (and adults) with diet restrictions, so no one has to miss out on the treats!

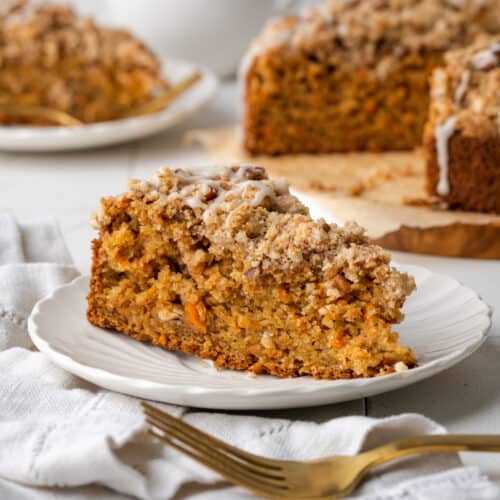
If you're looking for more delicious dessert ideas to serve for Easter, I highly recommend this gluten free lemon cake or my favorite carrot cake coffee cake.
Jump to:
Want to save this recipe?
Enter your email below and we will send it straight to your inbox!
You will also be added to our weekly email list.
Why You 'll Love These Easter Decorated Cookies
- CUTE - These cute designs are easy to achieve, even for a novice cookie decorator. But I think the fun of sugar cookies is letting everything be creative and do their own thing!
- FAIL-PROOF - I've been making these gluten free sugar cookies for years. They hold their shape, don't spread and stay soft for days after baking.
- ALLERGEN FRIENDLY - With limited Easter candy options that are both gluten free and dairy free, these adorable decorated cookies will make the perfect addition to your Easter basket.
Ingredient Notes
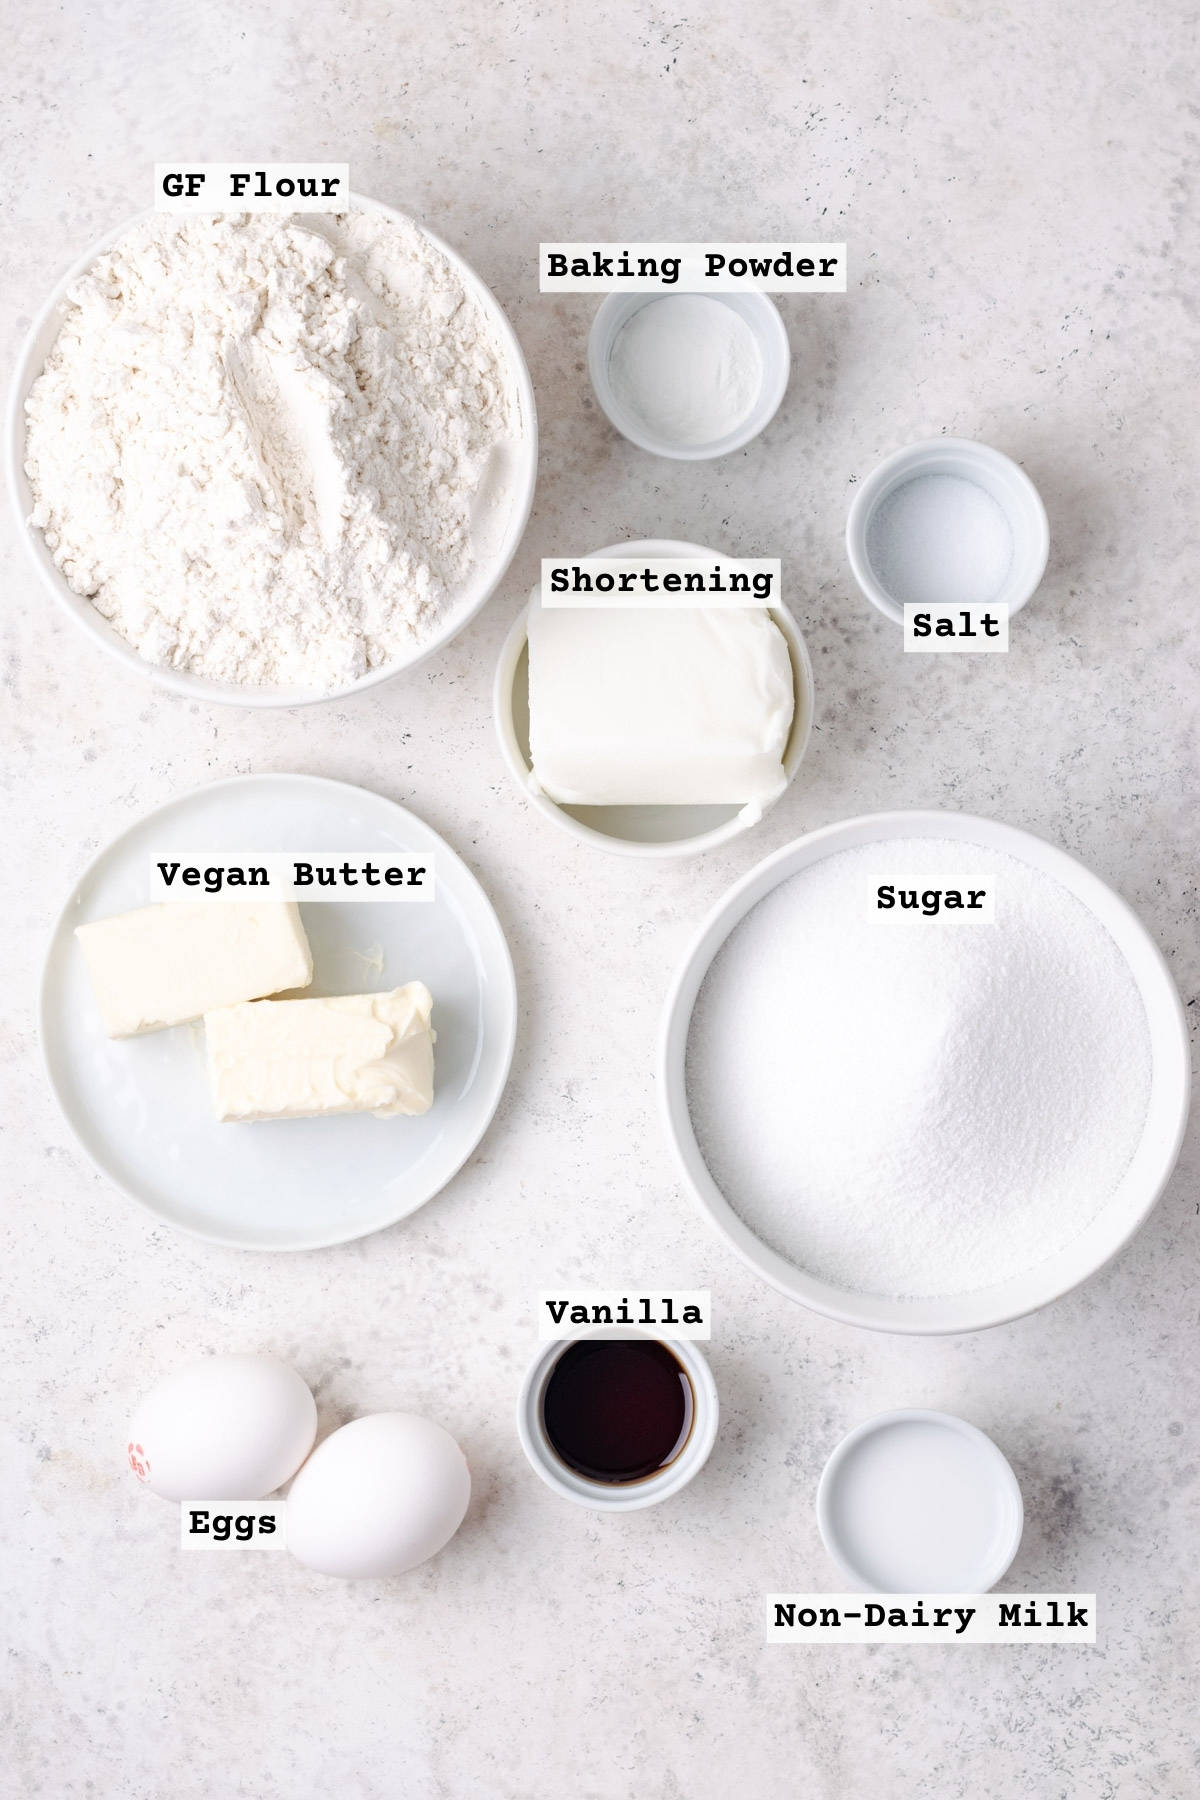
- Gluten Free Flour Blend - I used Bob's Red Mill 1-to1 flour for this recipe. You can use the gluten free flour blend you prefer, but ensure it contains xanthan gum or a similar binder. Using another brand of flour may result in a different outcome in your bake as all gluten free flour blends are a little different in their makeup.
- Baking Powder - This leavening agent keeps the cookies light and soft.
- Salt - salt is an important ingredient to balance the flavors of the cookie. Don't be tempted to skip it.
- Sugar - Granulated sugar is the main flavor of a sugar cookie. I haven't tested this recipe with any sugar substitutes.
- Vegan butter - I used Country Crock plant butter here. You can use your favorite vegan stick butter. Just avoid margarine. And if you're not dairy free, you can use regular butter in the same measure.
- Shortening - Using a combination of butter and shortening helps to keep the cookies from spreading too much and losing their cut out shape.
- Eggs - Egg is the binder that holds everything together. I haven't tried making these without eggs, but I suspect flax eggs would work fine.
- Vanilla Extract - Helps to sweeten the cookie and add depth to the flavor.
- Non-Dairy Milk - You may or may not need to add this depending on how accurately you measure the flour and what brands of ingredients you choose. If you don't have milk, you can use water as a replacement.
See recipe card for full ingredient list and quantities.
Substitutions & Variations
- Not Dairy Free - use dairy butter and milk in the same measure.
- Make it Vegan / Egg Free - I haven't tested this recipe with an egg substitute, but I think flax eggs would be the best option.
- Add Flavor - Add almond extract or lemon extract for a flavor twist.
- Chocolate Sugar Cookies - Replace ⅓ cup of the gluten free flour with cocoa powder to make a chocolate sugar cookie.
How to make Easter sugar cookies
A stand mixer will make this recipe easier to mix together.
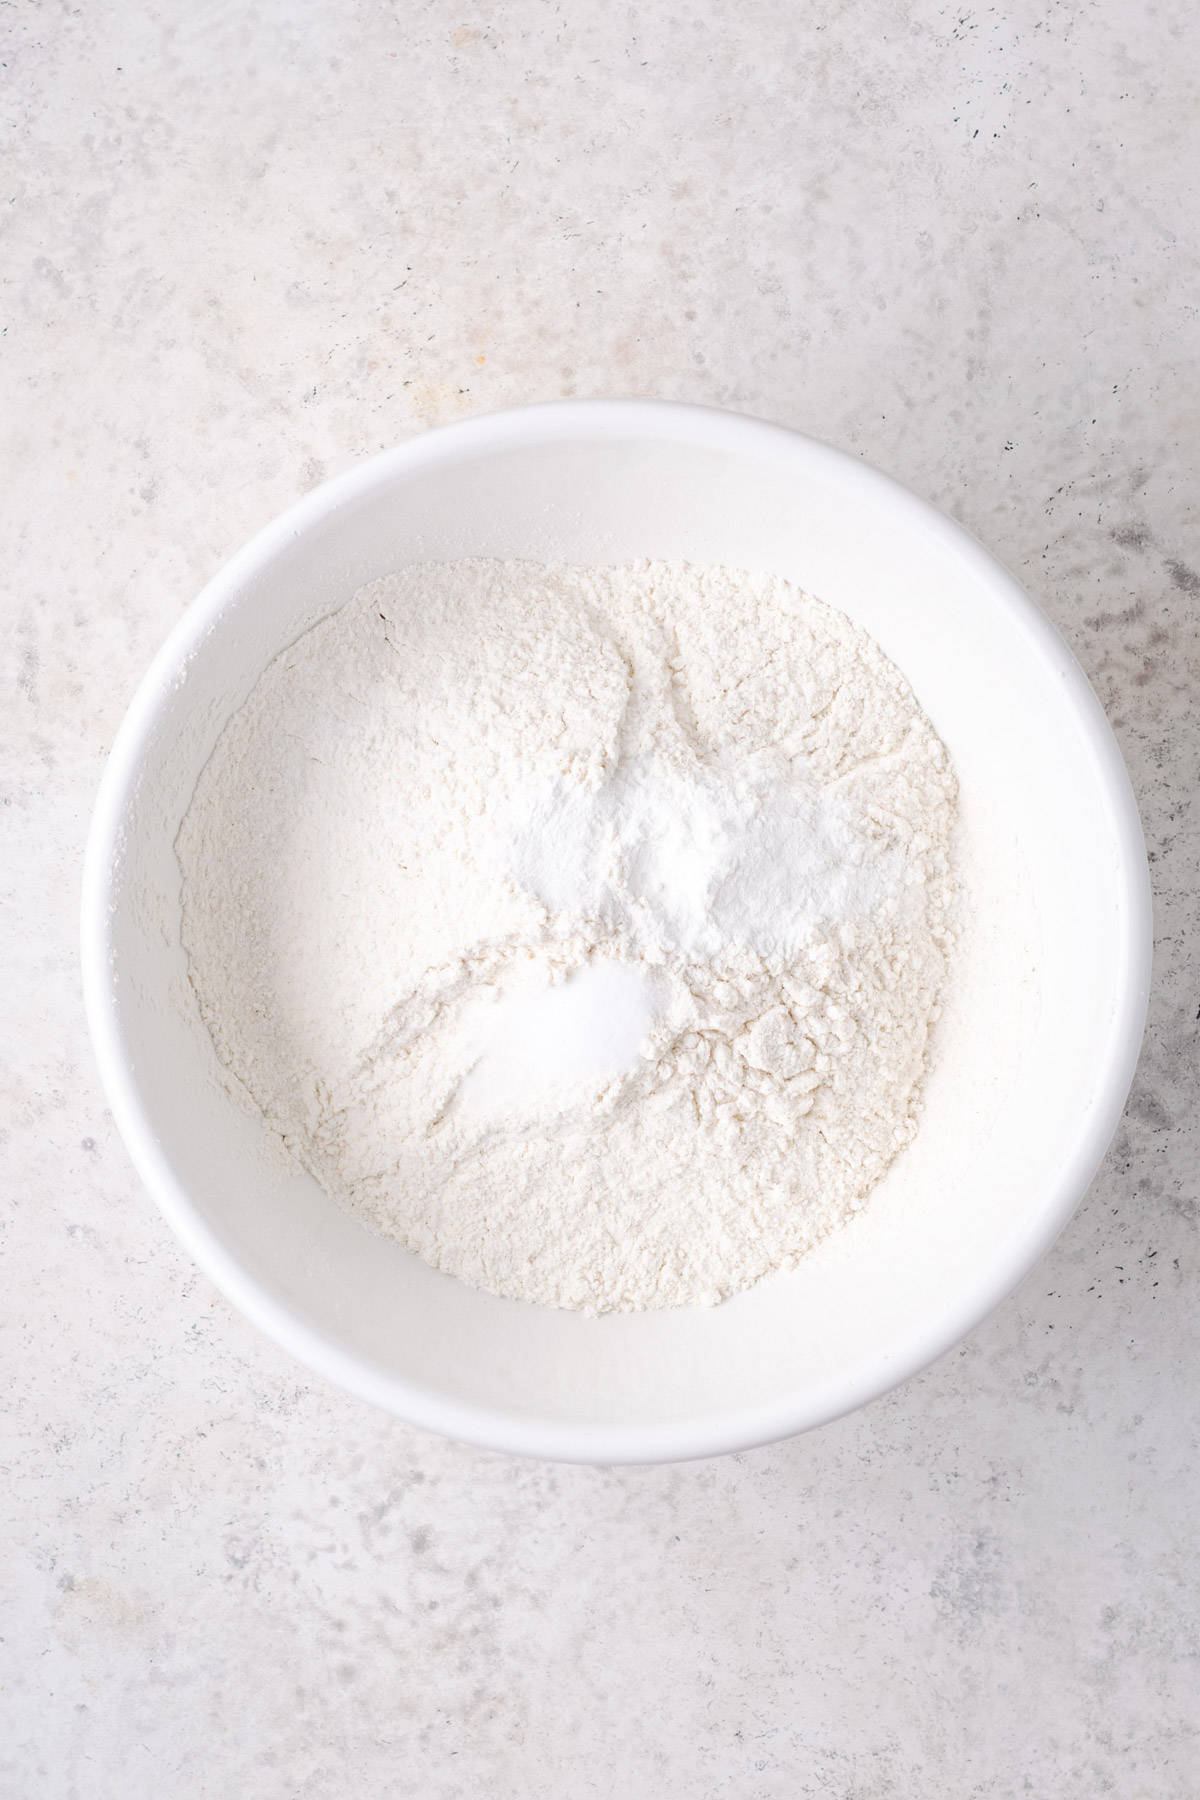
STEP 1: Combine sifted gluten free flour, baking powder and salt in a large bowl. Whisk together to mix.
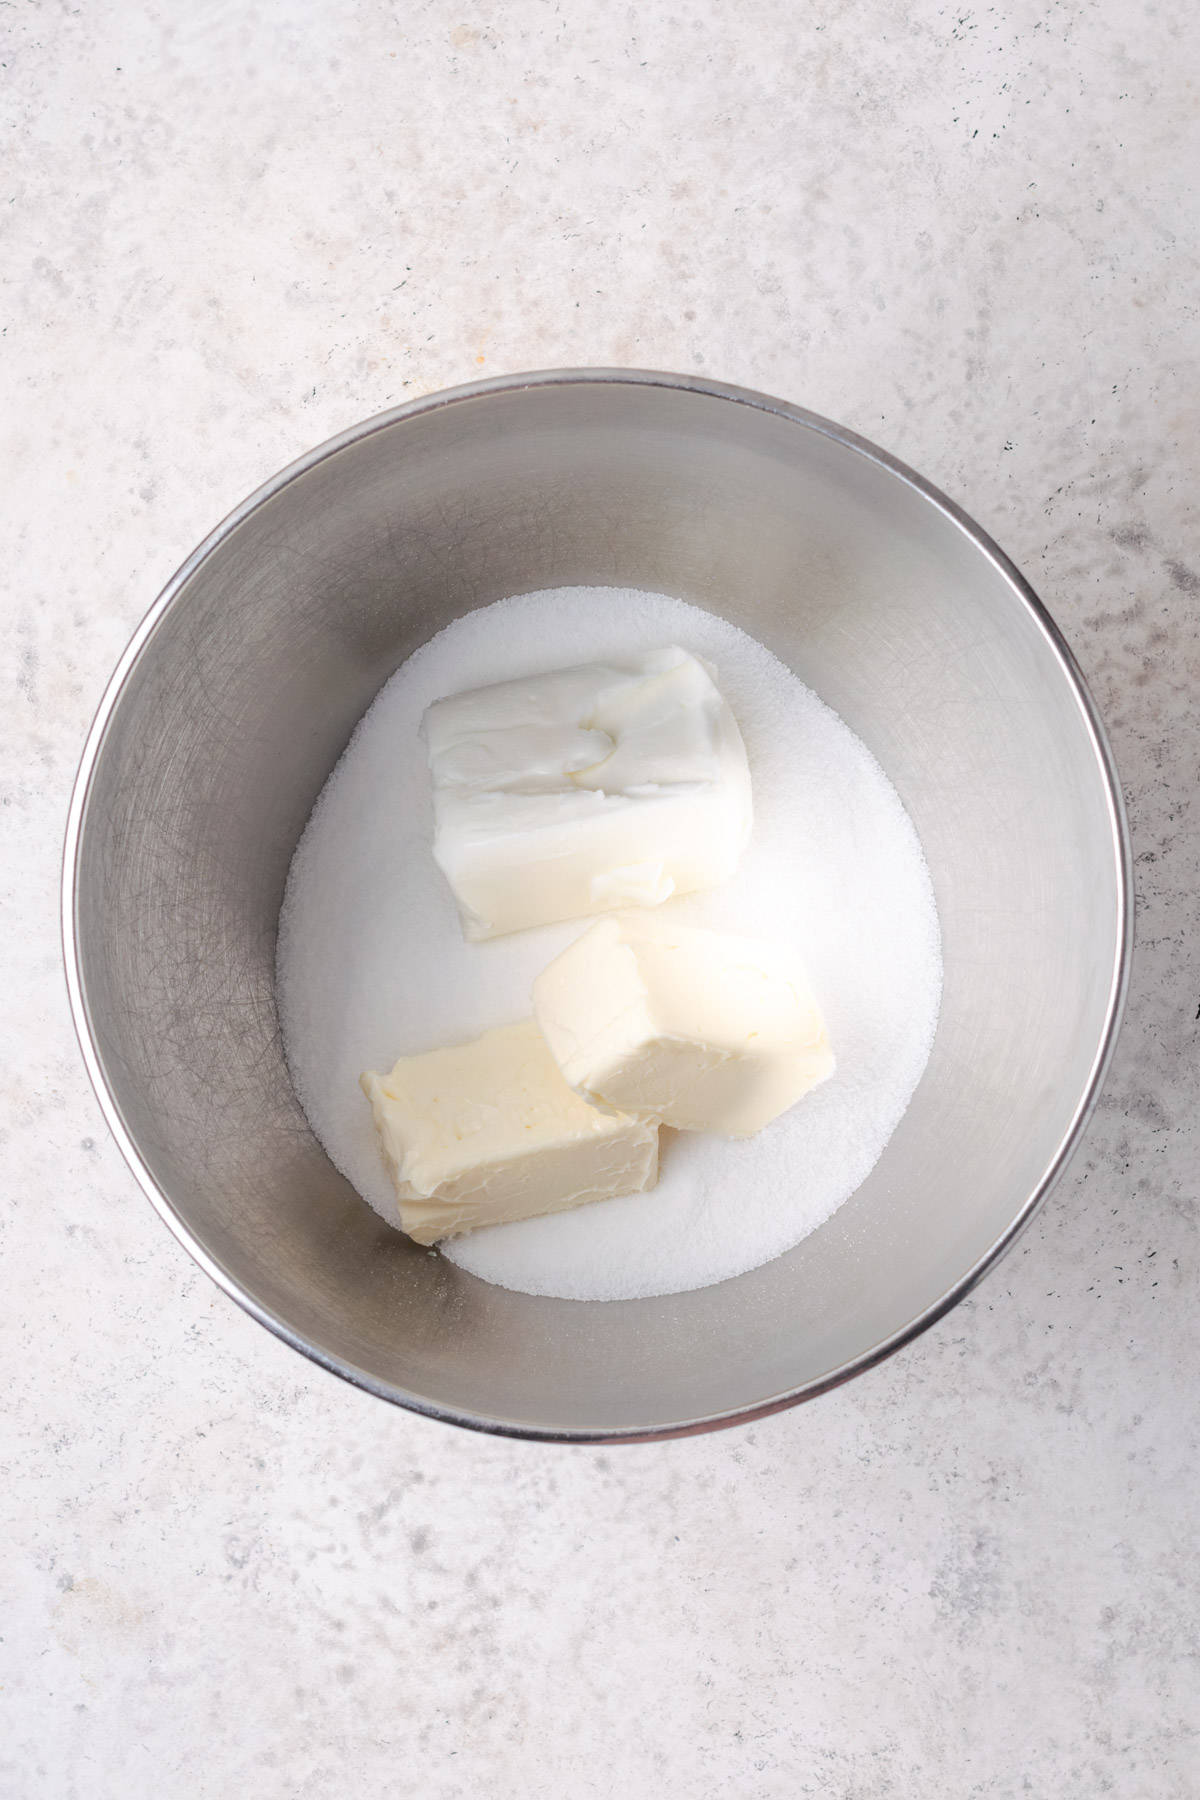
STEP 2: Add the sugar, butter, and shortening to the bowl of a stand mixer. Beat on medium speed for about 5 minutes, until it's light and fluffy.
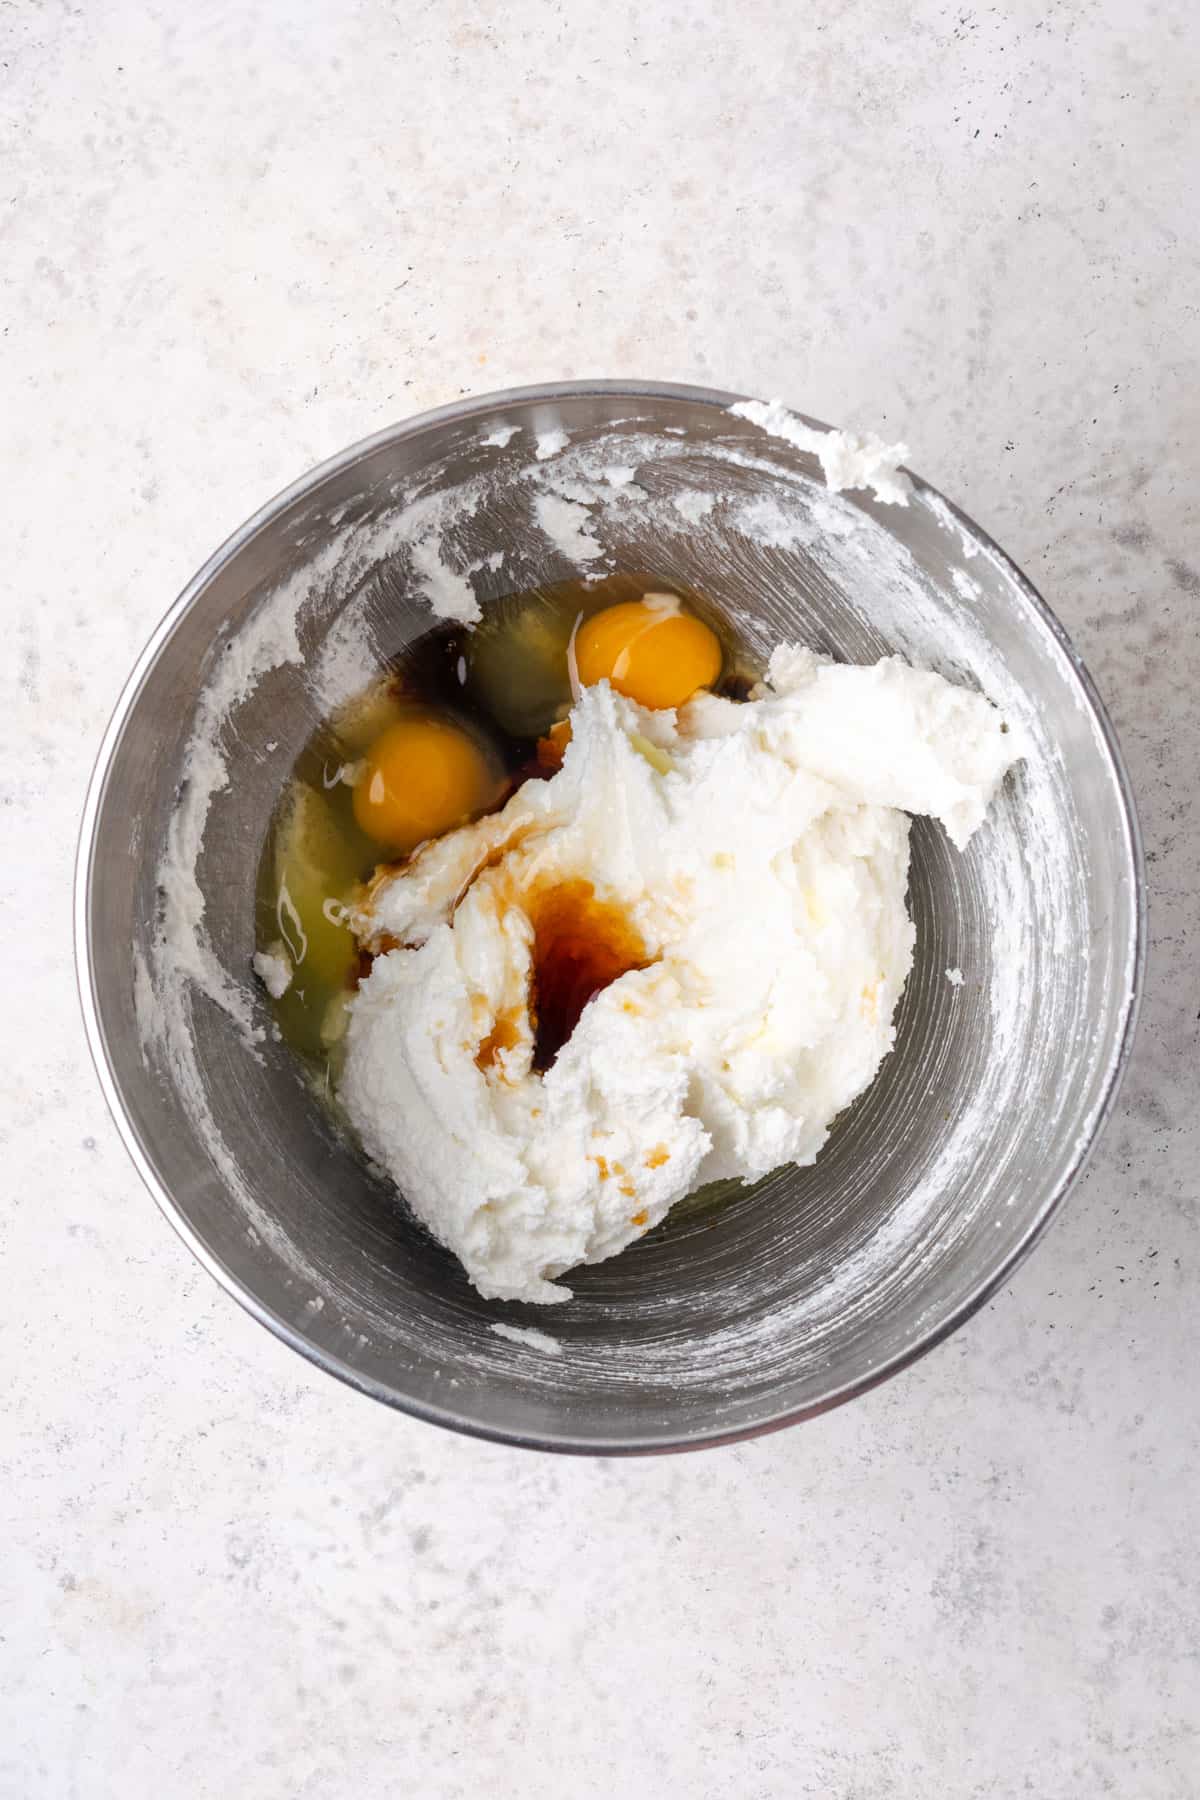
STEP 3: Add the eggs and vanilla to the creamed butter and sugar. Beat again for about 60-90 seconds until well combined.
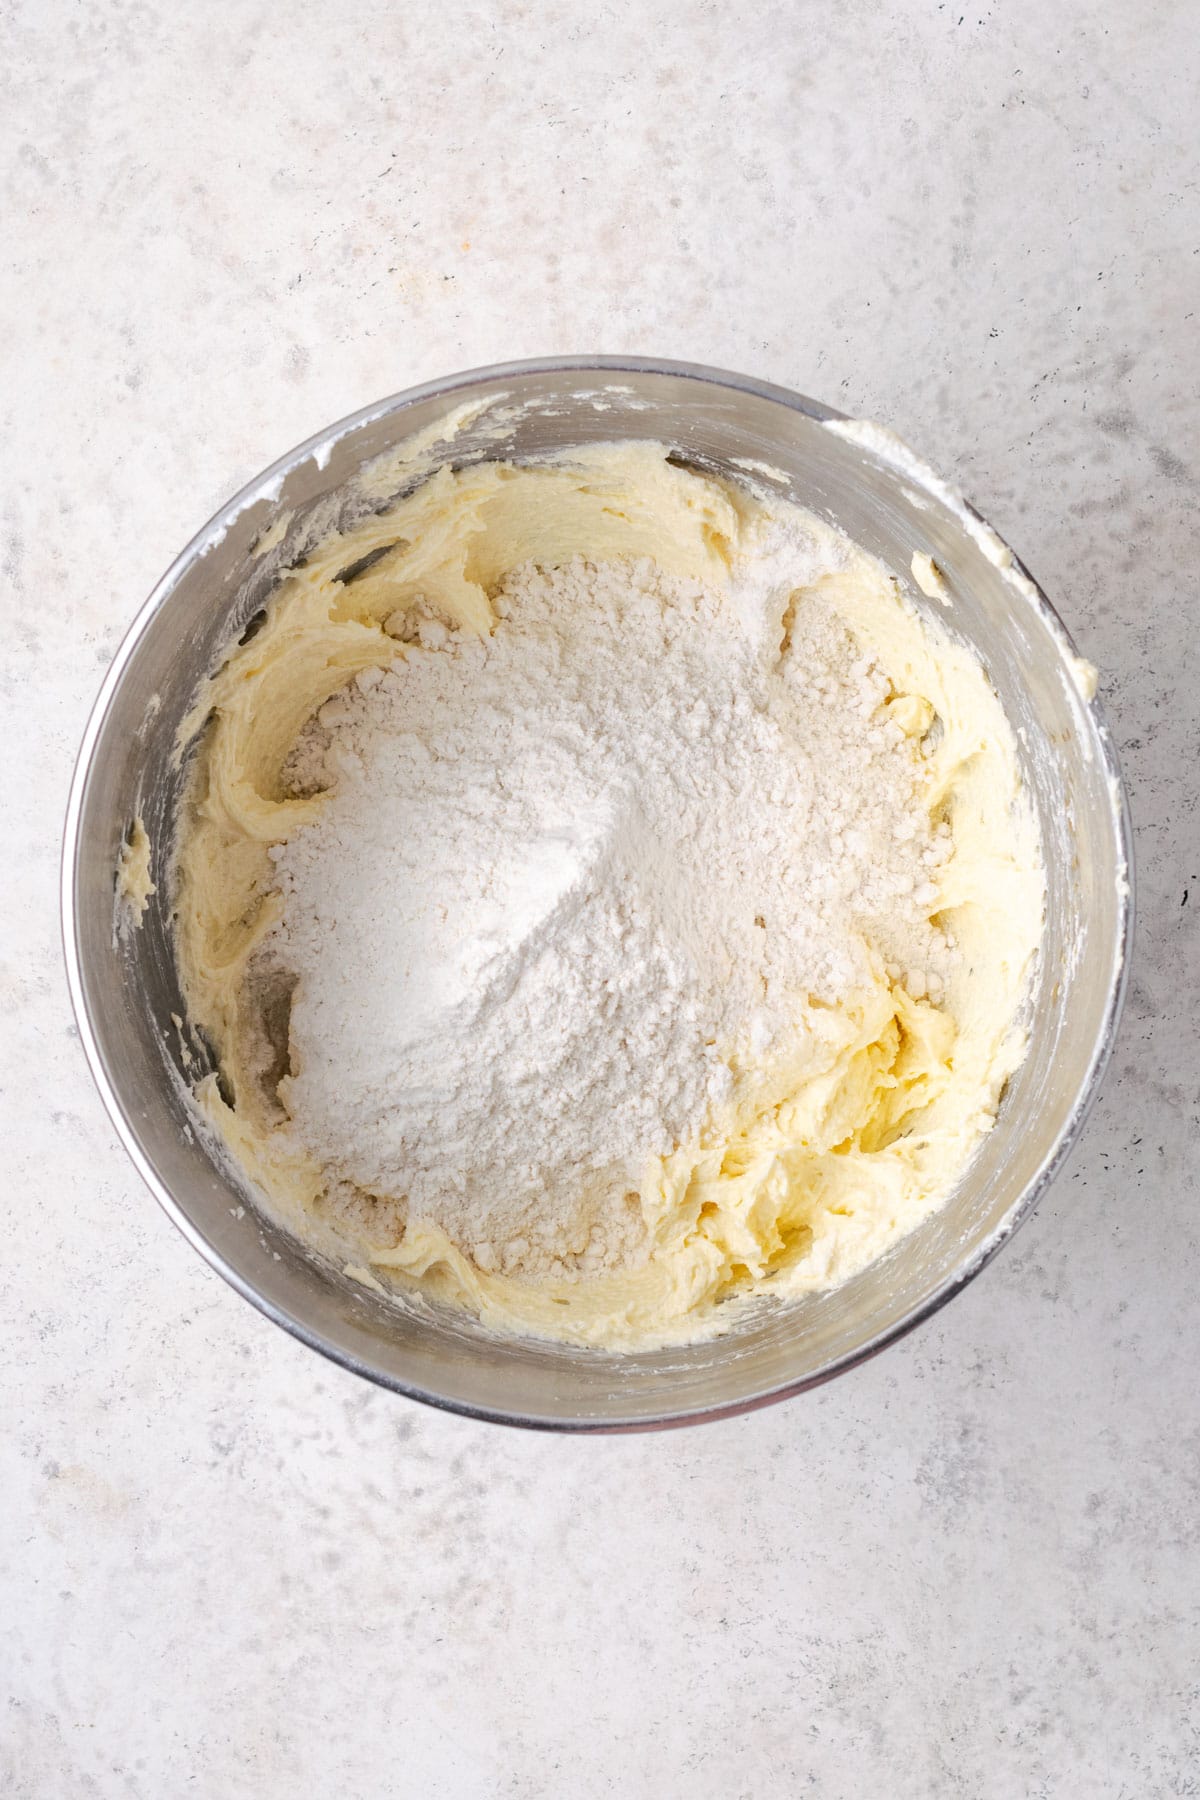
STEP 4: Turn the mixer to low speed and slowly add the dry ingredients. Scrape down the bowl as needed.
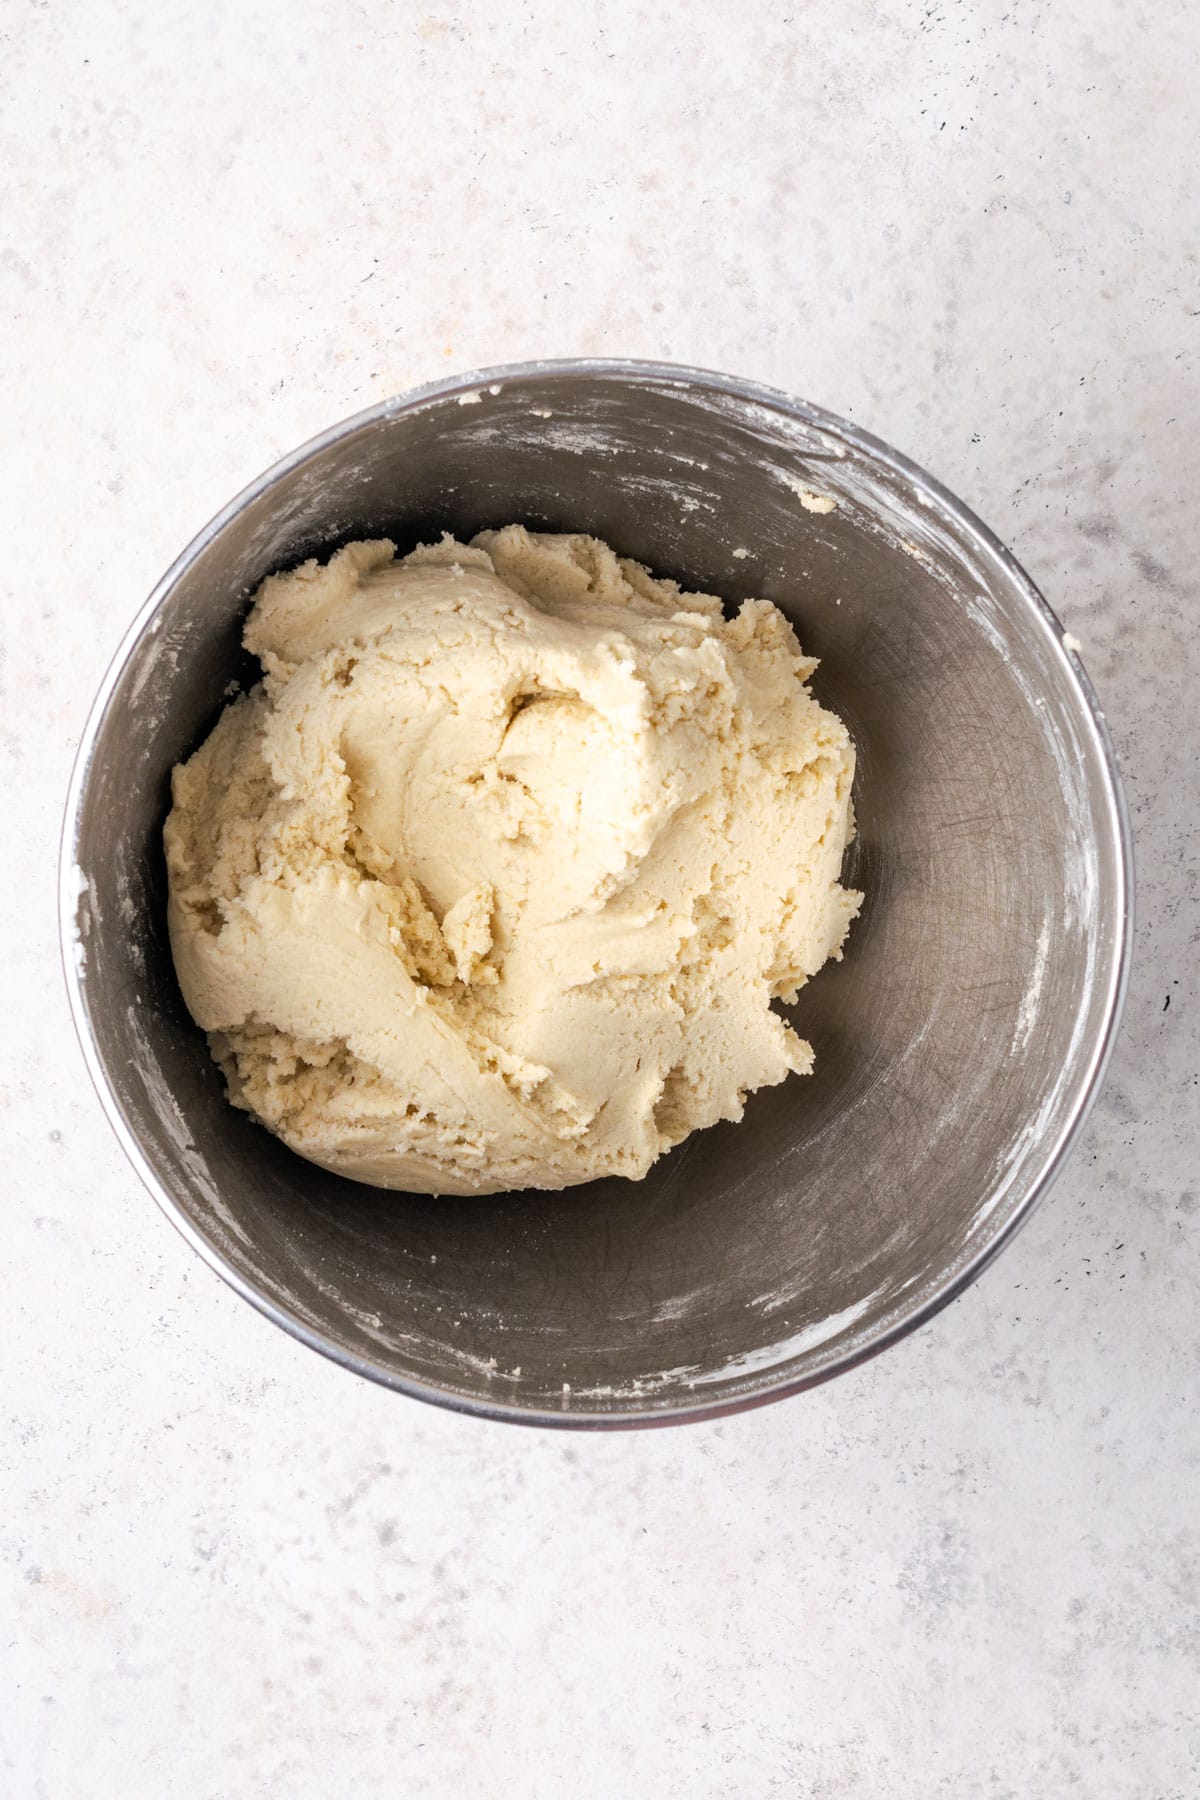
STEP 5: Your dough should be soft, but not sticky. If it's too stiff, add the milk or water and mix a little more to incorporate it.
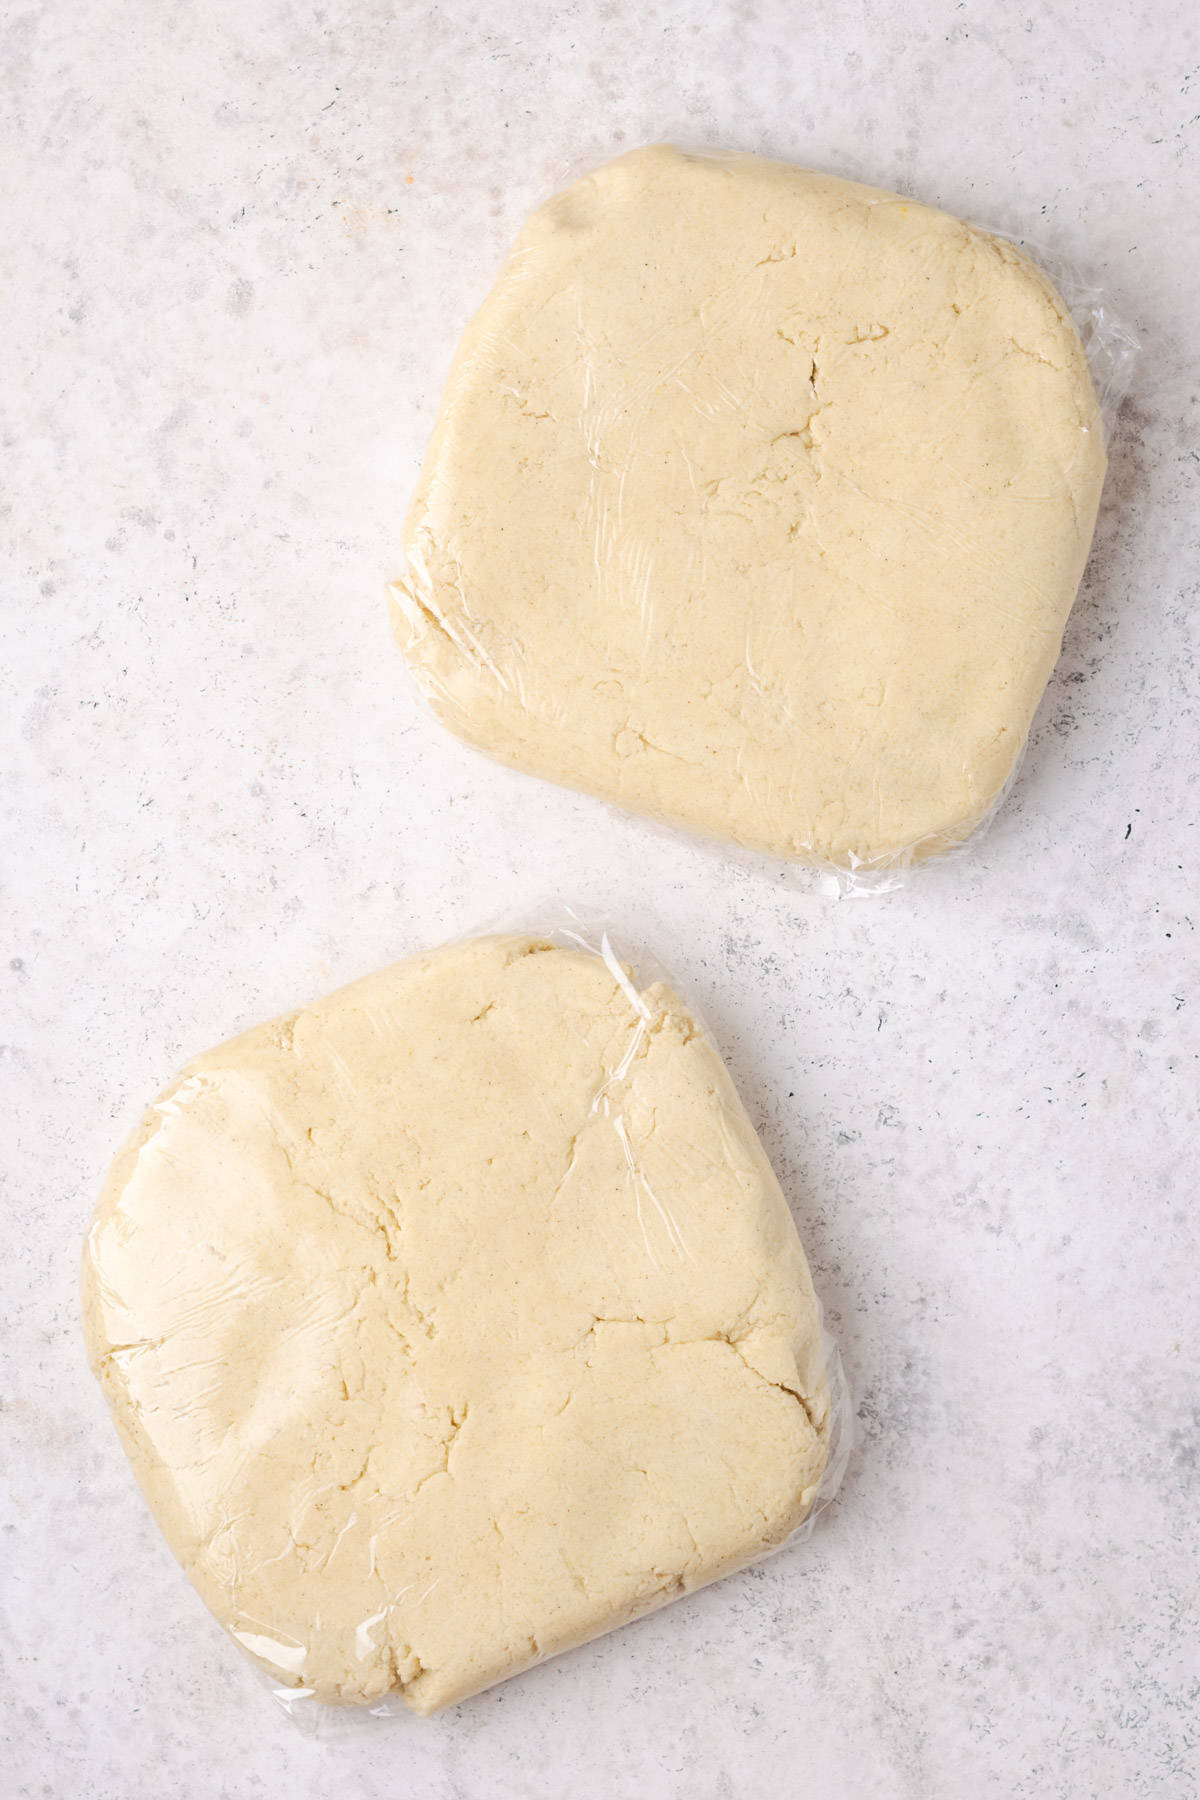
STEP 6: Divide the dough into two halves and wrap them tightly in plastic wrap. Refrigerate for at least 2 hours.
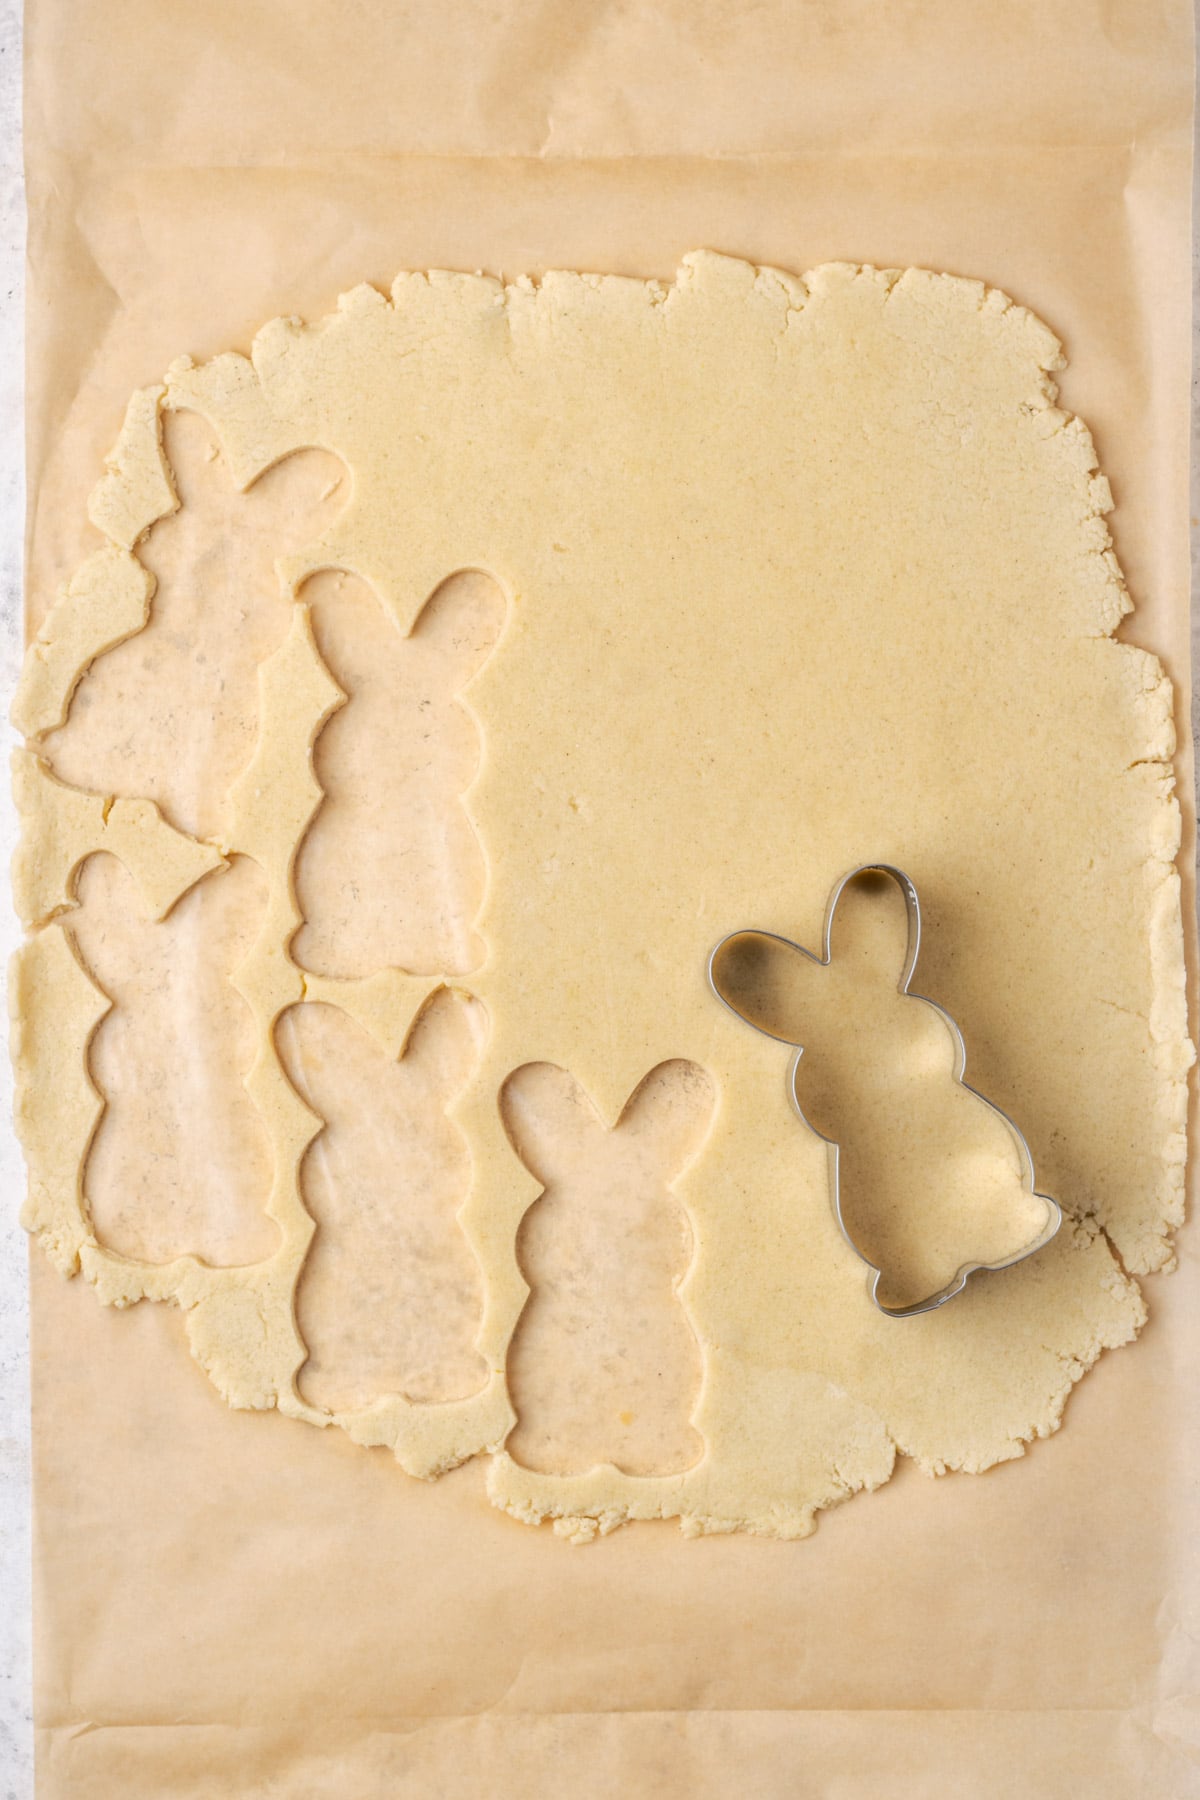
STEP 7: Roll the dough out on a piece of parchment paper into a sheet about ¼" thickness. DO NOT dust with flour or your cookies will end up hard. Use your Easter cookie cutters to cut out desired shapes. Then transfer the shapes to a cookie sheet and freeze the whole sheet with cookies for 15 minutes before baking.

Baking Tip
When baking, don't wait to see the cookies turn golden brown or you will end up with crunchy cookies. For soft cookies, you'll want to remove them from the oven when they are still very pale in color.
How to Decorate Sugar Cookies for Easter
Decorating sugar cookies is a tradition at my house. We usually host either friends or family every Christmas to make holiday sugar cookies. I love seeing how each person creates their design. But of course, eating the cookies afterwards is the best part!
These Easter bunny sugar cookies are an easy decorating idea that anyone can handle. Here's how it's done:
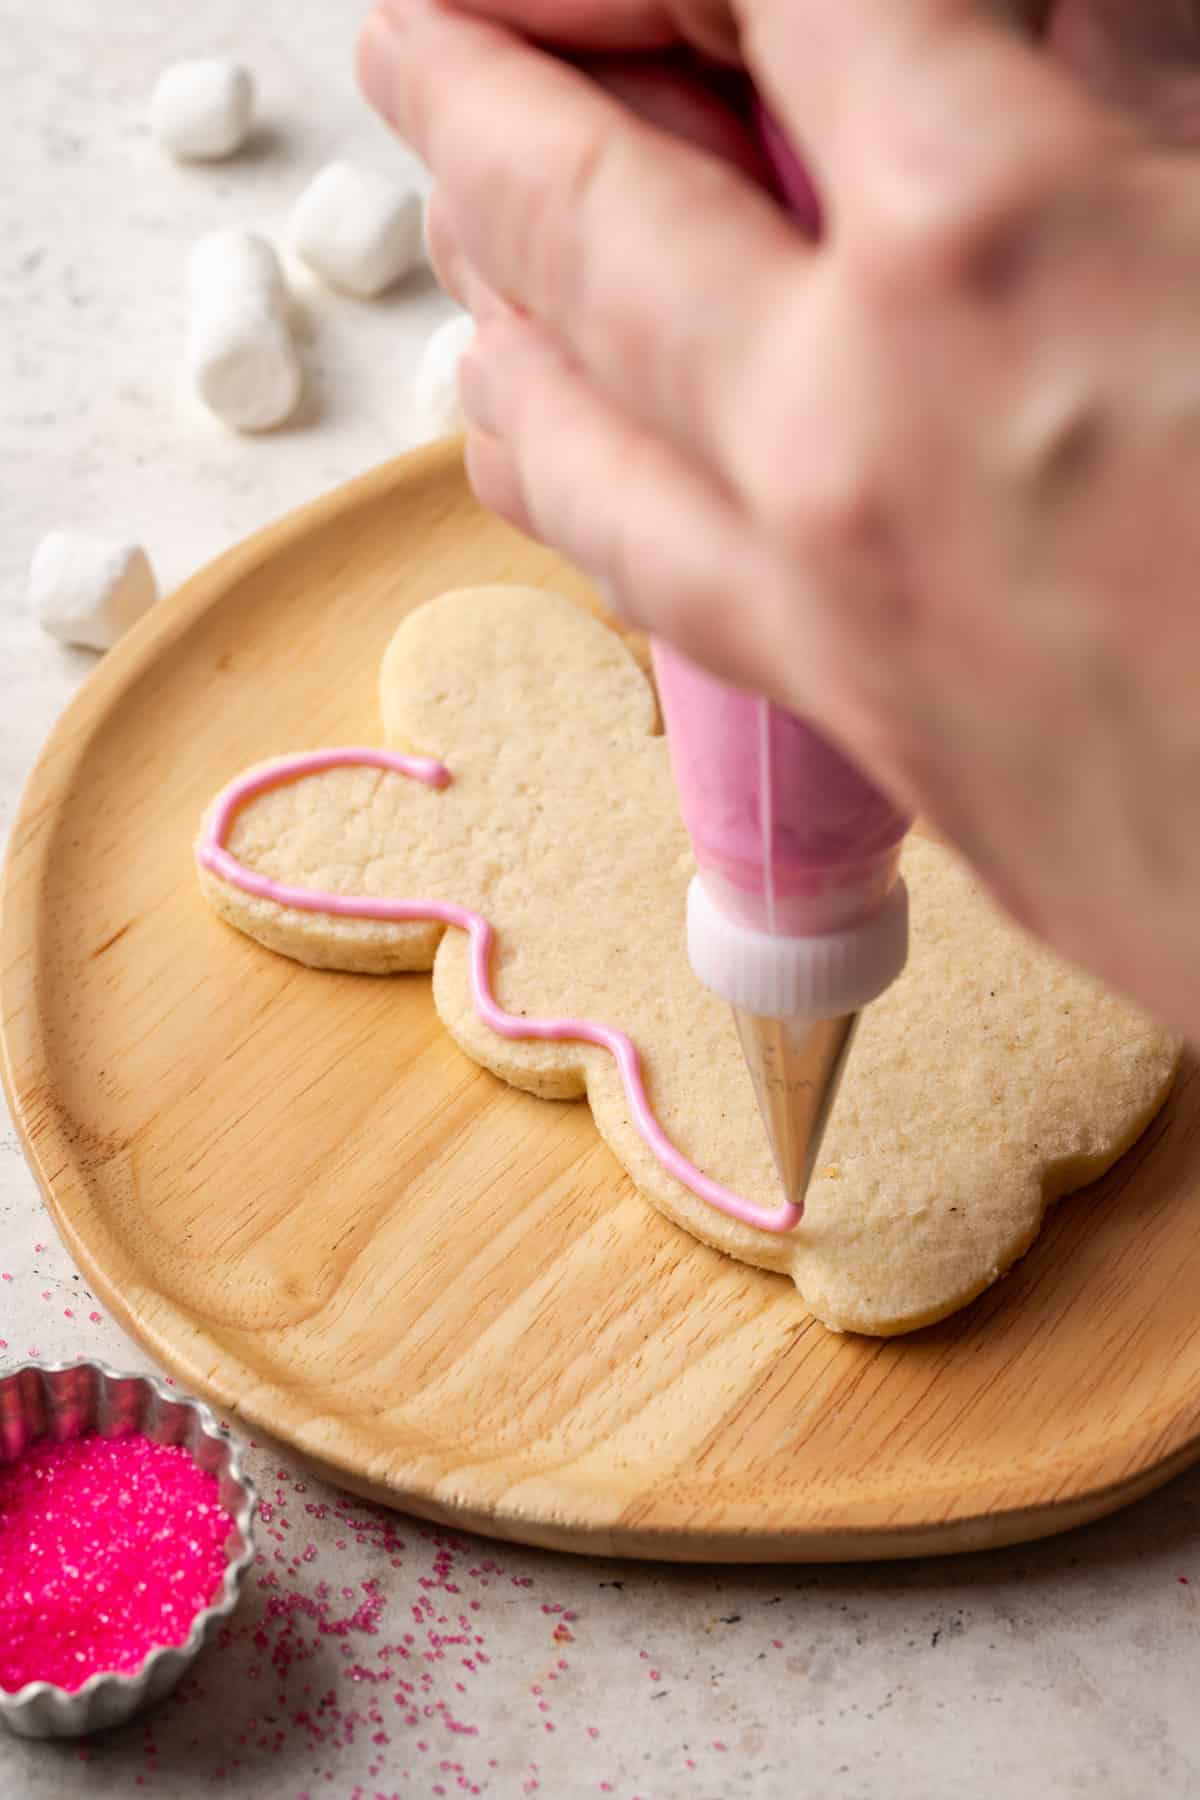
STEP 1: Use thicker royal icing (see note on recipe card) to outline the shape of the Easter bunny on the cookie.
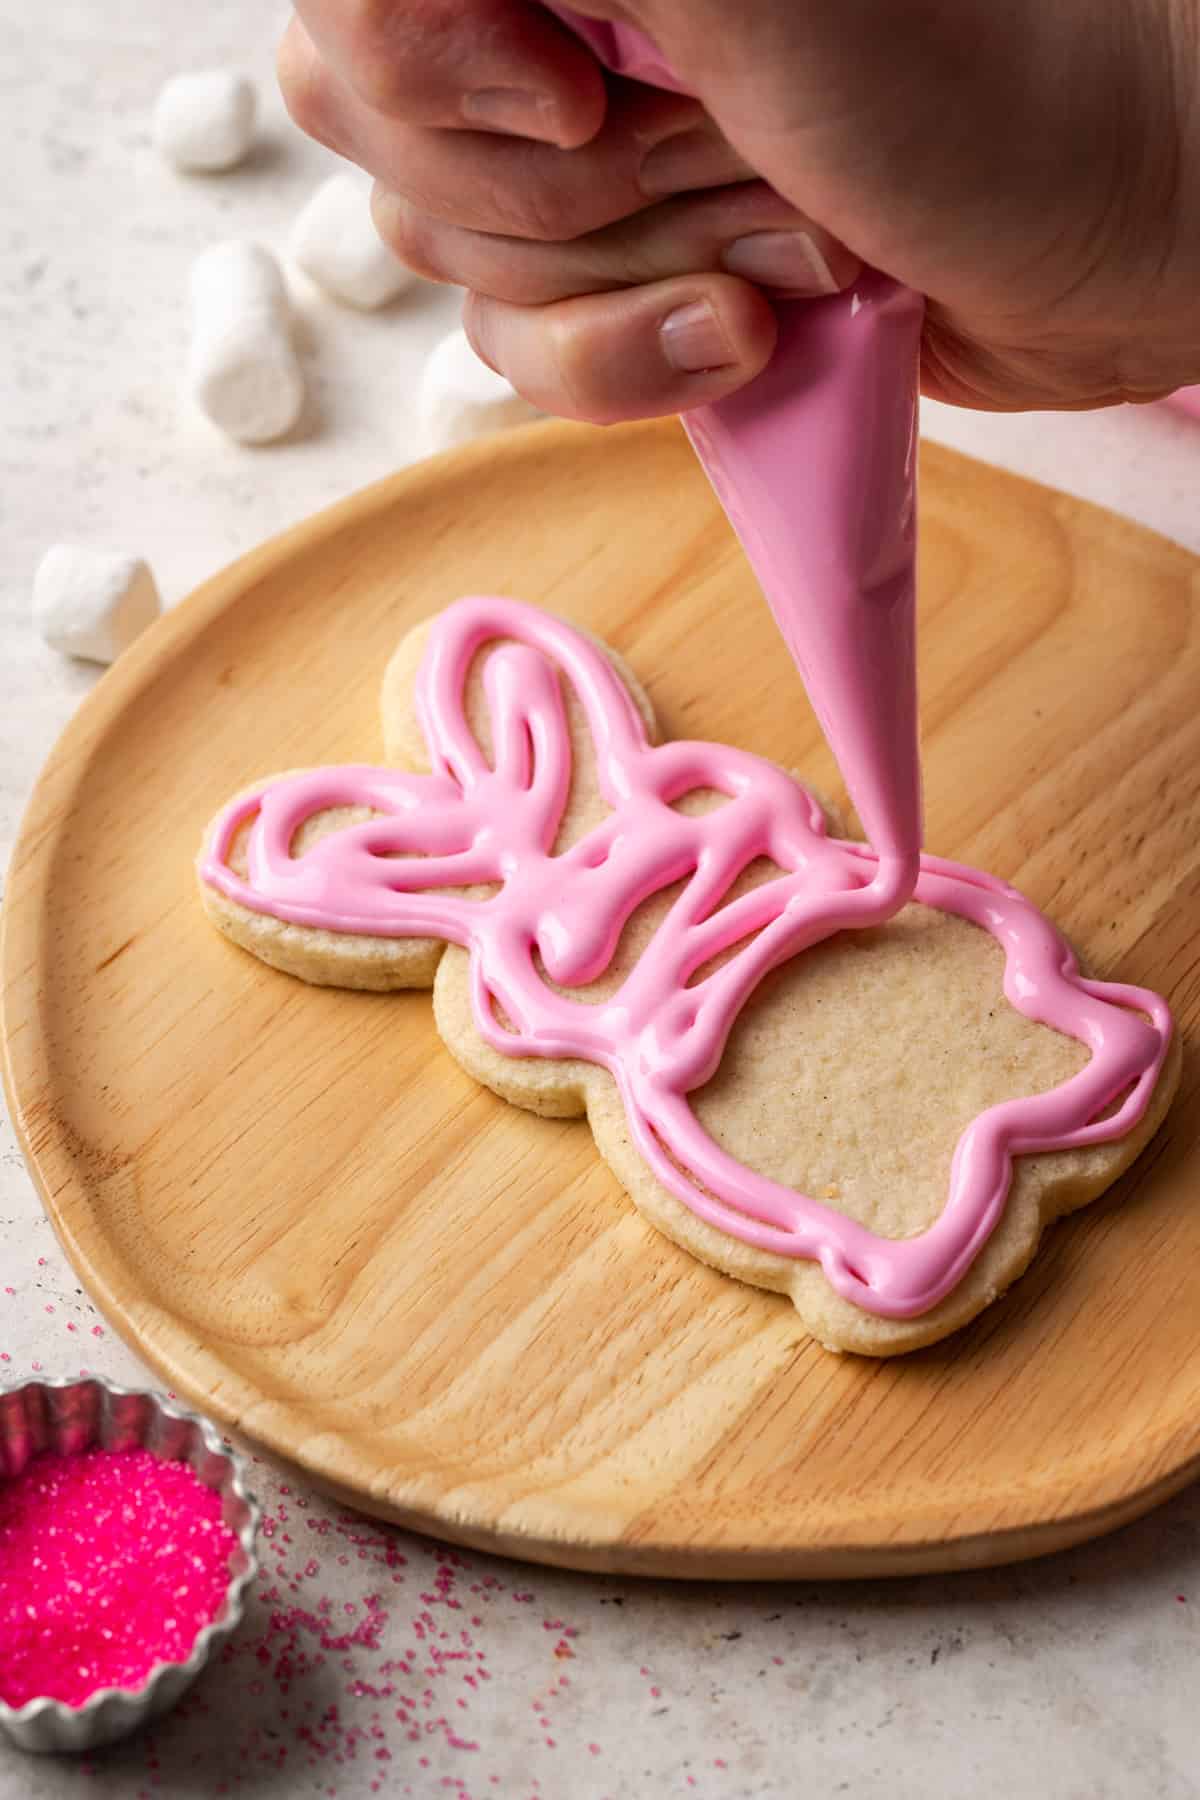
STEP 2: Use fill icing (see note on recipe card) to fill in the center of the bunny shape.
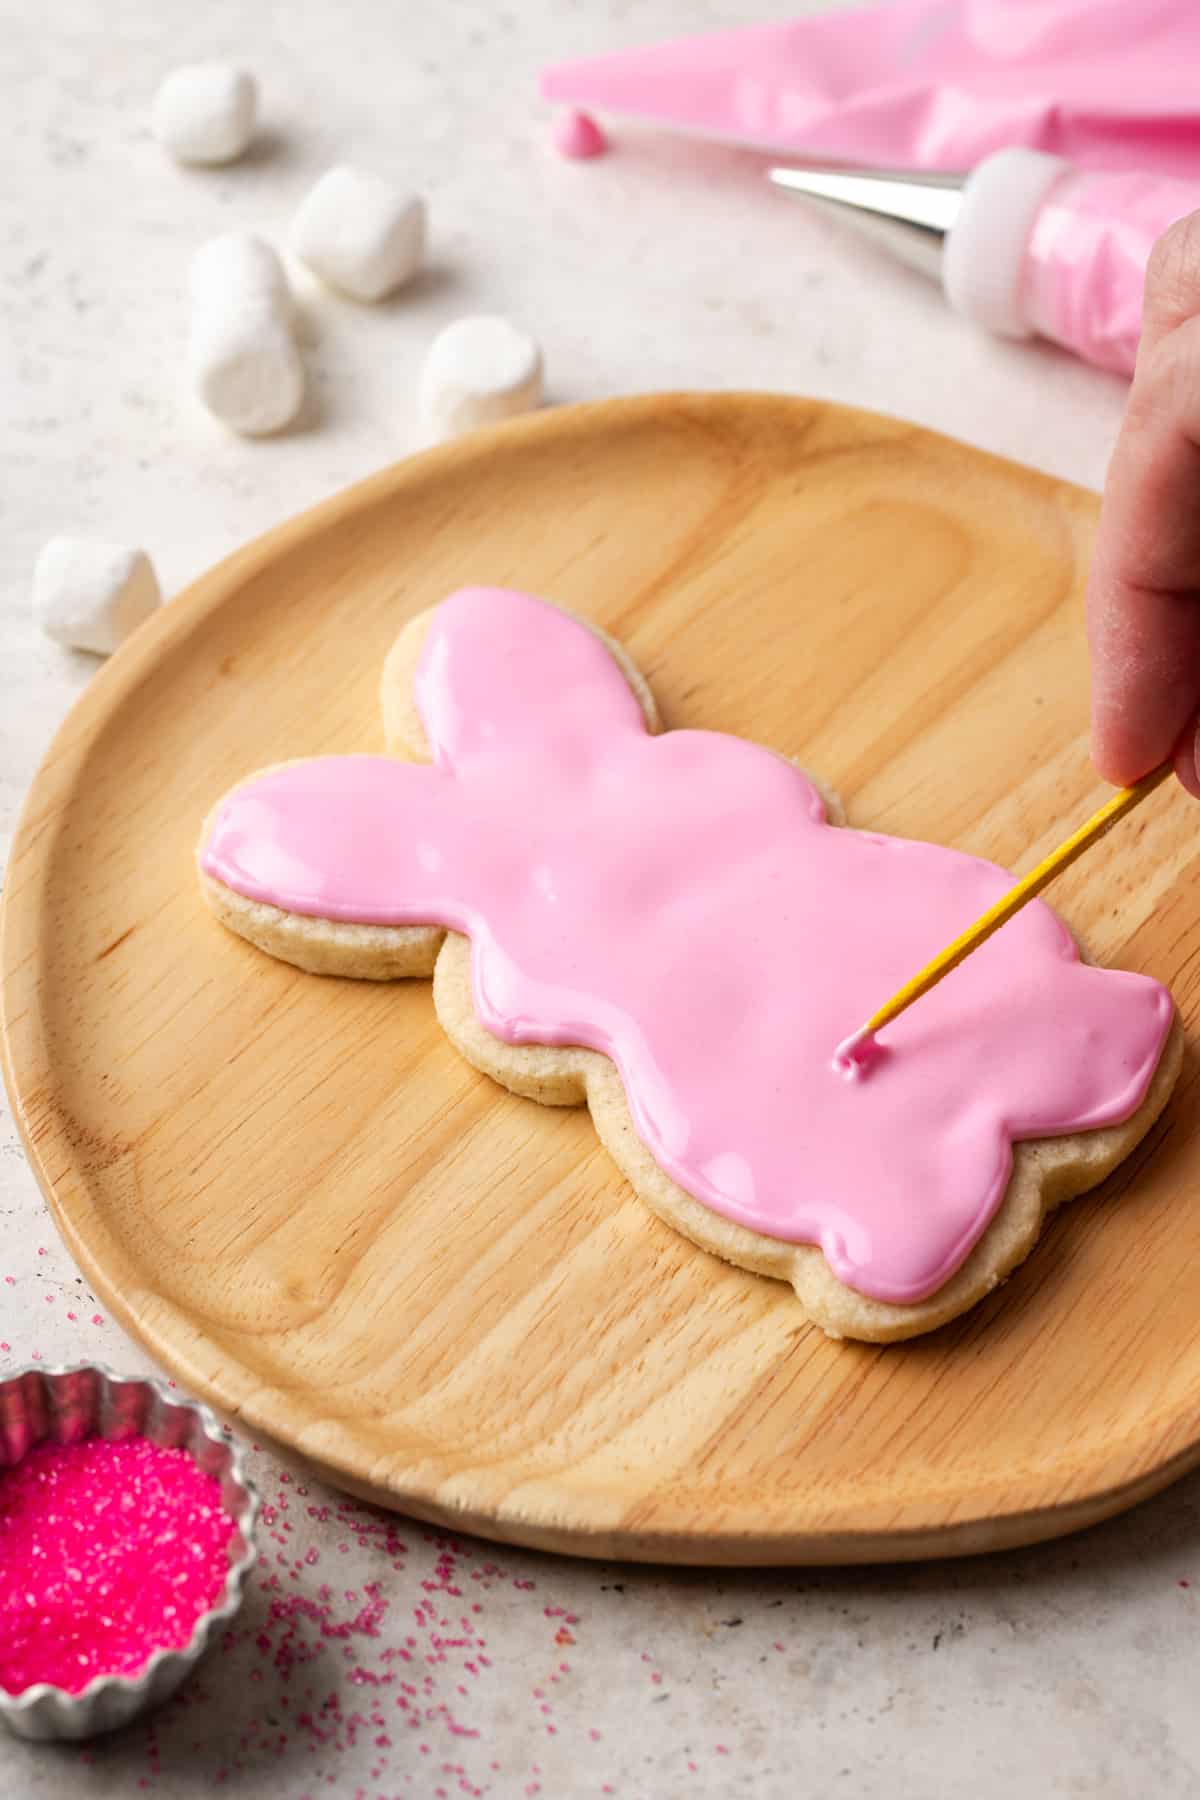
STEP 3: Smooth out any bubbles with a toothpick.

STEP 4: Sprinkle the wet icing with matching sugar sprinkles. Then add a large dot of icing to stick the tail to the cookie.

STEP 5: Stick a mini marshmallow to the dab of icing. Then let the cookie sit out for a while so the icing can dry. OR eat it right away. 🙂
Storage
Let cookies air dry until the icing is completely hardened before stacking in a storage container. Store in an airtight container at room temperature for up to 5 days.
You can also freeze these cookies, although some sprinkles will show bleeding once thawed. Make sure to test your sprinkles before freezing a whole batch.

Recipe FAQs
If you have a thick piece of paper or posterboard, you can draw your own shapes and cut them out with scissors. Then use a sharp knife to cut around the outside of the template to make your cookie shapes.
If you keep your sugar cookie dough very cold, it will help to keep the shapes from spreading during baking. If you still have trouble with spreading, even after freezing the cut out shapes, you can increase your oven temperature by 25 degrees, which will also reduce the spread.
Add a teaspoon of lemon extract or almond extract for more flavor. You can also replace ⅓ cup of flour with cocoa powder to make chocolate sugar cookies.
Other Easter recipes to consider:
If you try this recipe, please leave a 🌟🌟🌟🌟🌟 star rating and let me know how you liked it in the comments below.
Recipe

Easter Sugar Cookies
Equipment
Ingredients
For the cookies
- 3 ½ Cup Gluten Free 1-to-1 Flour Blend sifted (I use Bob's Red Mill)
- 1 teaspoon Baking Powder
- ½ teaspoon Salt
- ½ Cup Vegan Butter room temperature
- ½ Cup Shortening
- 2 Cup Sugar
- 2 Eggs
- 2 teaspoon Vanilla
- 1 Tablespoon Non Dairy Milk
For the Royal Icing
- 4 Cup Powdered Sugar sifted
- 2 Egg Whites or 5 tablespoon Meringue Powder
- ½ Cup Water may need more depending on how thick you want your icing
- 1 teaspoon Vanilla
- Gel Food Coloring
Instructions
For the cookies
- Combine sifted gluten free flour, salt and baking powder in a medium size bowl. Set aside.3 ½ Cup Gluten Free 1-to-1 Flour Blend, 1 teaspoon Baking Powder, ½ teaspoon Salt
- In the bowl of an electric mixer, combine butter, shortening, and sugar. Beat on medium speed about 5 minutes until light and fluffy. Scrape down bowl.½ Cup Vegan Butter, ½ Cup Shortening, 2 Cup Sugar
- Add in the eggs and vanilla. Beat for about 60-90 seconds more until combined. Scrape down the bowl.2 Eggs, 2 teaspoon Vanilla
- Turn mixer to lowest speed. Slowly add the flour mixture. Stir until just combined. If the mixture seems too stiff, add the 1 tablespoon of milk.1 Tablespoon Non Dairy Milk
- Divide dough in half. Cover each half with plastic wrap and flatten to 1 inch thick. Place wrapped dough in refrigerator for 2 hours or overnight.
- Preheat oven to 325 degrees and line 2 baking sheets with parchment paper.
- Remove chilled dough from refrigerator and roll out to ¼” thickness. Cut into desired shapes. Place the cut shapes on the cookie sheet and place the cookie sheet in the freezer for 15 minutes. The extra chilling time helps the shapes stay crisp/defined when baking.
- Bake in preheated oven for 11-13 minutes. Ideally the cookies should be very light in color on the top and sides and the bottoms should be lightly browned. If you notice browning around the edges it usually means the dough wasn't rolled to an even thickness or you've baked them too long.
- Remove the cookies from the oven and transfer them to a wire rack to cool completely before decorating.
For the Royal Icing
- Combine all of the ingredients in a stand mixer with paddle attachment. Start out on slow speed until the ingredients are incorporated. Then turn mixer to high setting and beat for 6-8 minutes until very fluffy.4 Cup Powdered Sugar, 2 Egg Whites, ½ Cup Water, 1 teaspoon Vanilla
- The resulting icing will be the right thickness for drawing lines and outlining shapes. Separate a portion of the frosting and add water 1 tablespoon at a time until the icing settles in on itself within a few seconds when you drizzle it from a spoon. This thinner icing will be suitable for filling large areas on a cookie.
Notes

Tiffany is the recipe developer, stylist and food photographer behind Well Fed Baker. As a lifelong baker who had to go gluten free and dairy free in 2016, Tiffany strives to share allergen friendly recipes that never feel like they are free from anything.

Leave a Comment