If you've got a hankering for a classic childhood treat but need to stick to a gluten-free and dairy-free diet, you're in for a delightful surprise. These homemade gluten free Rice Krispie Treats are about to become your new favorite go-to snack. Best of all, it yields a small batch of six bars, perfect for satisfying your sweet tooth without going overboard.
These gluten-free and dairy-free Rice Krispie Treats maintain all the nostalgia and flavor of the traditional version. They are gooey, crispy, and utterly irresistible. Plus, you won't need any fancy or hard-to-find ingredients. Just a few simple swaps make this classic treat accessible to everyone. So, gather your ingredients, and let's whip up a batch of these delightful Rice Krispie Treats that you can enjoy without worry.
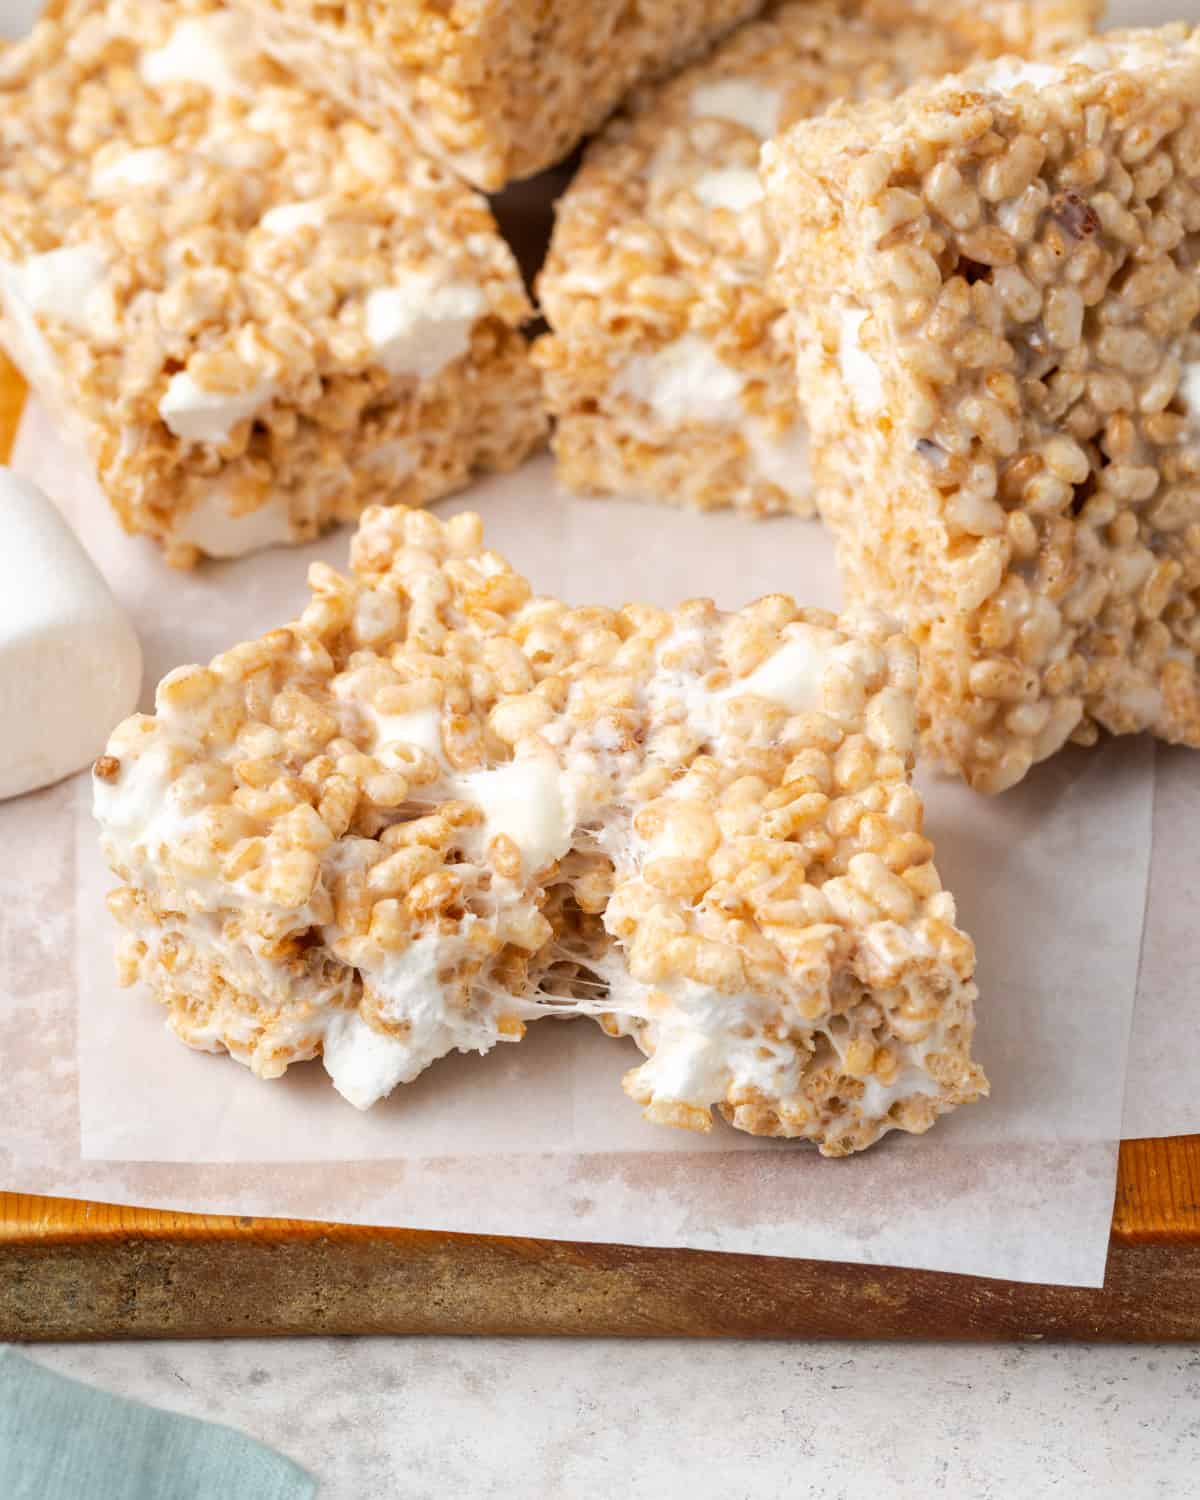
If you love making small batch recipes, check out my super popular gluten free chocolate chip cookies or these perfect gluten free peanut butter cookies.
Jump to:
Want to save this recipe?
Enter your email below and we will send it straight to your inbox!
You will also be added to our weekly email list.
Are rice krispie treats gluten free?
No, Kelloggs Rice Krispie cereal and Rice Krispie Treats are not gluten free. Even though they should be just puffed sweetened rice, Kelloggs Rice Krispies contain malt flavor which is derived from barley, a gluten containing grain. Luckily there are gluten free brands of crispy rice cereal so you can easily make your own gluten free rice krispie treats to enjoy!
Ingredient Notes
This easy no bake recipe requires only 5 ingredients and 15 minutes of hands on time!
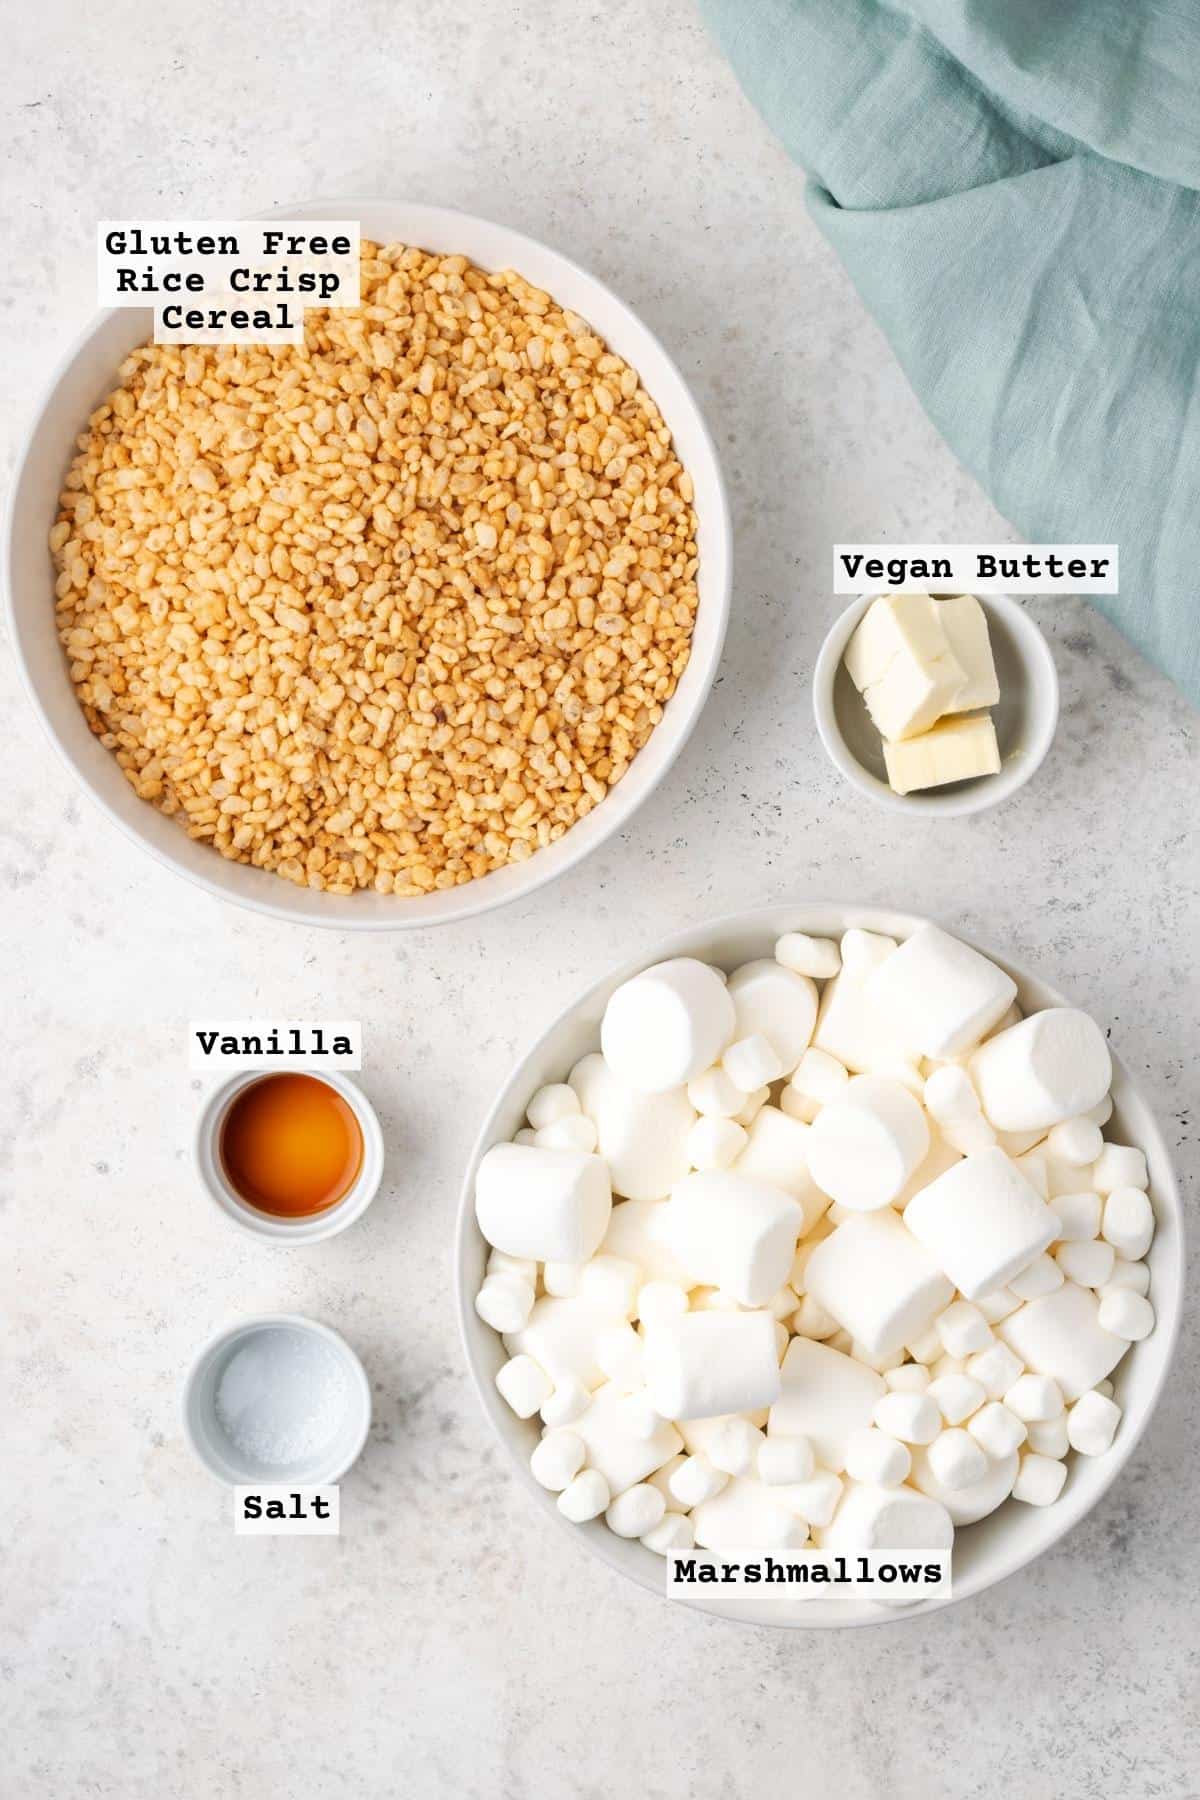
- Gluten Free Rice Crisp Cereal - It's important to ensure you're using a gluten free rice crisp cereal for this recipe if you're following a gluten free diet. Malt flavor is present in Kellogg's brand Rice Krispies, so they are not gluten free. I used Whole Foods 365 brand rice crisp cereal for this recipe. You also want a rice crisp cereal and puffed rice, the texture of the two is not the same.
- Vegan Butter - I used Country Crock Plant butter to make this recipe dairy free. If you don't follow a dairy free diet, you can replace that with regular butter in the same measure.
- Marshmallows - I've used a mixture of big and small marshmallows here becuase that's what I had in stock. 🙂 If you are buying a package for this recipe, go for the mini marshmallows because they are easier to melt and stir.
- Vanilla - Adds a little depth of flavor to these sweet treats.
- Salt - Salt helps to balance the sweetness of the marshmallows. There's just a little, so they won't taste salty.
See recipe card for full ingredient list and quantities.
Substitutions & Variations
- Not Dairy Free - use dairy butter ain the same measure.
- Make it Vegan - Use vegan marshmallows in place of regular marshmallows. They do melt a little differently, but should still turn out fine.
- No rice krispies - If you don't have any or don't like rice crisp cereal, you can replace them with your favorite gluten free cereal.
- Chocolate Lovers - Add ½ cup of dairy free chocolate chips to the marshmallow mixture or dip the cooled rice krispie treats in chocolate.
- Peanut Butter - Add ½ cup of creamy peanut butter to the melted marshmallows before stirring in the cereal. You can even add chopped peanuts too!
How to make gluten free rice krispie treats
Rice krispie treats don't require any baking. There is just a small amount of stovetop cooking and the rest of the time is waiting for them to cool. This is a great recipe to make with kids!
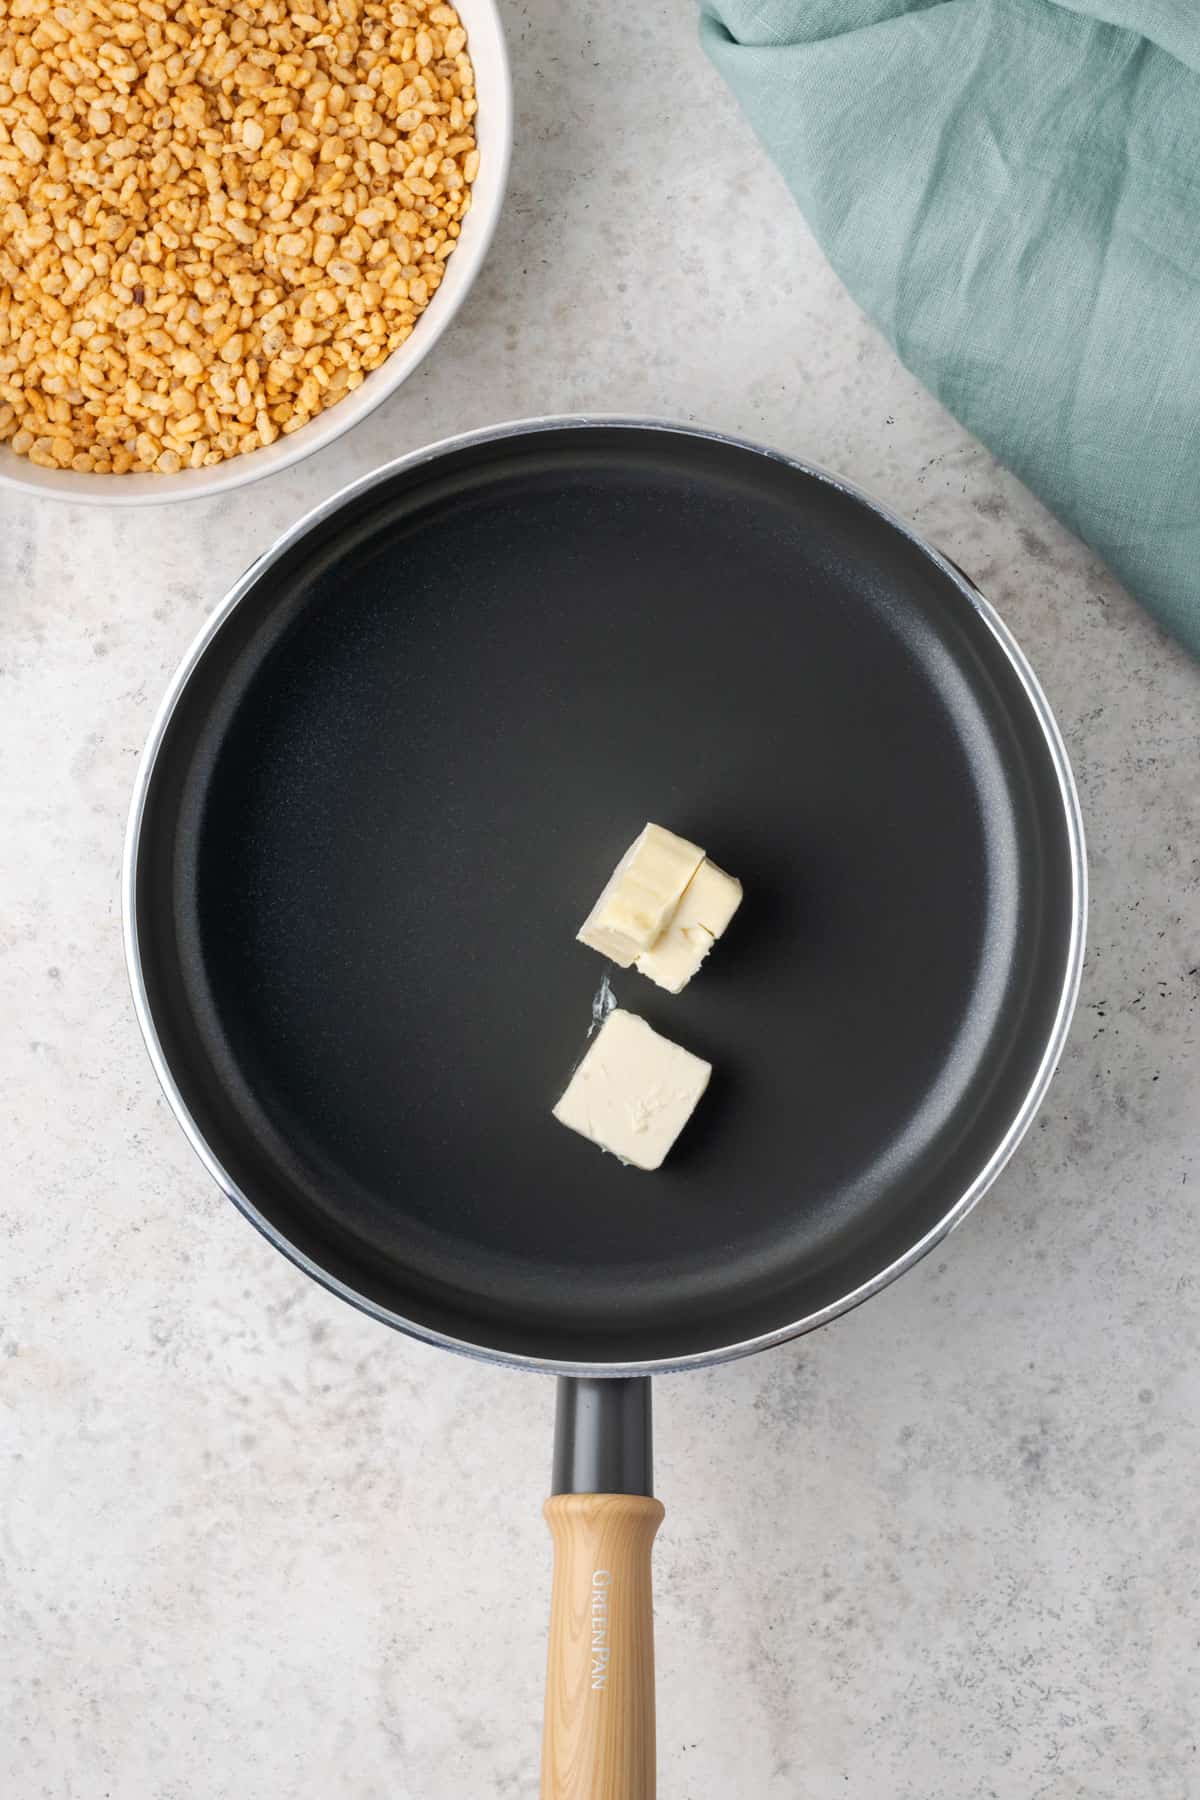
STEP 1: Add the butter to a large saucepan over medium-low heat. Make sure your pan is large enough to fit all of the cereal.
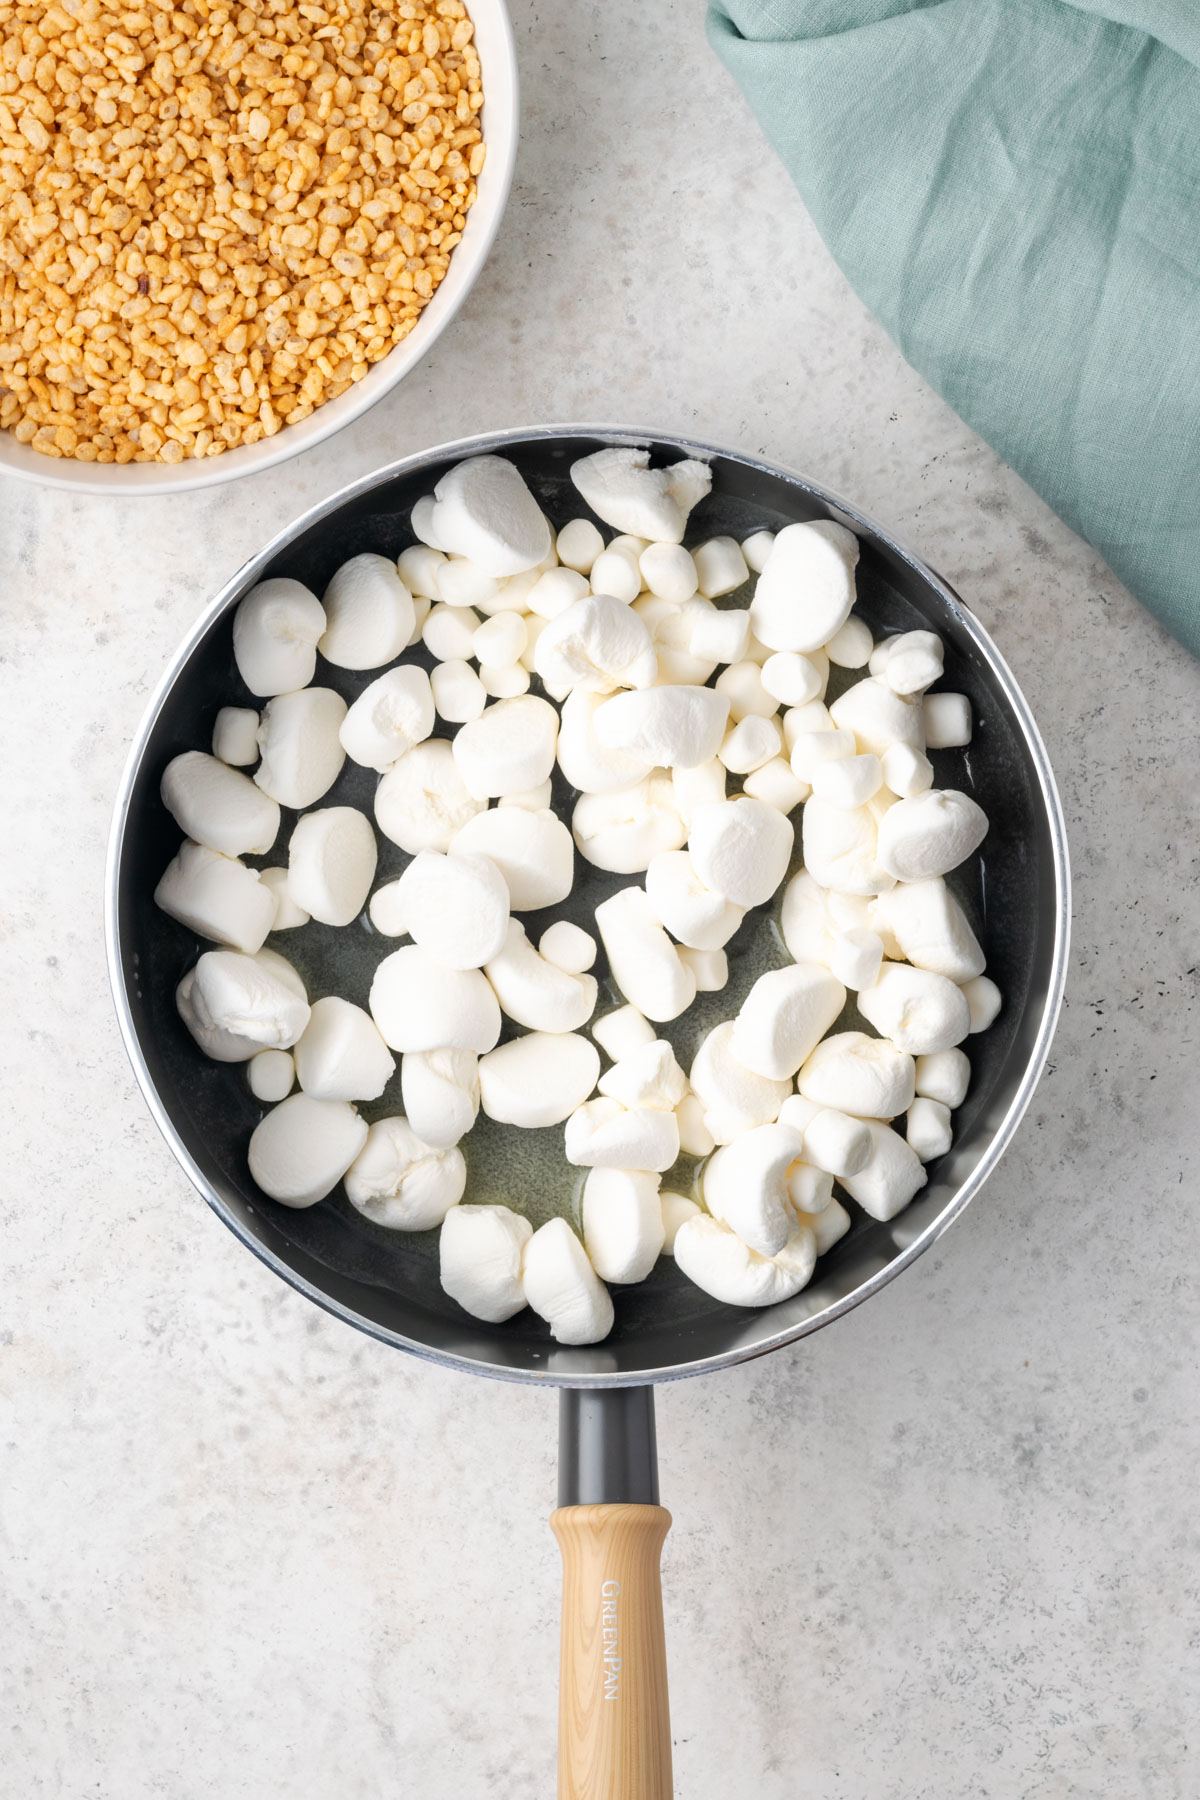
STEP 2: Reserve 1 cup of marshmallows. Add the remaining marshmallows to the melted butter. If you're using large marshmallows, tear them into smaller pieces to speed up the melting process.
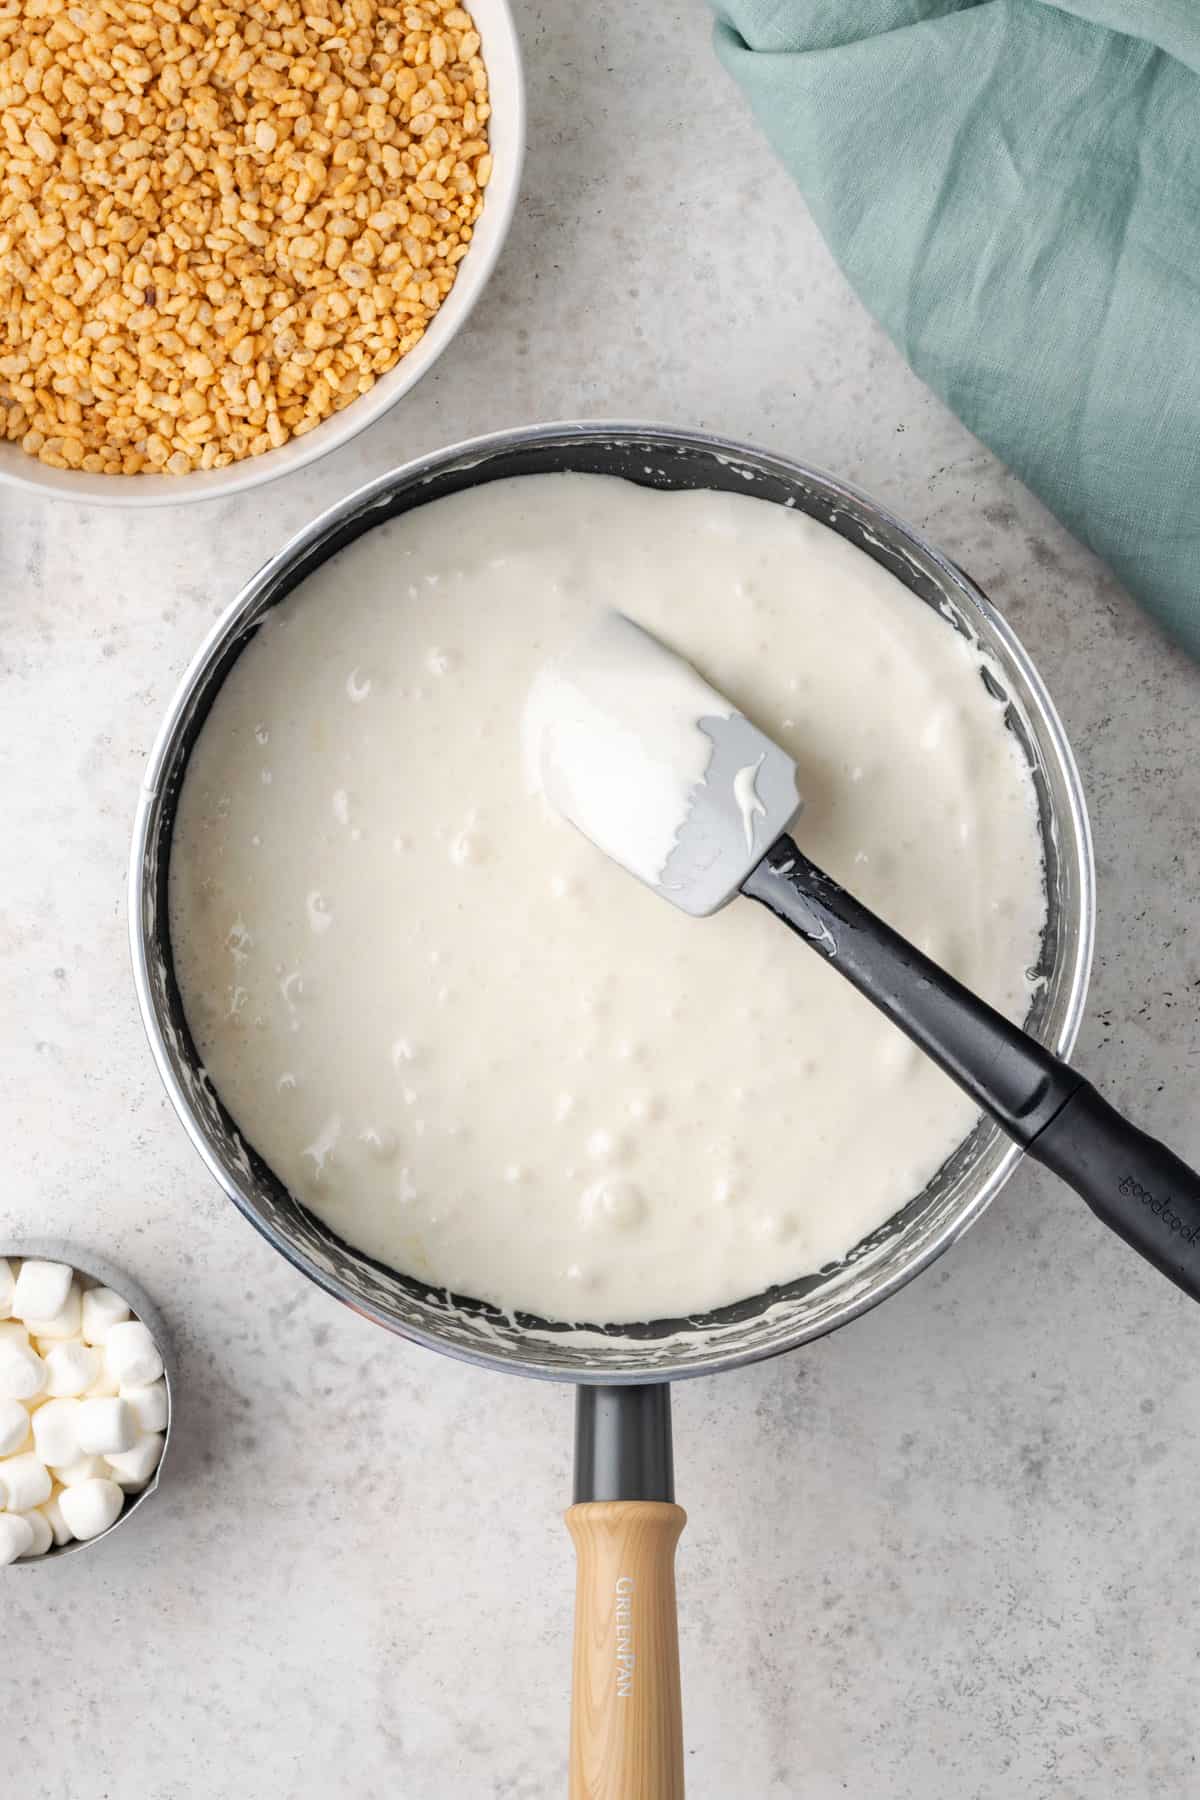
STEP 3: Stir the marshmallow mixture until it is all melted.

STEP 4: Add the rice crisp cereal, 1 cup of marshmallows, vanilla and salt.
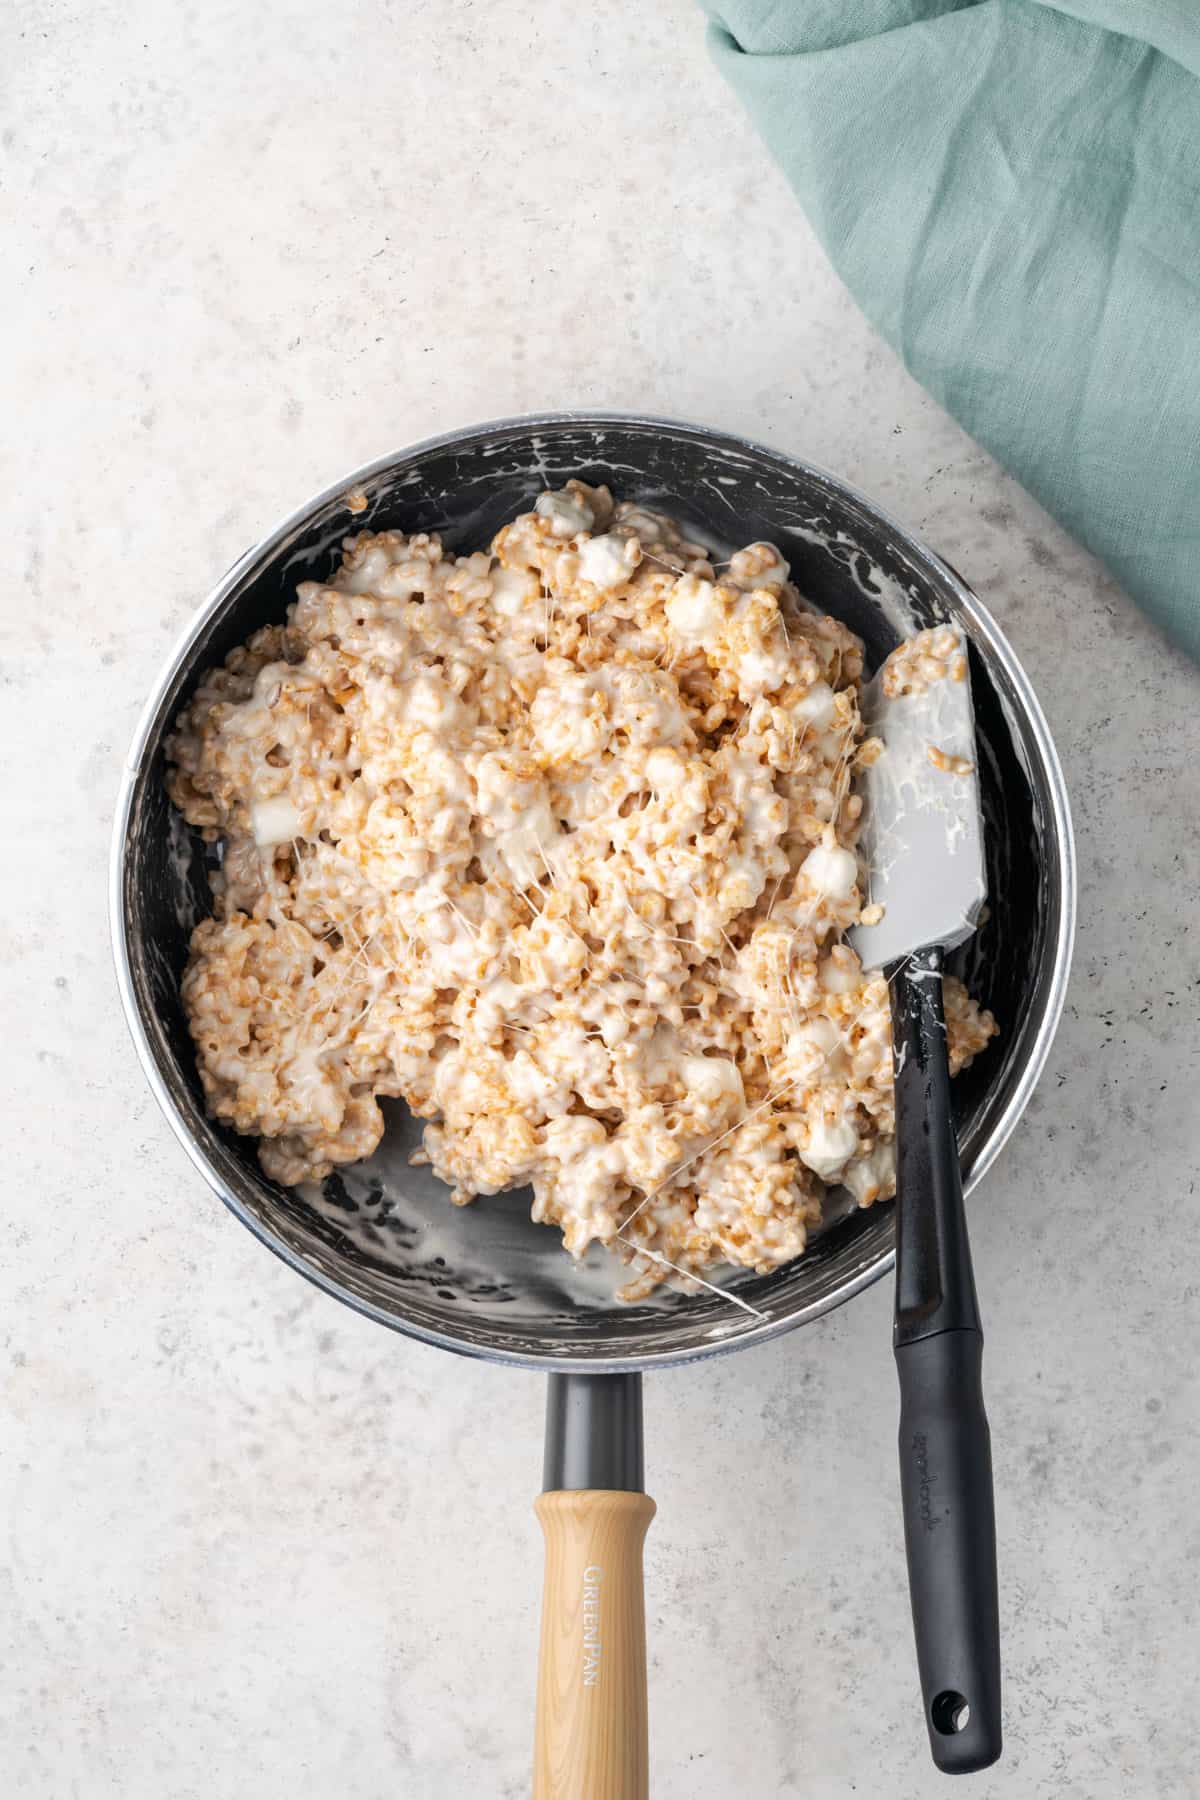
STEP 5: Stir until the cereal is well coated with the melted marshmallow mixture.

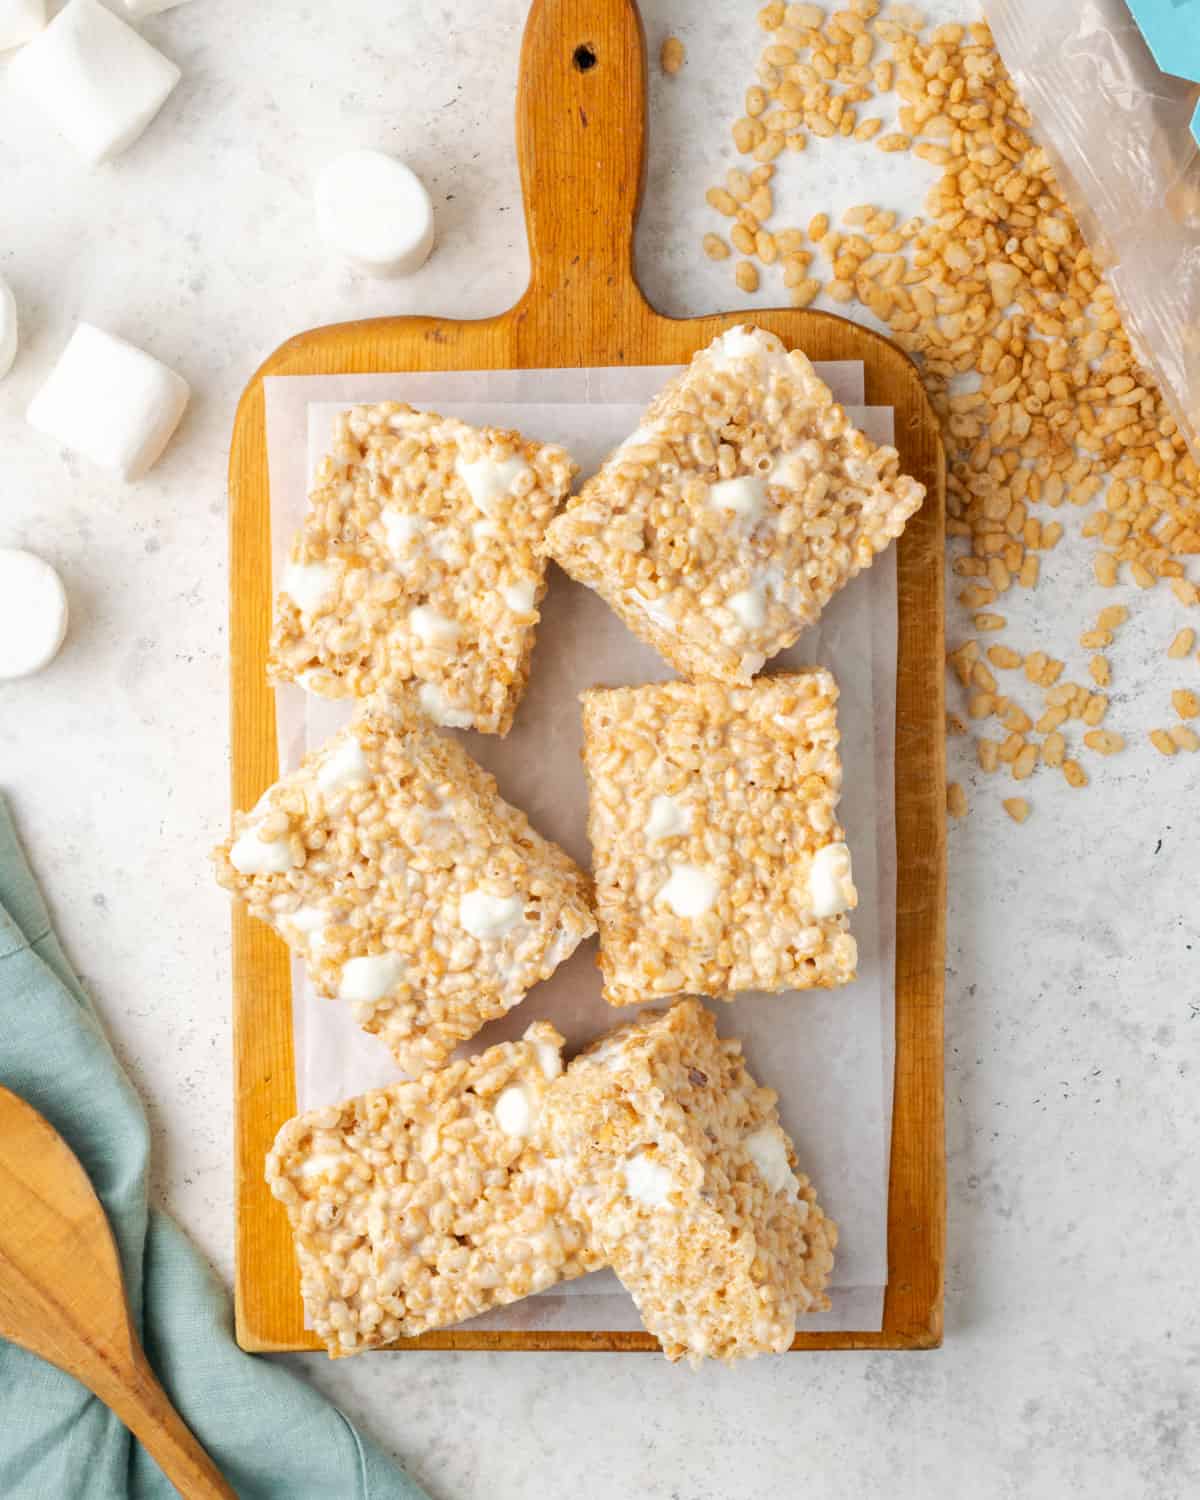
STEP 6: Spread the marshmallow cereal mixture into your prepared pan. Press it into an even layer. Then leave to cool about 2 hours.

Baking Tip
Spray your hands with a little non stick spray to keep the marshmallow mixture from sticking to you when you're pressing it into the pan.
Storage
Rice krispie treats are best when eaten the day they are made. However, if you do have leftovers store them in an airtight container for up to 3 days.

Recipe FAQs
Almost every brand of marshmallows sold in the US are made with gluten free ingredients, even when the package is not marked gluten free. Marshmallows are also dairy free, but not vegan when they contain gelatin.
Yes. Once they have cooled, cut and individually wrap each rice krispie treat in plastic wrap. Place the wrapped treats in a freezer bag and store for up to 3 months. Thaw at room temperature for about an hour before eating.
No, puffed rice has a lighter and less crispy texture than rice crisps. Sometimes puffed rice is called rise crisp cereal, so it's best to look at the box to see if it looks round and puffy (puffed rice) or flatter and crinkled (rice crisps). To make rice krispie treats, you want rice crisps, not puffed rice.
Other no bake recipes to consider:
If you try this recipe, please leave a 🌟🌟🌟🌟🌟 star rating and let me know how you liked it in the comments below.
Recipe
Gluten Free Rice Krispie Treats (Small Batch)
Ingredients
- 3 Tablespoons Vegan Butter
- 4 ½ Cups Marshmallows divided
- ½ teaspoon Vanilla
- ¼ teaspoon Salt
- 3 Cups Gluten Free Rice Crisp Cereal
Instructions
- Line a 9x5 loaf pan with aluminum foil and spray with nonstick spray.
- Add the butter to a large saucepan over medium-low heat. It's important the saucepan is large enough to fit all of the cereal.3 Tablespoons Vegan Butter
- Once the butter has melted, add 3 ½ cups of marshmallows. Set aside the remaining 1 cup of marshmallows. Stir until the mixture is melted.4 ½ Cups Marshmallows
- Remove from heat. Add the vanilla, salt, rice crisp cereal and remaining 1 cup of marshmallows. Stir together until the cereal is well coated.½ teaspoon Vanilla, ¼ teaspoon Salt, 3 Cups Gluten Free Rice Crisp Cereal
- Transfer the cereal mixture to the prepared pan. Use your hands to press the mixture into an even layer. Spray your hands with a bit of nonstick spray to help with the stickyness.
- Set the pan aside to cool at room temperature for about 2 hours before slicing.
Notes

Tiffany is the recipe developer, stylist and food photographer behind Well Fed Baker. As a lifelong baker who had to go gluten free and dairy free in 2016, Tiffany strives to share allergen friendly recipes that never feel like they are free from anything.

Leave a Comment