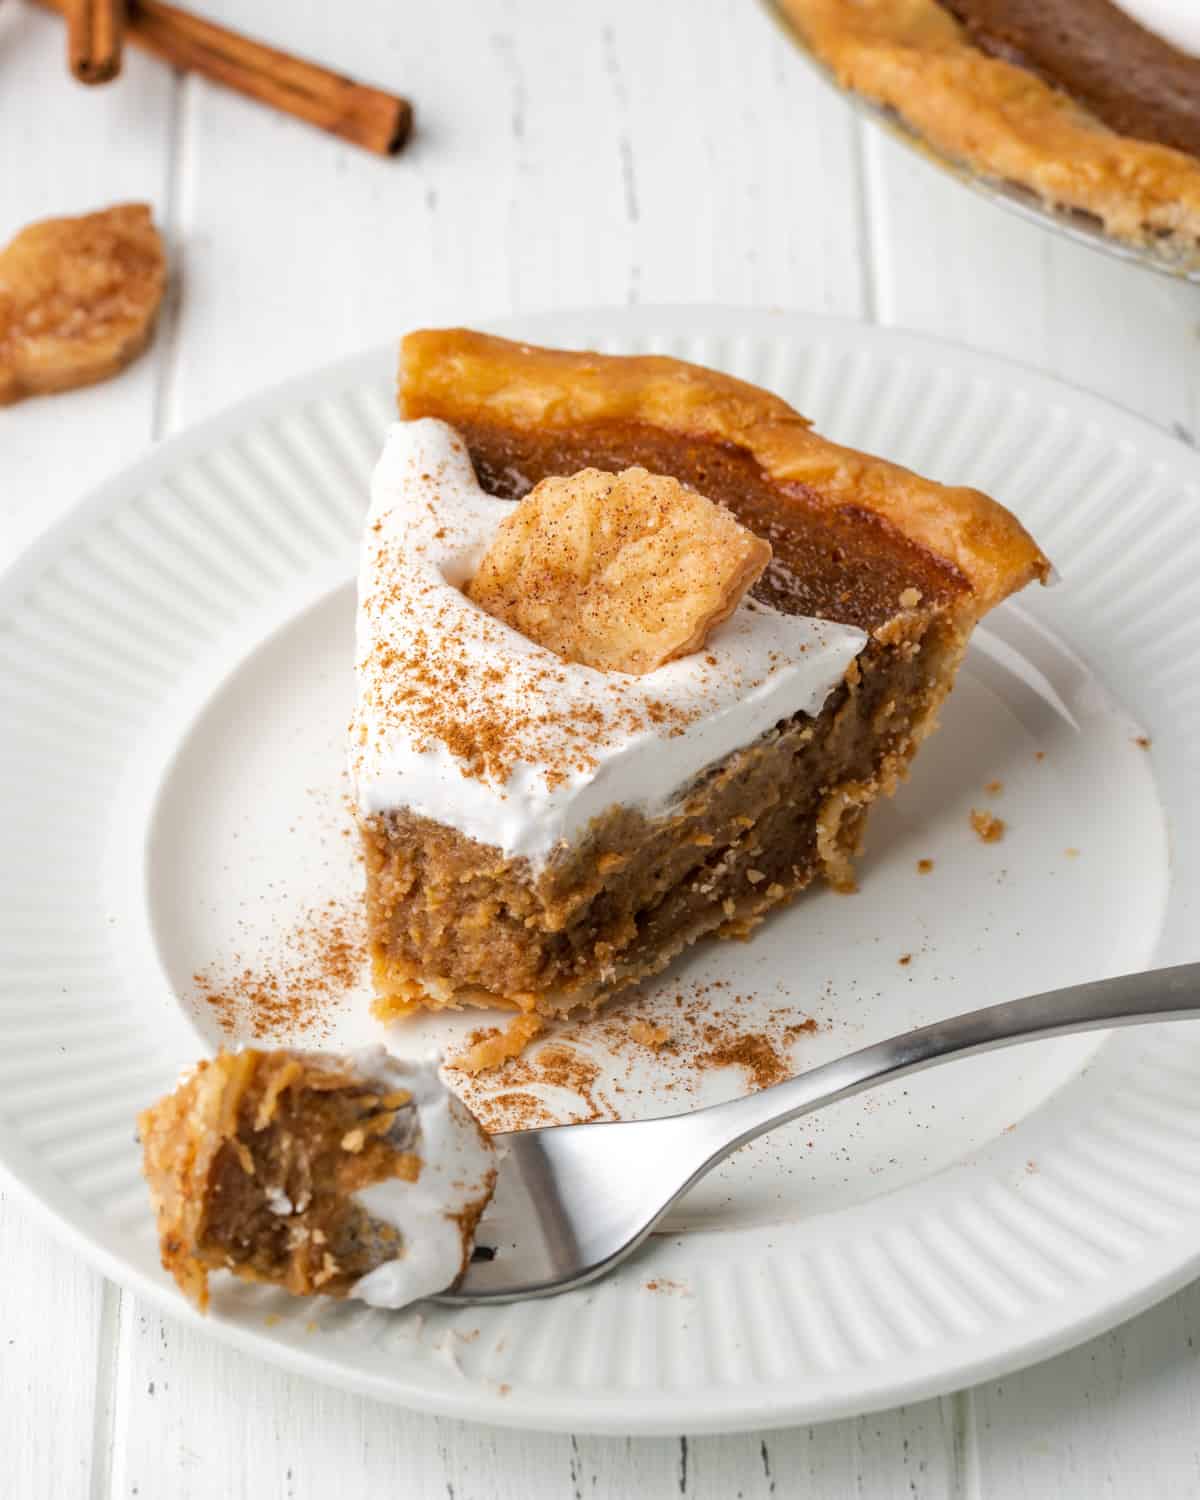
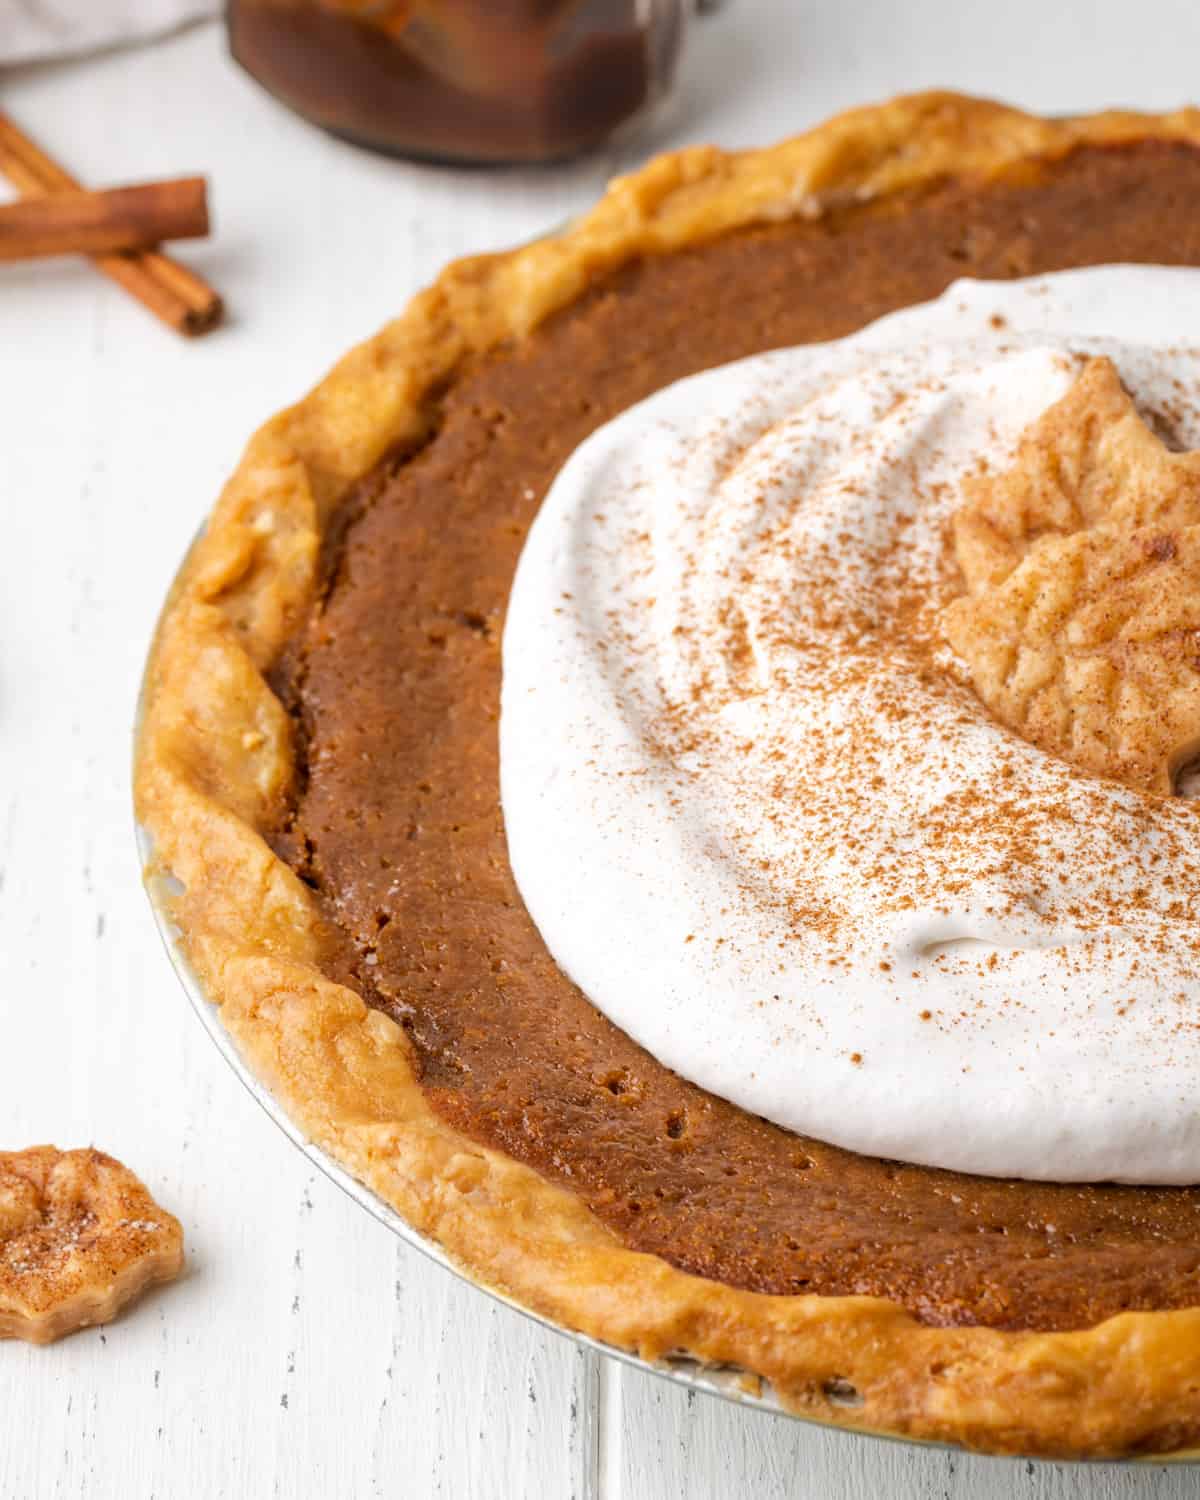
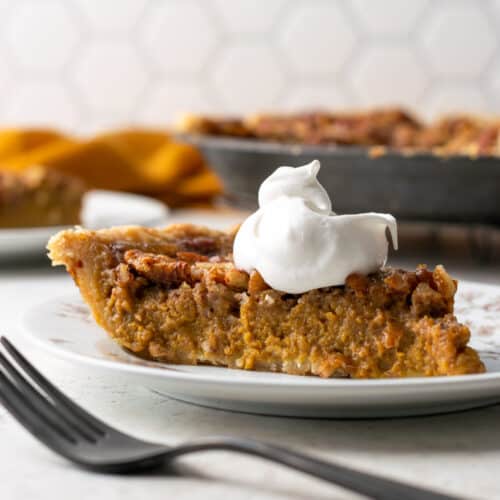
Move over pumpkin pie, because this flavorful apple butter pie is my new favorite thing. The apple butter adds a tangy apple flavor plus all the cinnamon spice flavor you love for Fall. With my gluten free pie crust, this pie can be both gluten free and dairy free.
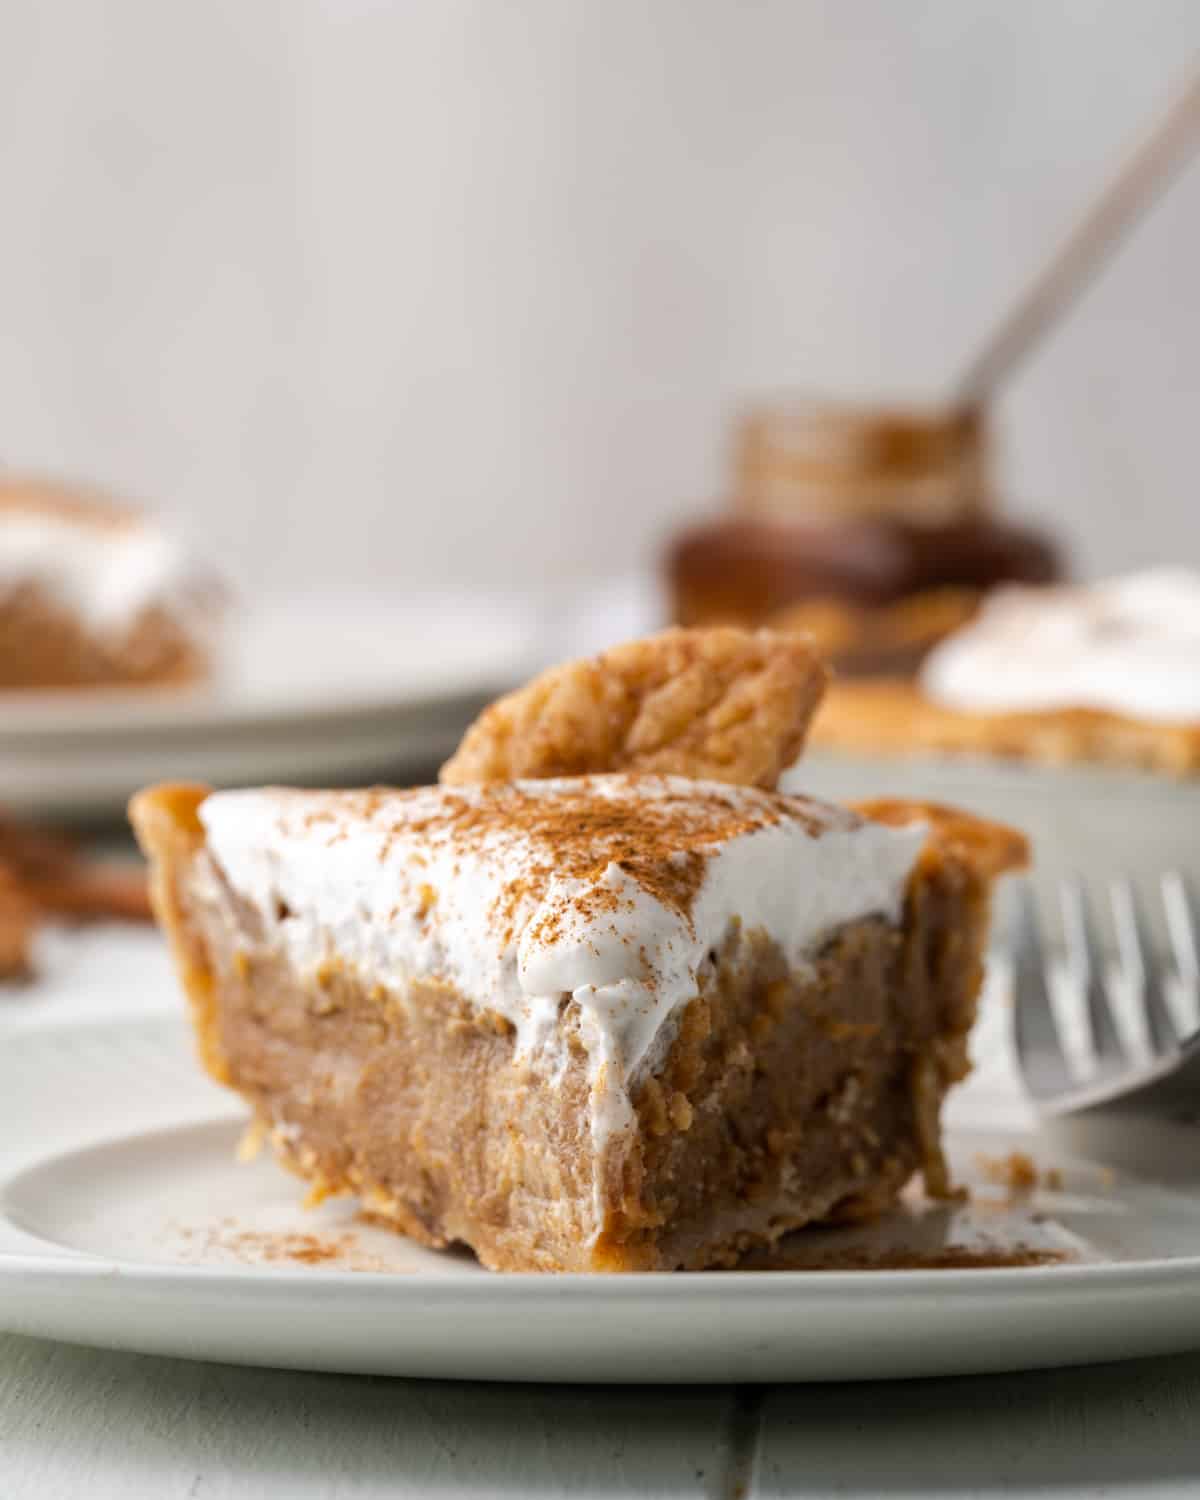
If you're not a fan of a classic pumpkin pie or just looking for something new for your Thanksgiving table this year, this easy apple butter pie recipe is the perfect dessert for you. It has the texture of pumpkin pie but all the flavor of apples and cinnamon.
This pie will definitely be making an appearance at Thanksgiving dinner at my house along with all of our other holiday favorites: gluten free pecan pie, dutch apple pie, and pumpkin pie.
Jump to:
Ingredient Notes
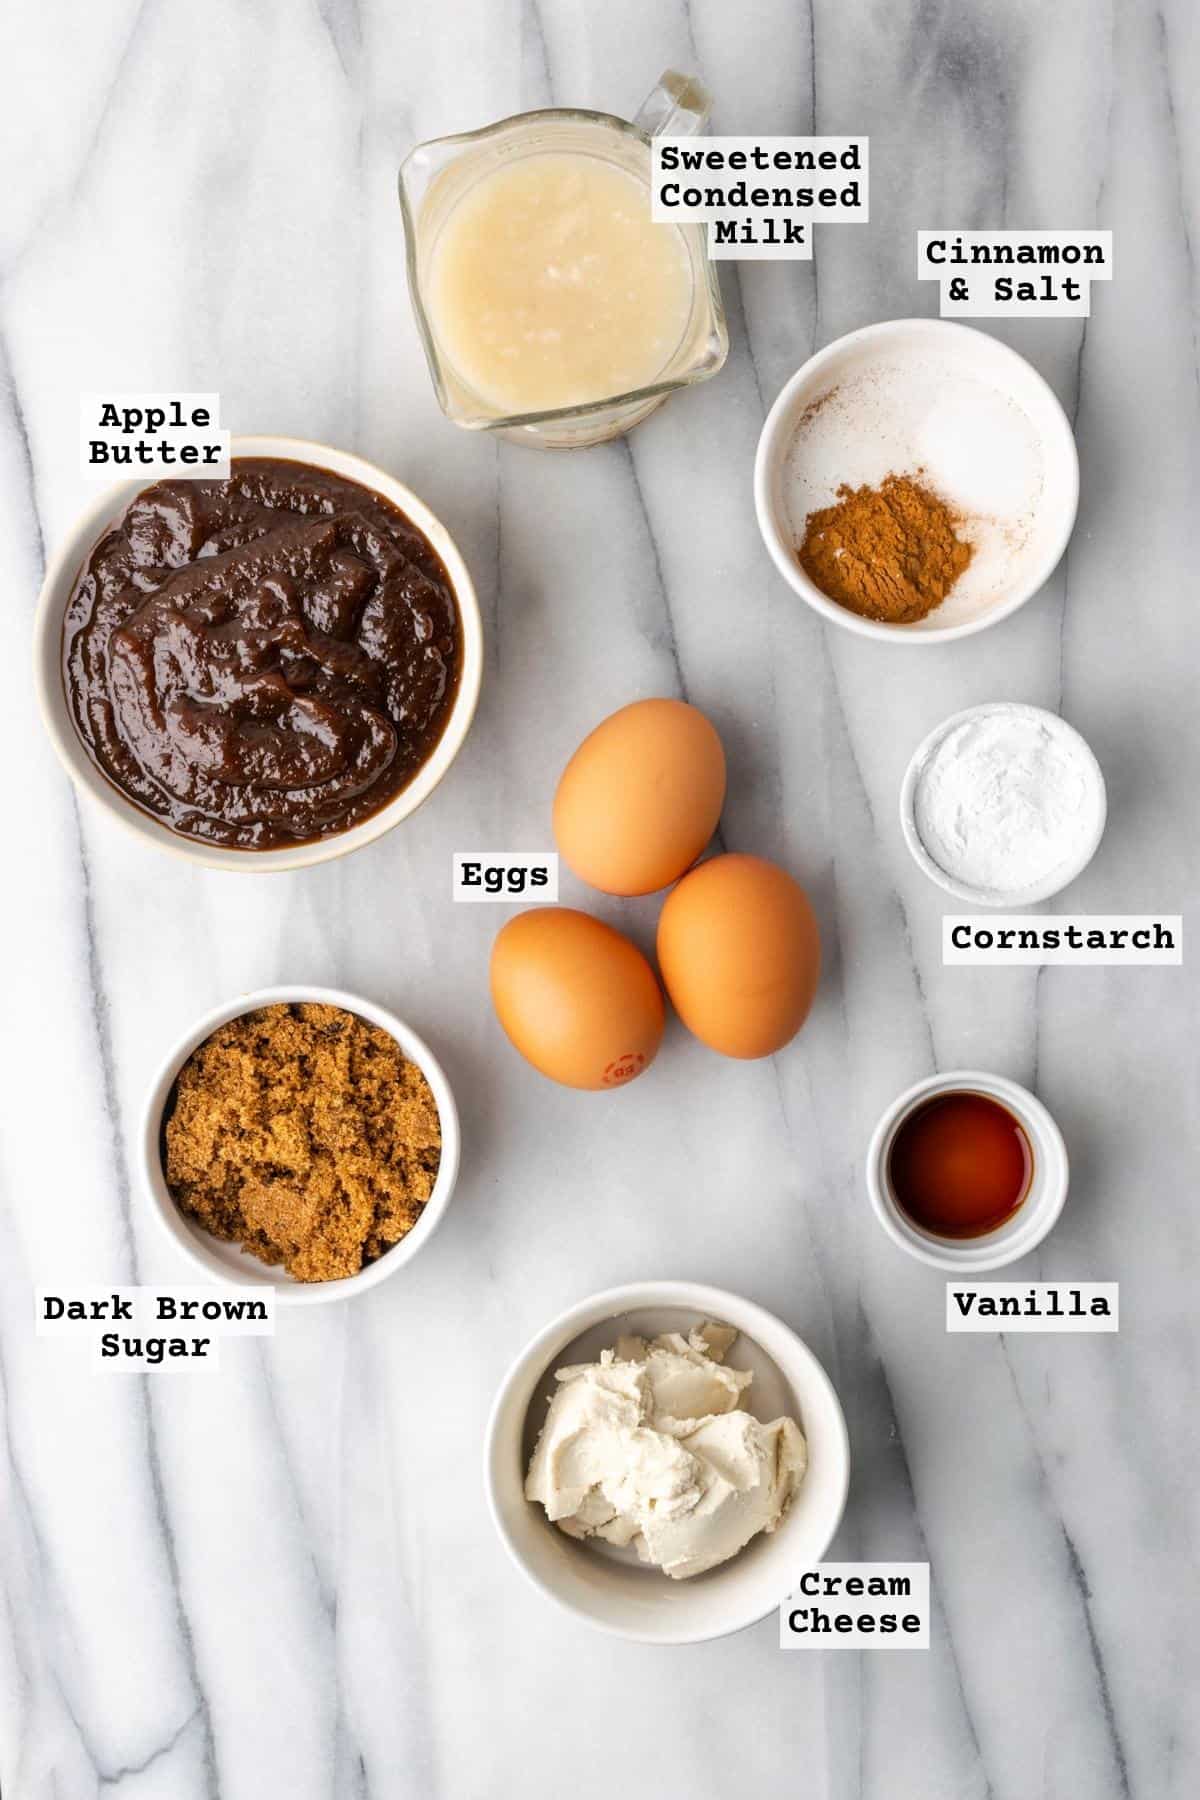
- Apple Butter - I normally use Whitehouse brand of apple butter, but any store-bought apple butter should be fine. If you make your own apple butter, it may be a little runnier than a store bought brand. You will need a full 18 ounce jar.
- Eggs - This is a custard style pie, like a pumpkin pie, so eggs are a must. I don't recommend making this recipe with an egg substitute.
- Dark Brown Sugar - the molasses flavor is a great compliment to the apple and spices. If you don't have dark brown sugar, light brown sugar will work as a replacement.
- Cornstarch - This helps to thicken the pie filling. You can use arrowroot powder or tapioca starch as an alternative if you're avoiding corn.
- Cinnamon - Cinnamon and apples go hand in hand, so don't skip it for this recipe.
- Vanilla - A little vanilla extract helps to enhance the flavors of the pie and provides a little sweetness.
- Sweetened Condensed Milk - I used sweetened condensed coconut milk in this recipe to make it dairy free. If your grocery stores don't carry it, you can always make your own dairy free sweetened condensed milk. If you're not dairy free, you can use regular sweetened condensed milk.
- Salt - A little salt balances the sweet flavors in the pie, it won't taste salty. Don't be tempted to skip it.
- Cream Cheese - I used Miyokos Vegan Cream Cheese to make this pie dairy free. If you're not dairy free, regular cream cheese will work in the same measure.
- Single Pie Crust - I always use my flaky pie crust recipe for my pies. You'll need enough for one 9-inch pie plate. You could also use a store bought pie crust if you prefer. If you're not gluten free, use your favorite pie crust recipe.
See recipe card for full ingredient list with quantities.
Substitutions & Variations
- Not Dairy Free - use dairy sweetened condensed milk and cream cheese in the same measure.
- No Apple Butter - Although I haven't tried it, any other fruit butter should work in this recipe. If your butter is really runny, reduce it on the stove over medium heat to thicken.
How to make an Apple Butter Pie
This pie filling is very easy to make. Star by preparing the pie crust of your choice. You can use my gluten free pie crust recipe, a store bought frozen pie shell or your favorite family recipe.
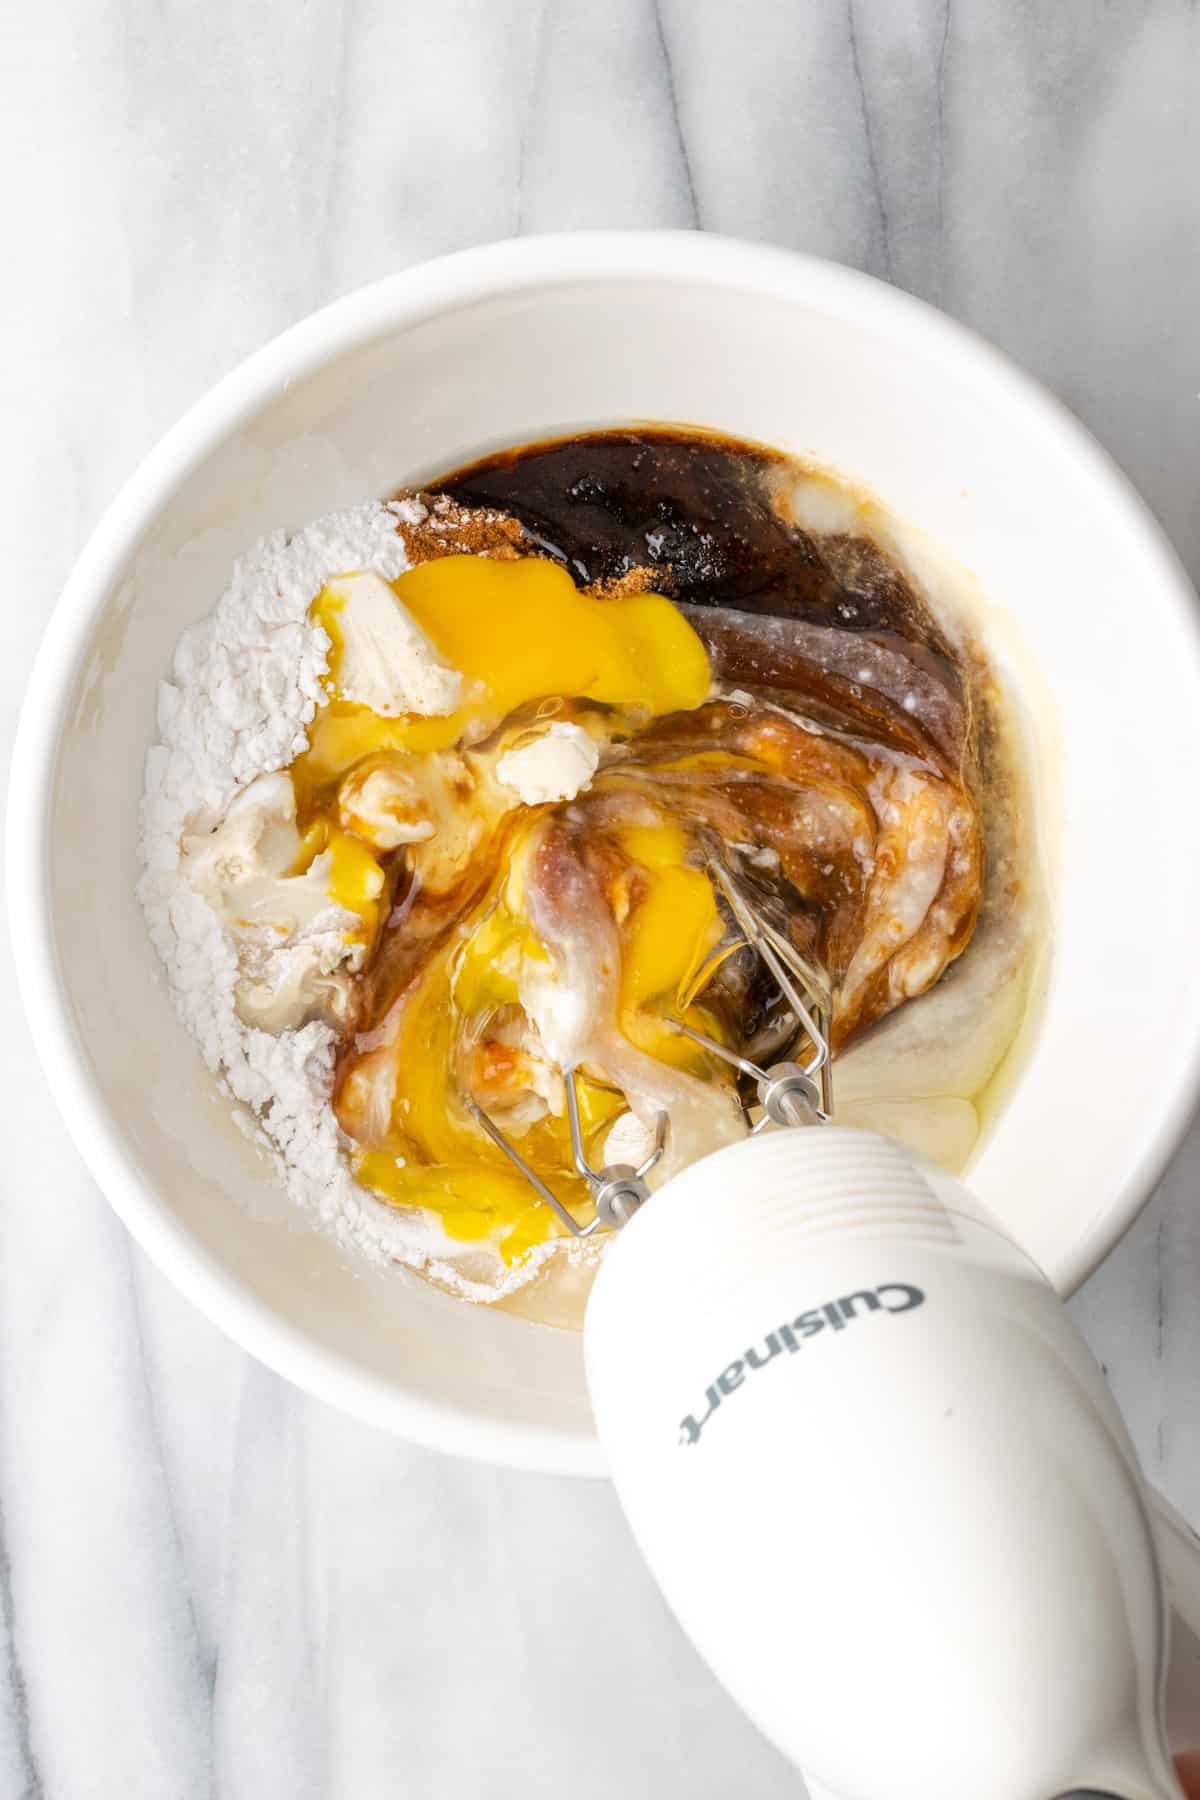
STEP 1: Combine apple butter, eggs, brown sugar, cornstarch, cinnamon, vanilla, sweetened condensed milk, cream cheese and salt in a large mixing bowl and beat with an electric mixer until smooth.
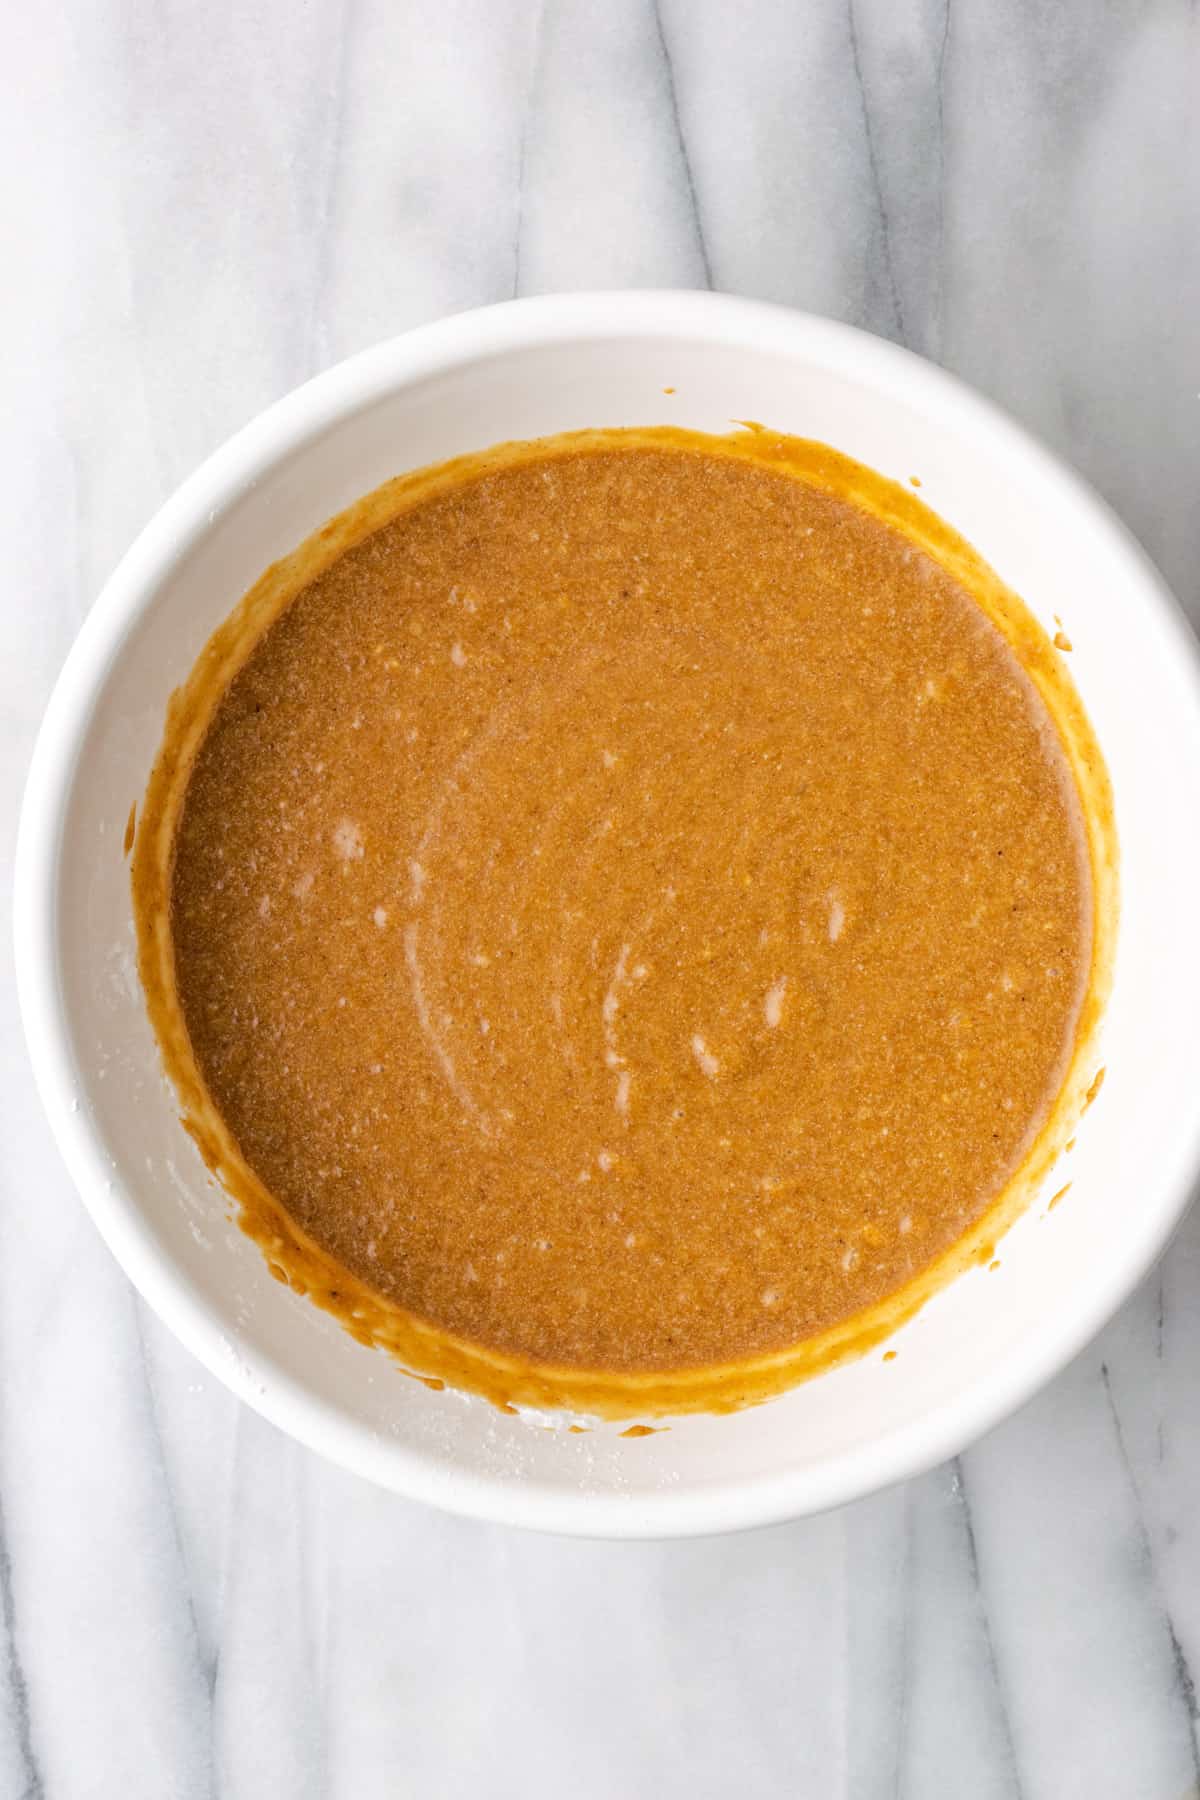
STEP 2: Once the filling is mixed, pour it into your pie crust.
Equipment Needs
The main equipment required for this pie is a pie dish and an electric mixer. In a pinch, you could mix this by hand with a whisk or even use a high speed blender.
As for pie dishes, metal are my favorite. They heat quickly, meaning the bottom of the crust will get crispy. Since we aren't going to blind bake this crust, we definitely want a crisp crust.
How to make decorative pie crust pieces
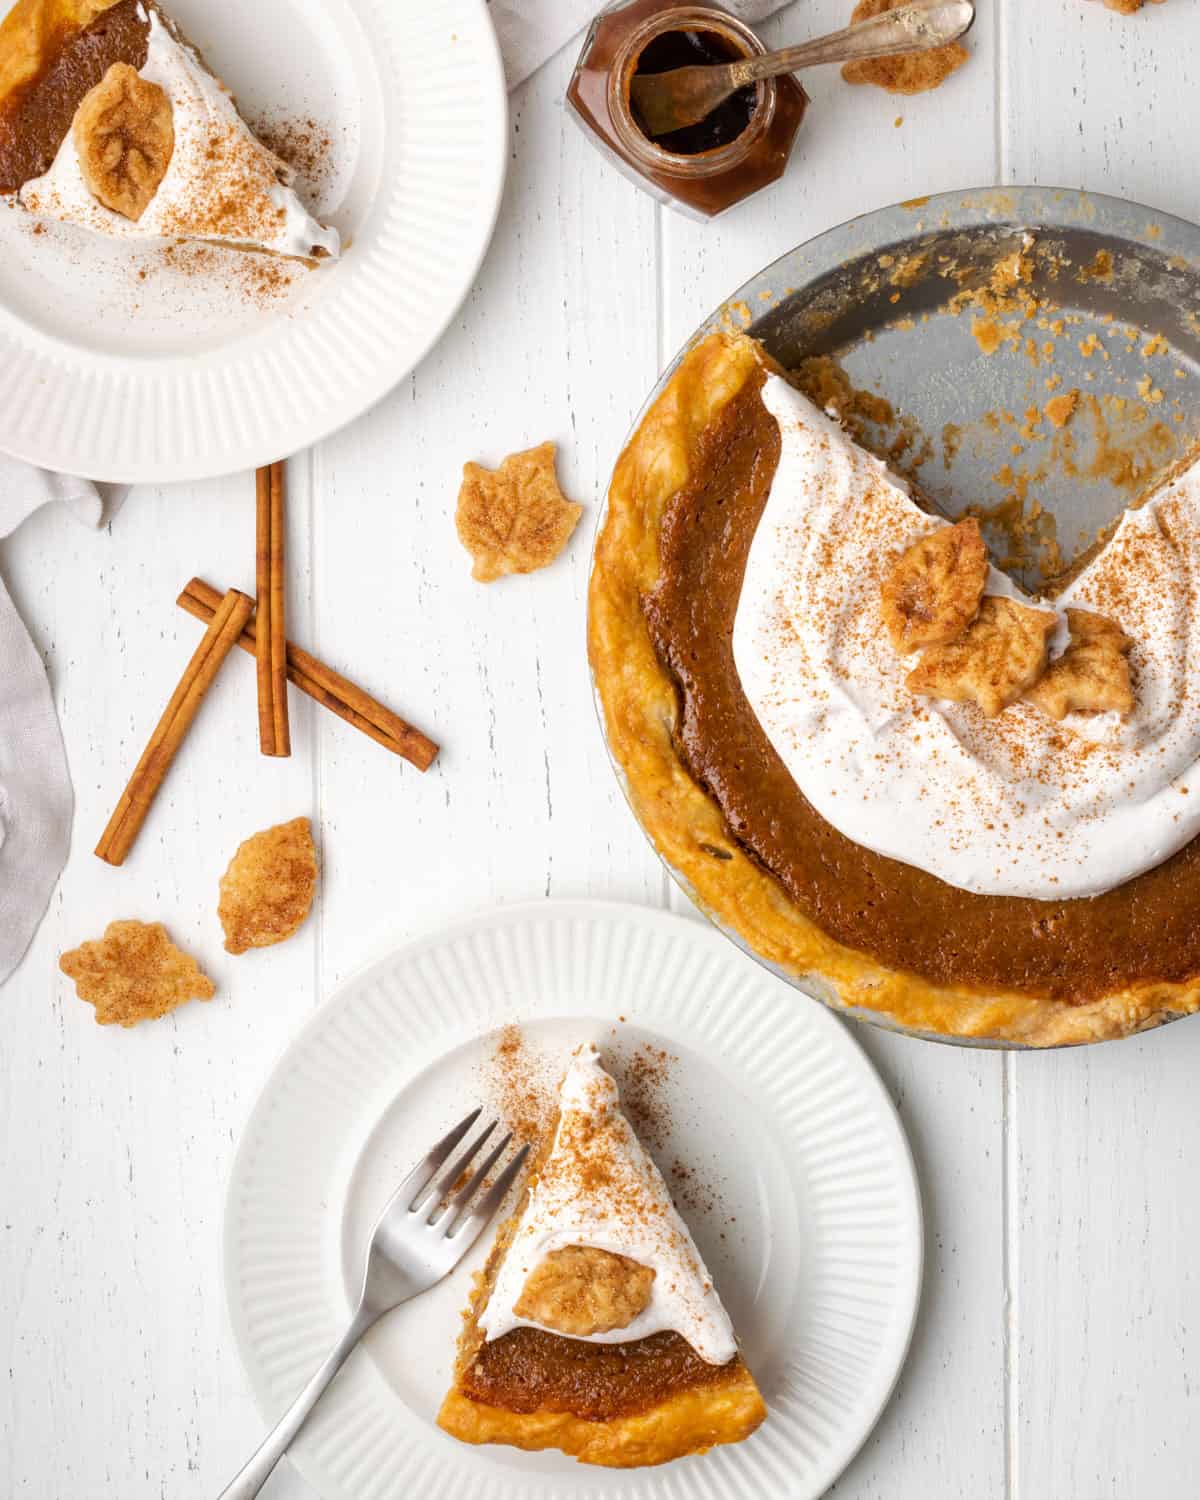
If you make your crust from scratch, you can use small pieces of leftover pie dough to make some decorations for the top of your pie. I call them crust crunchies. 🙂
Simple roll out any leftover scraps of pie dough into a sheet. I used these pie leaf cutters to make my shapes. Cut out the shapes and place them on a baking sheet lined with parchment paper. Chill them for at least 15 minutes before baking. Bake along with the pie for about 15-20 minutes until just barely brown. They will cook much quicker than the pie.
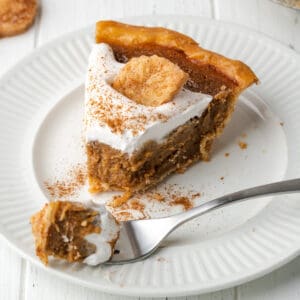
Once the shapes are done baking and cooled, brush the tops with melted butter and sprinkle with cinnamon sugar.
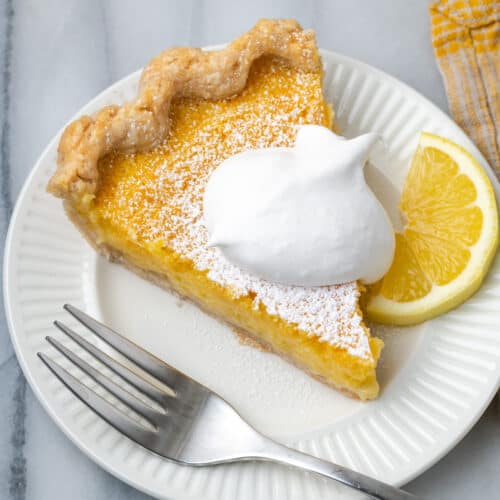
After the pie has cooled, you can add whipped cream to the top of the pie and decorate with the leaf cut outs.
Storage
Because this is a custard pie, you should store it in the refrigerator. Wrap any leftover pie up in the pie dish with plastic wrap or aluminum foil. Refrigerate for up to 5 days.
There is no need to reheat this pie, since it is normally served cold or at room temperature.
Recipe FAQs
Custard pies can be a little tricky to make, because if you bake them too long they will crack in the center when cooled. To make sure your pie turns out picture perfect, remove it from the oven when the outer 2-3 inches of the pie filling is solid but the center still looks wet. The center should jiggle a tiny bit if you gently shake the pan. Cool the pie completely and store in the refrigerator at least 4 hours before slicing.
I have tried this both ways and it works either way. Personally, I dislike par-baking my crust when the pie filling requires baking. So I don't call for it in this recipe. I find the crust to still be delightfully crispy on the bottom.
Apple butter should be naturally gluten free. It is usually made of apples, sugar and spices cooked down until they are a very thick, dark version of applesauce. However, when buying storebought products, you should always read the labels to check for added ingredients since wheat/gluten are frequently used in processed food as a thickening agent.
More custard pies to consider:
If you try this recipe, please leave a 🌟🌟🌟🌟🌟 star rating and let me know how you liked it in the comments below.
Recipe
Apple Butter Pie
Ingredients
- 1 9-inch pie crust
- 1 ½ cup Apple Butter
- 7.5 ounce can Sweetened Condensed Coconut Milk regular or dairy free
- 4 ounce Vegan Cream Cheese regular or vegan
- ¼ cup Dark Brown Sugar
- 3 Eggs
- 2 tablespoons Cornstarch or substitute arrowroot powder
- 1 teaspoon Cinnamon
- 1 teaspoon Vanilla
- ½ teaspoon Salt
- Whipped Cream for topping, optional
Instructions
- Preheat your oven to 350 degrees.
- Combine all of the filling ingredients in a large bowl and beat with an electric mixer until smooth.1 ½ cup Apple Butter, 3 Eggs, ¼ cup Dark Brown Sugar, 2 tablespoons Cornstarch, 1 teaspoon Cinnamon, 1 teaspoon Vanilla, 7.5 ounce can Sweetened Condensed Coconut Milk, ½ teaspoon Salt, 4 ounce Vegan Cream Cheese
- Set your pie pan on a baking sheet. Pour the filling into the pie crust.1 9-inch pie crust
- Bake in preheated oven on the lowest oven rack for 40-45 minutes until outer 2-3 inches of filling appear solid and the center jiggles slightly when gently shaken. If the edges of the crust start to get too brown, cover them with strips of aluminum foil.
- Remove from oven and cool completely, then transfer to refrigerator to set at least 4 hours or overnight before slicing. Serve topped with whipped cream.Whipped Cream
Notes

Tiffany is the recipe developer, stylist and food photographer behind Well Fed Baker. As a lifelong baker who had to go gluten free and dairy free in 2016, Tiffany strives to share allergen friendly recipes that never feel like they are free from anything.
Jennifer says
What is the white topping? Whipped cream?
Yes, it's coco whip (dairy free whipped cream)